115Appendixes
8.2 Flushing the Heat Exchanger
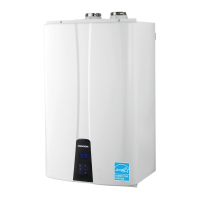
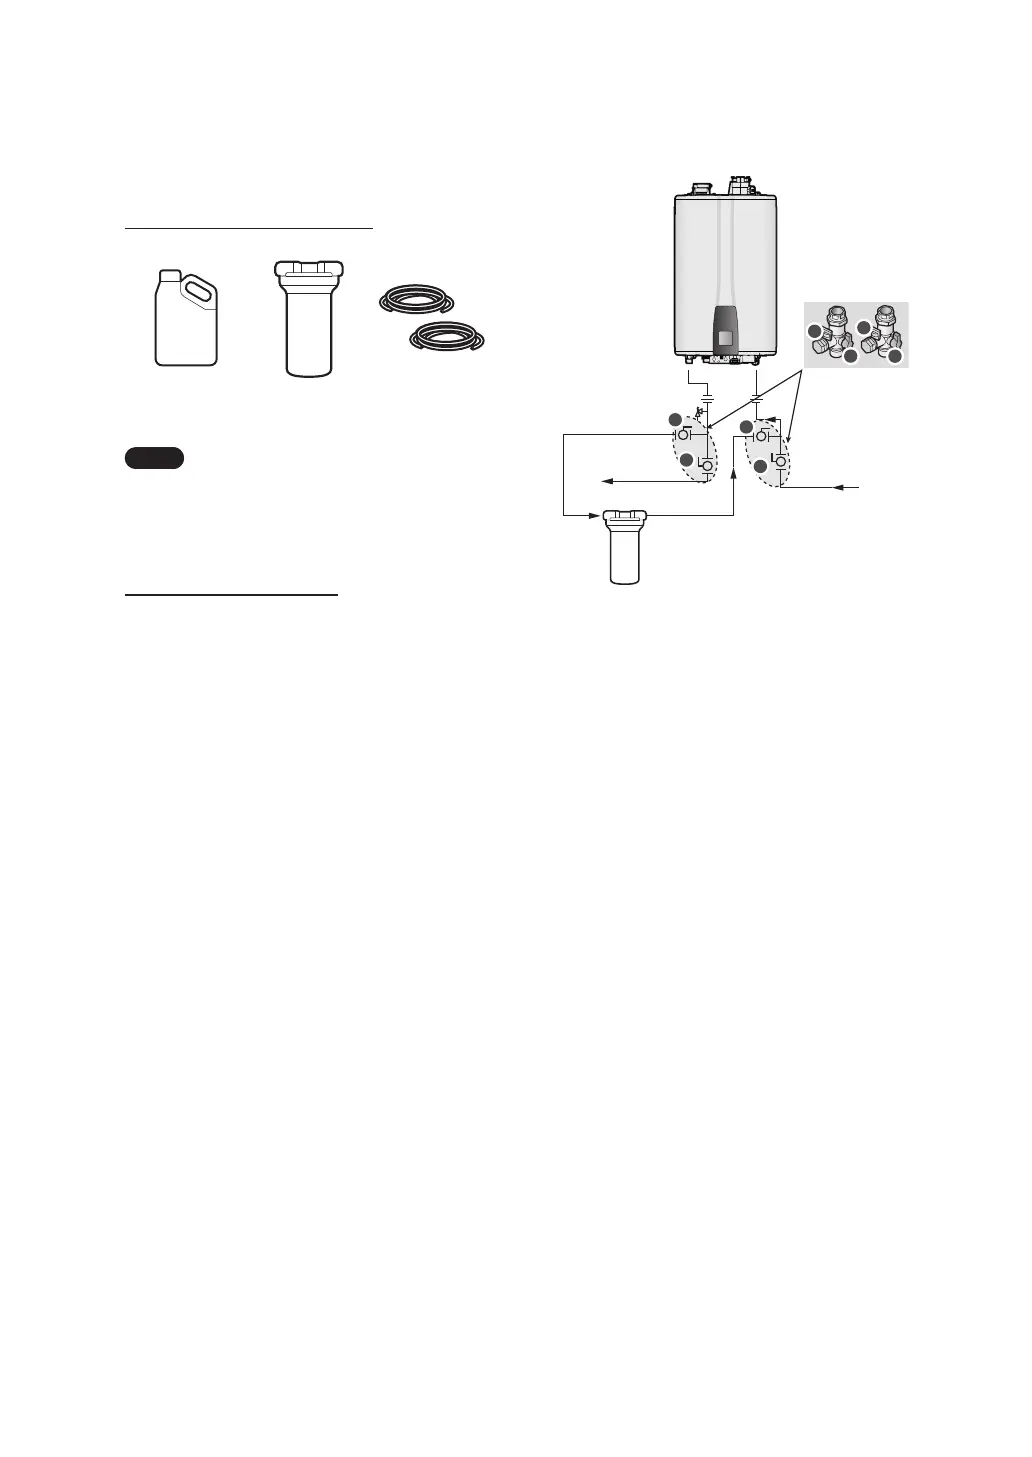
NPE-A2 Flush Kit (optional)
Figure 12. NPE-A2 Flush Kit
Note
Use of this mode requires a Navien
NPE-A2 Flush Kit. Do not use this mode
when using field-supplied pump &
bucket flush kits.
Flushing the Procedure
For detailed procedures on how to install the
NPE-A2 Flush Kit, refer to the installation instructions
that comes included with the kit.
Once the kit is fully set up for use, review the
following instructions to connect the NPE-A2 Flush
Kit to the water heater and to start flushing the
heater exchanger:
1. Make sure that the 2-way valve inside the water
heater is set to the position for EXT (external)
recirculation.
2. Connect the hose from the kit OUTLET to the
cold water INLET on the bottom of the NPE-A2
water heater.
3. Connect the hose from the kit INLET to the hot
water OUTLET of the NPE-A2 water heater.
4. Use the front panel to access the SERVICE/
INSTALLER menu.
Refer to page 106 on how to use DESCALE MODE
with the Flush Kit.
To flush the Heat Exchanger: NPE-A2 Model
A
A
B
B
C
C
D
D
Hot Water Line
Navien Easy
valve Kit
Cold Water Line
INLET
NPE-A2 Flush Kit
OUTLET
 Loading...