10 Nektar SE49 User Guide www.nektartech.com
Transpose Button Assignments
The transpose buttons can be assigned to control Transpose, MIDI Channel, Program change, and for supported DAW’s, Track
Select and Patch Select.
The process of assigning a function to the transpose buttons is the same for all 5 options and works as follows:
Press the [Setup] button. The LED above the button will blink and the color is orange to indicate setup is active.
Press the key on your SE49 keyboard (C2-E2) that corresponds to the function you want to assign to the buttons.
Press Enter (C5). This will accept the change and exit Setup.
Note: Track Change and Patch change requires that the Nektar DAW integration file is installed for your DAW. The buttons
will not change the track in your DAW or patches in your virtual instruments unless installation has been completed correctly.
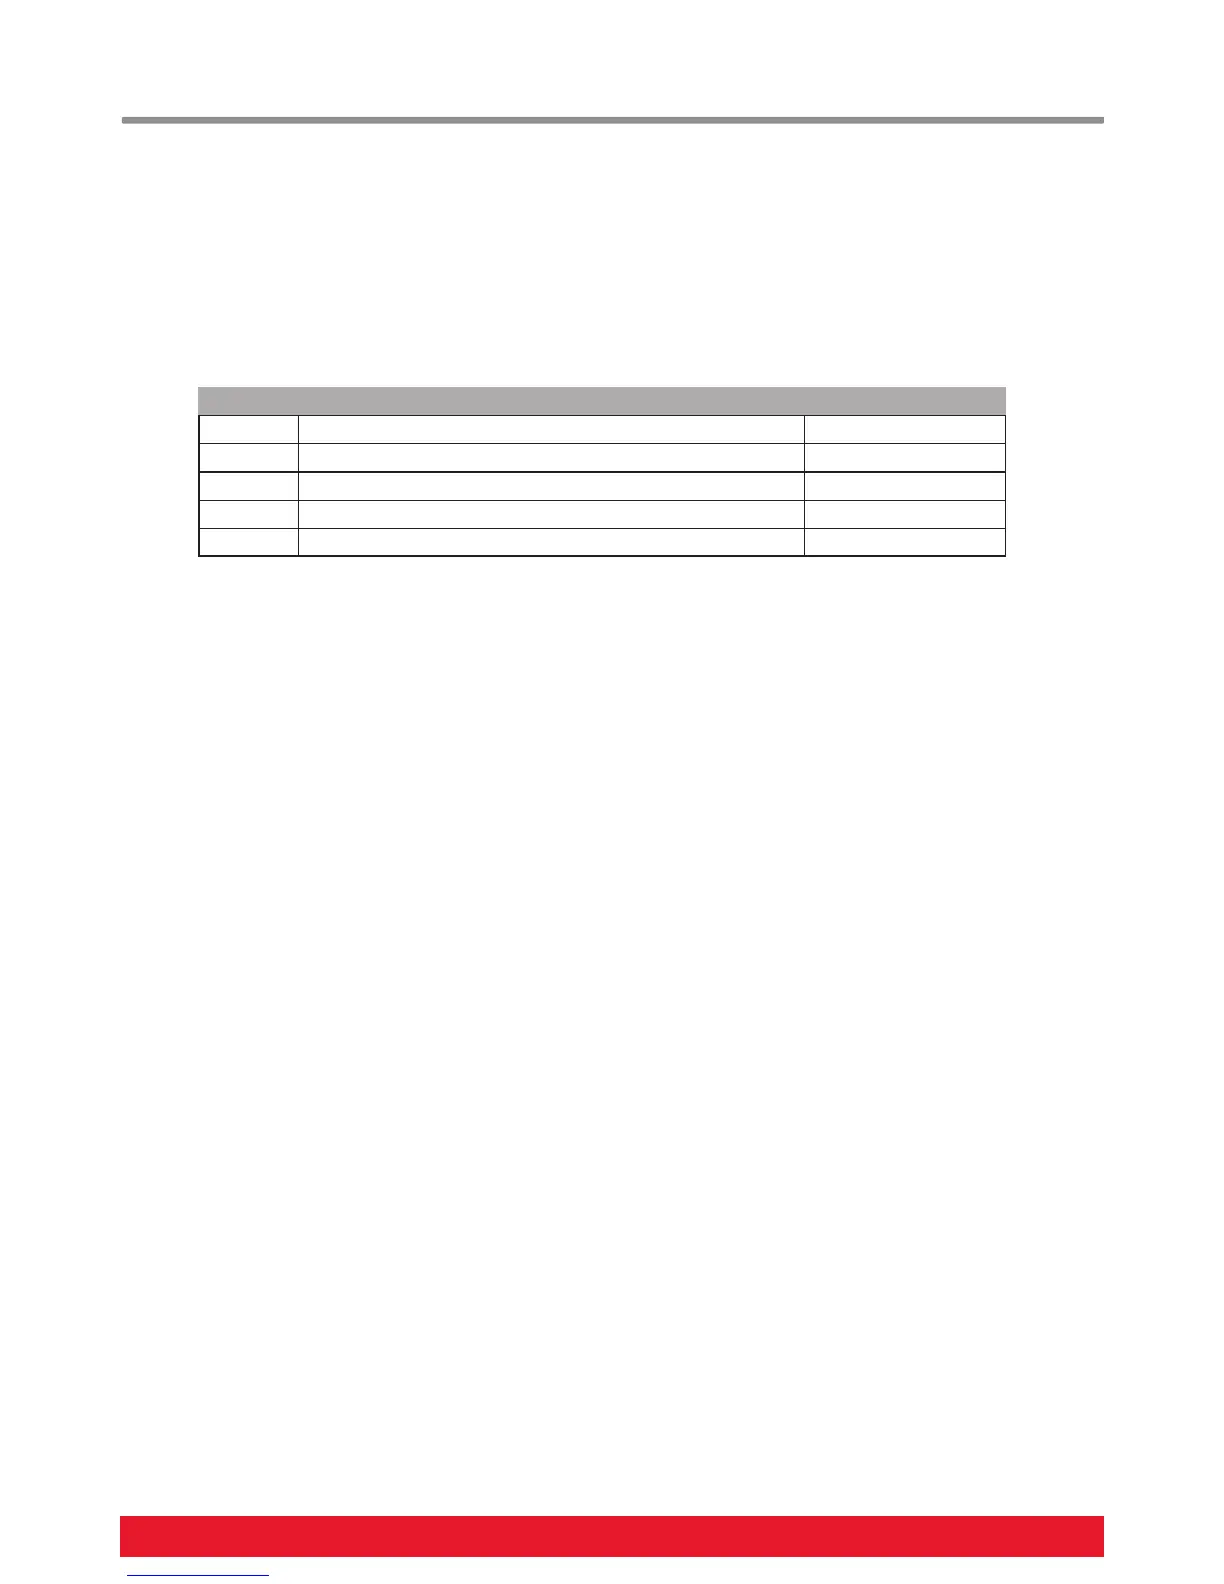
Key Function Value range
C2 Transpose -/+ 12
C#2 MIDI Channel 1-16
D2 MIDI Program Change 0-127
D#2 Track Select (Nektar DAW integration only) Down/up
E2 Patch Select (Nektar DAW integration only) Down/up