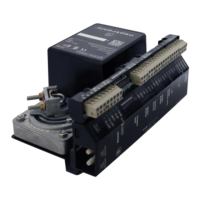
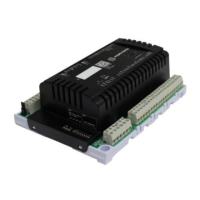
Networkable VAV Controller
Specification and Installation Instructions
www.neptronic.com EVCB Standard Page | 5
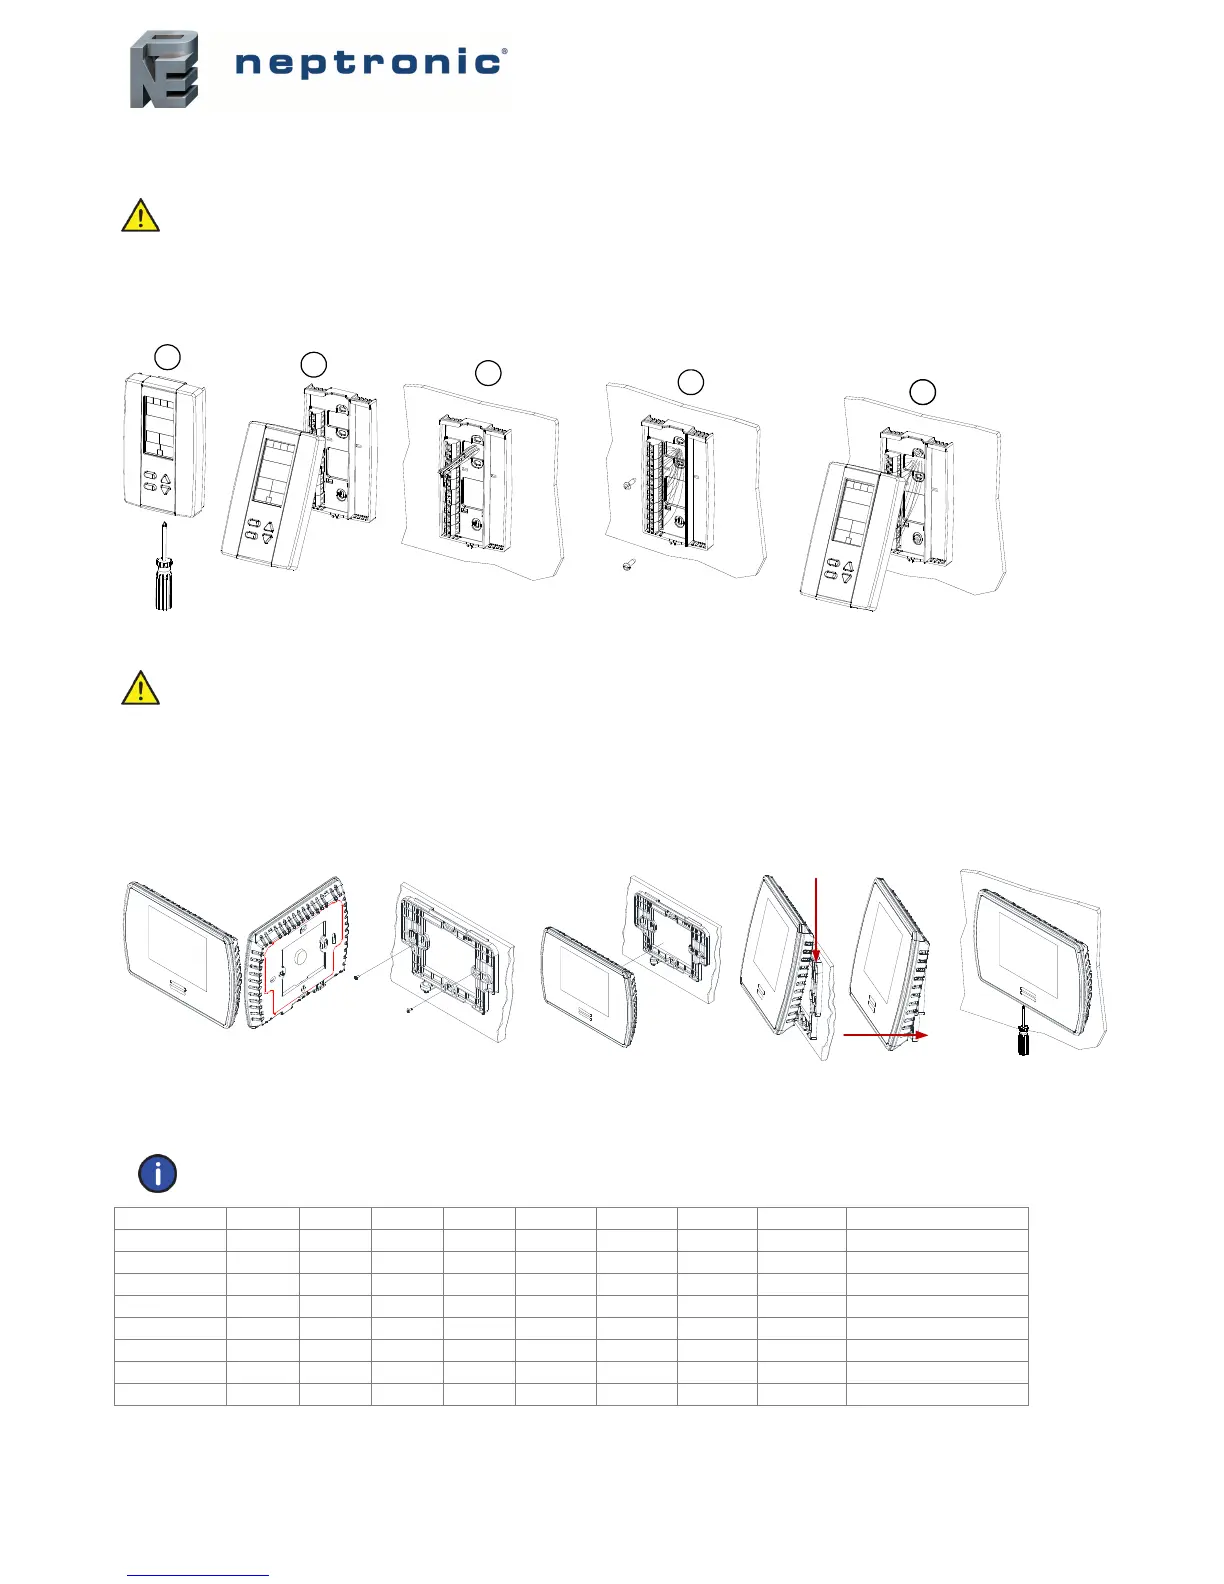
Mounting Instructions
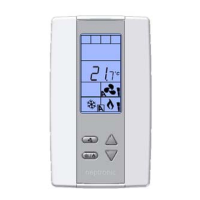
TRL24
CAUTION: Remove power to avoid a risk of malfunction.
A. Remove the captive screw that’s holding the base and the front cover of the unit together.
B. Lift the front cover of the unit to separate it from the base.
C. Pull all wires through the holes in the base.
D. Secure the base to the wall using wall anchors and screws (supplied). Make the appropriate connections.
E. Mount the control module on the base and secure using the screw.
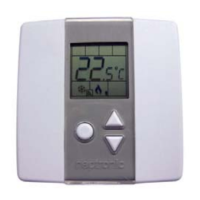
TDU
CAUTION: Remove power to avoid a risk of malfunction.
A. Remove the wall mounting plate (highlighted) from the back of the thermostat.
B. Install the mounting plate on the gang box.
C. Pull the wires through the base hole and make the appropriate connections.
D. Mount the thermostat onto the wall plate. To mount the thermostat correctly, place the top of the thermostat on the mounting
plate first and push it into the grooves to snap it into place.
E. Secure the thermostat using the screw (supplied).
BACnet or Modbus Address DIP Switch (DS1)
MAC address for communication, are selectable by DIP switch using binary logic. If you do not change device instance in program mode, it will be
automatically modified according to the MAC address.
Note: Avoid using addresses above 246 when selecting Modbus MAC address.
MAC Address DS.1 = 1 DS.2 = 2 DS.3 = 4 DS.4 = 8 DS.5 = 16 DS.6 = 32 DS.7 = 64 DS.8 = 128 Default Device Instance
0 OFF OFF OFF OFF OFF OFF OFF OFF 153000
1 ON OFF OFF OFF OFF OFF OFF OFF 153001
2 OFF ON OFF OFF OFF OFF OFF OFF 153002
3 ON ON OFF OFF OFF OFF OFF OFF 153003
4 OFF OFF ON OFF OFF OFF OFF OFF 153004
… … … … … … … … … …
126 OFF ON ON ON ON ON ON OFF 153126
127 ON ON ON ON ON ON ON OFF 153127
* Slave addresses available by setting DS.8 to ON
A
E
D
C
B
A
B
C
E
D