a. Cable controller A to IOM A.
b. Cable controller B to IOM B.
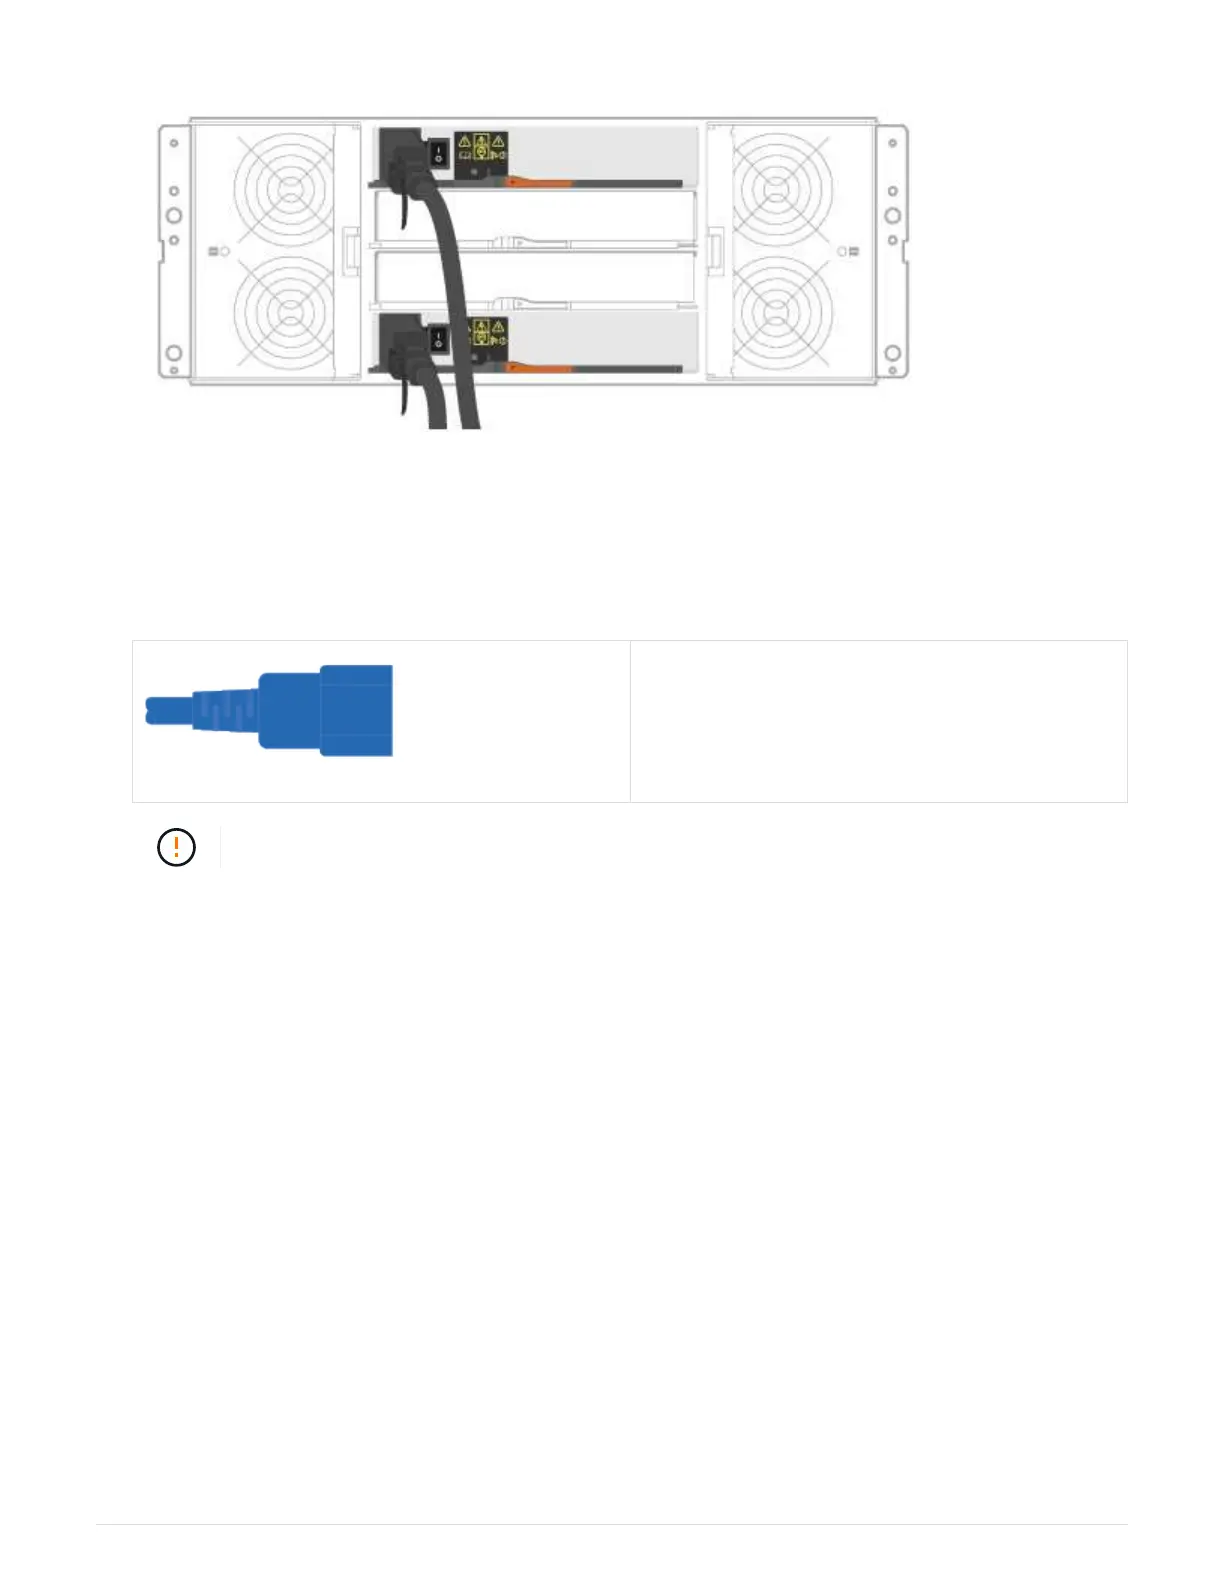
2. Power the drive shelves.
You need the following cables:
Power cables
Confirm the drive shelf power switches are off.
a. Connect the two power cables for each shelf to different power distribution units (PDUs) in the cabinet
or rack.
b. If you have drive shelves, turn on their two power switches first. Wait 2 minutes before applying power
to the controller shelf.
c. Turn on the two power switches on the controller shelf.
d. Check the LEDs and seven-segment display on each controller.
During boot, the seven-segment display shows the repeating sequence of OS, Sd, blank to indicate the
controller is performing start-of-day processing. After the controller has booted up, the shelf ID is
displayed.
8
 Loading...


