EasyManuals Logo

NetApp E Series Install And Setup

NetApp E Series
16 pages
To Next Page IconTo Next Page
To Previous Page IconTo Previous Page
Page #8 background imageLoading...
Page #8 background image
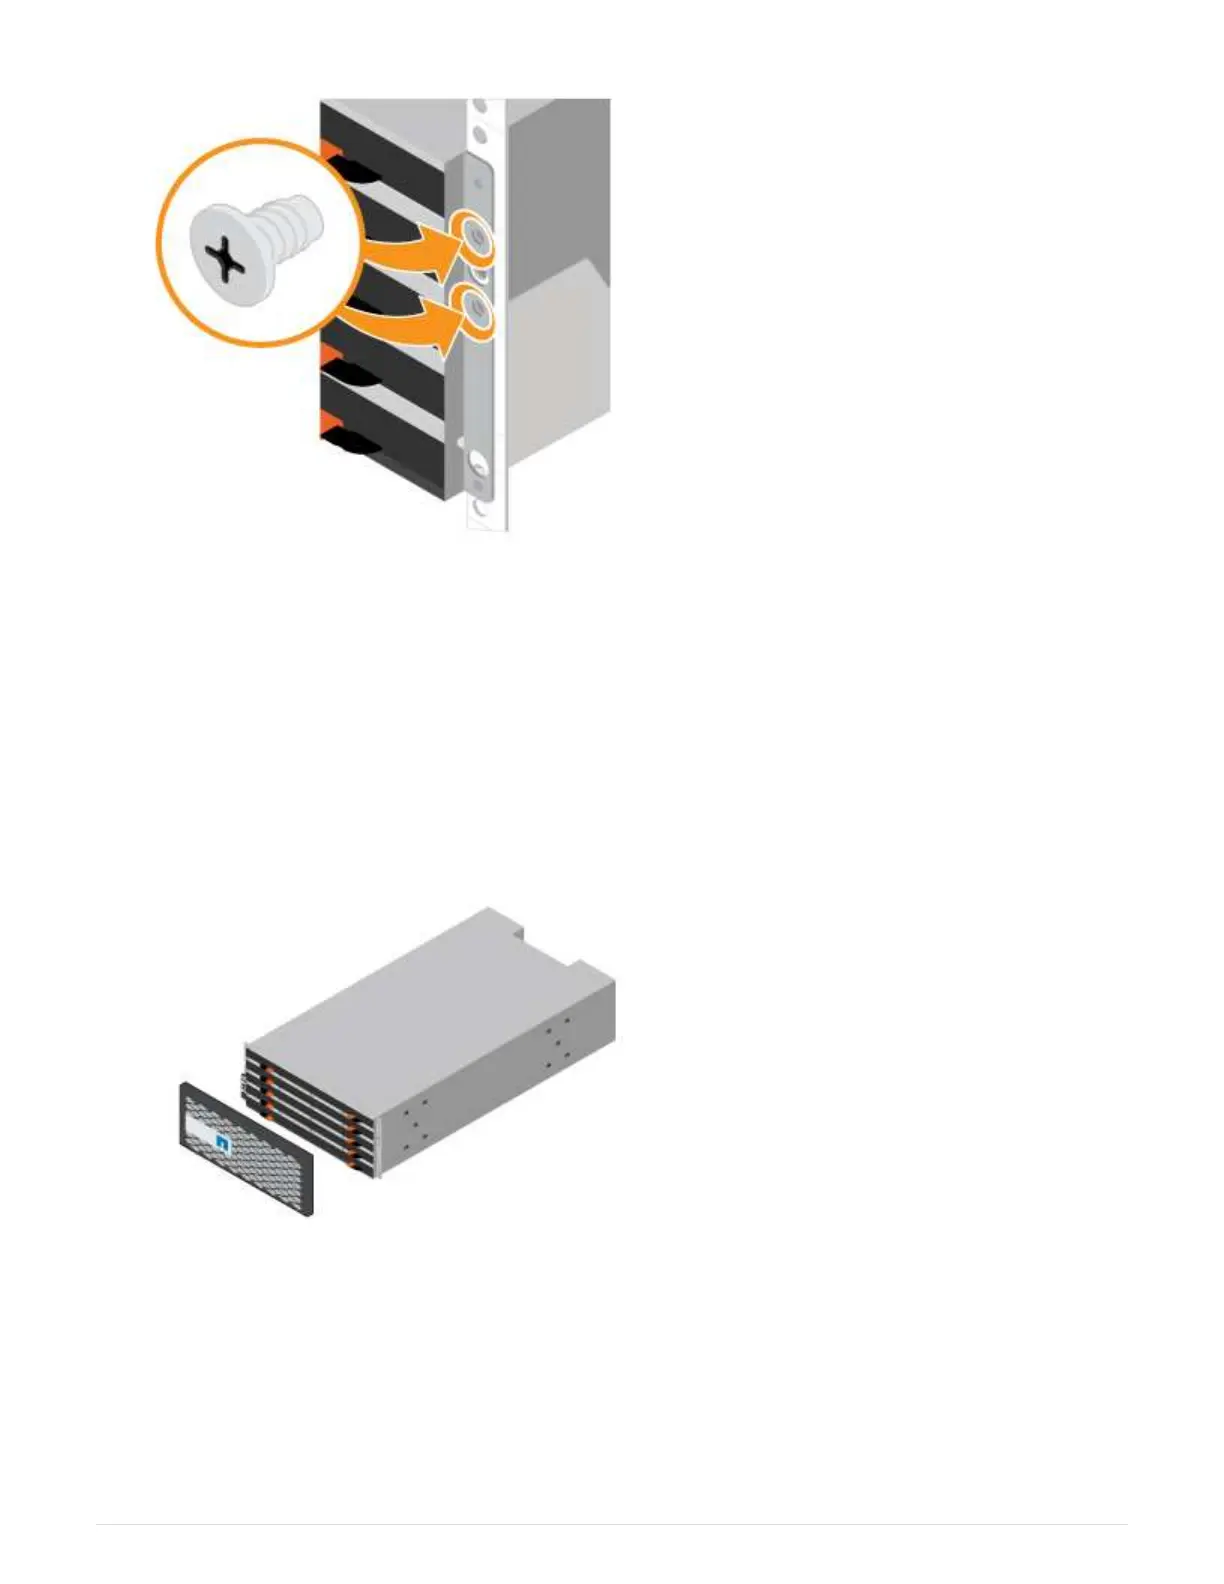
5. Install the bezel or end caps.
a. Position the front bezel in front of the controller shelf so that the holes at each end align with the
fasteners on the controller shelf.
b. Snap the bezel into place.
c. If you have optional drive shelves, position the left end cap in front of the drive shelf so that the holes in
the end cap align with the fasteners on the left side of the shelf.
d. Snap the end cap into place.
e. Repeat the above steps for the right end cap.
Connect the cables
Learn how to attach the power cables and power on the drive shelves.
Before you begin
Install your hardware.
6

Other manuals for NetApp E Series

Questions and Answers:

Question and Answer IconNeed help?

Do you have a question about the NetApp E Series and is the answer not in the manual?

NetApp E Series Specifications

General IconGeneral
Form Factor2U, 4U
Drive TypesSSD
Host InterfaceSAS, iSCSI, FC, IB
RAID LevelsRAID 0, 1, 5, 6, 10
Operating System CompatibilityWindows, Linux, VMware
Management SoftwareSANtricity

Related product manuals