1. Connect each host adapter directly to the switch.
2. Connect each switch directly to the host ports on
the controllers.
Step 2: Connect and configure the management connection
You can configure the controller management ports using one of two options: using a DHCP server or using a
static IP address.
Option 1: DHCP server
Learn how to configure the management ports with a DHCP server.
Before you begin
• Configure your DHCP server to associate an IP address, subnet mask, and gateway address as a
permanent lease for each controller.
• Obtain the assigned IP addresses you will use to connect to the storage system from your network
administrator.
Steps
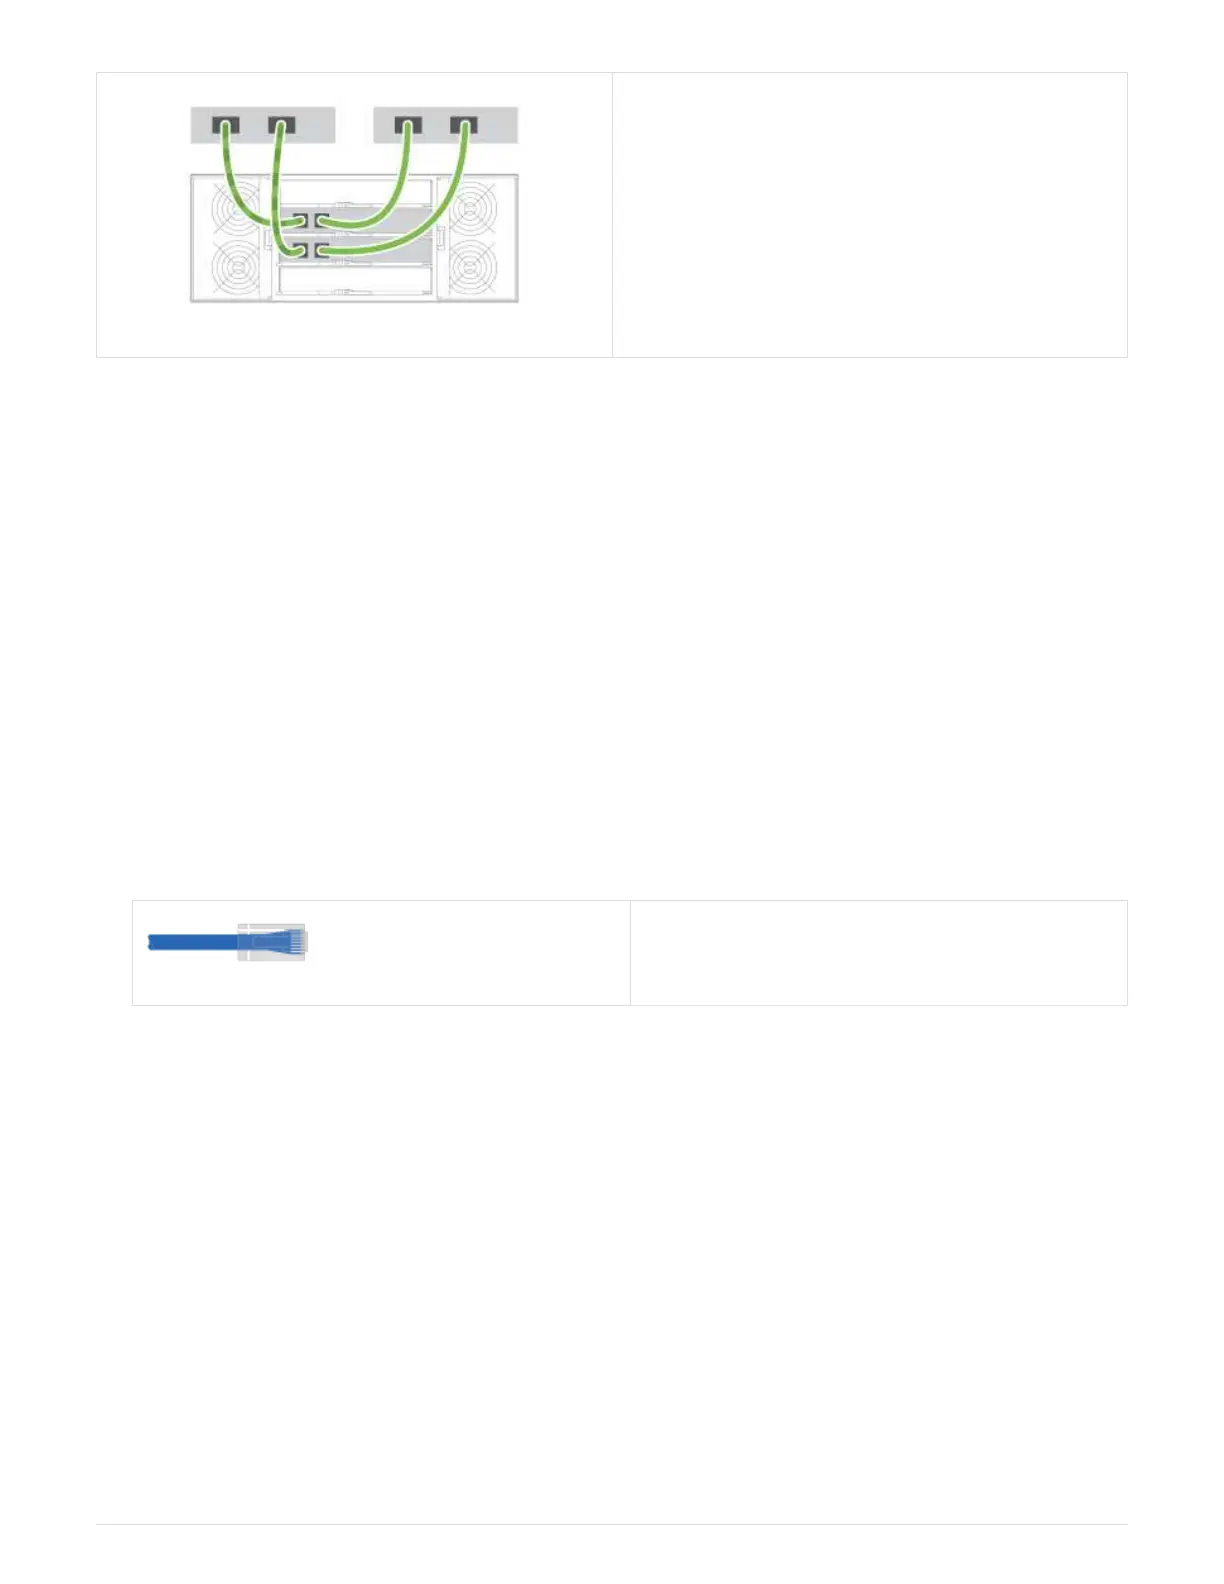
1. Connect an Ethernet cable to each controller’s management port, and connect the other end to your
network.
Ethernet cables (if ordered)
The following figures show examples of the controller’s management port location:
10
 Loading...


