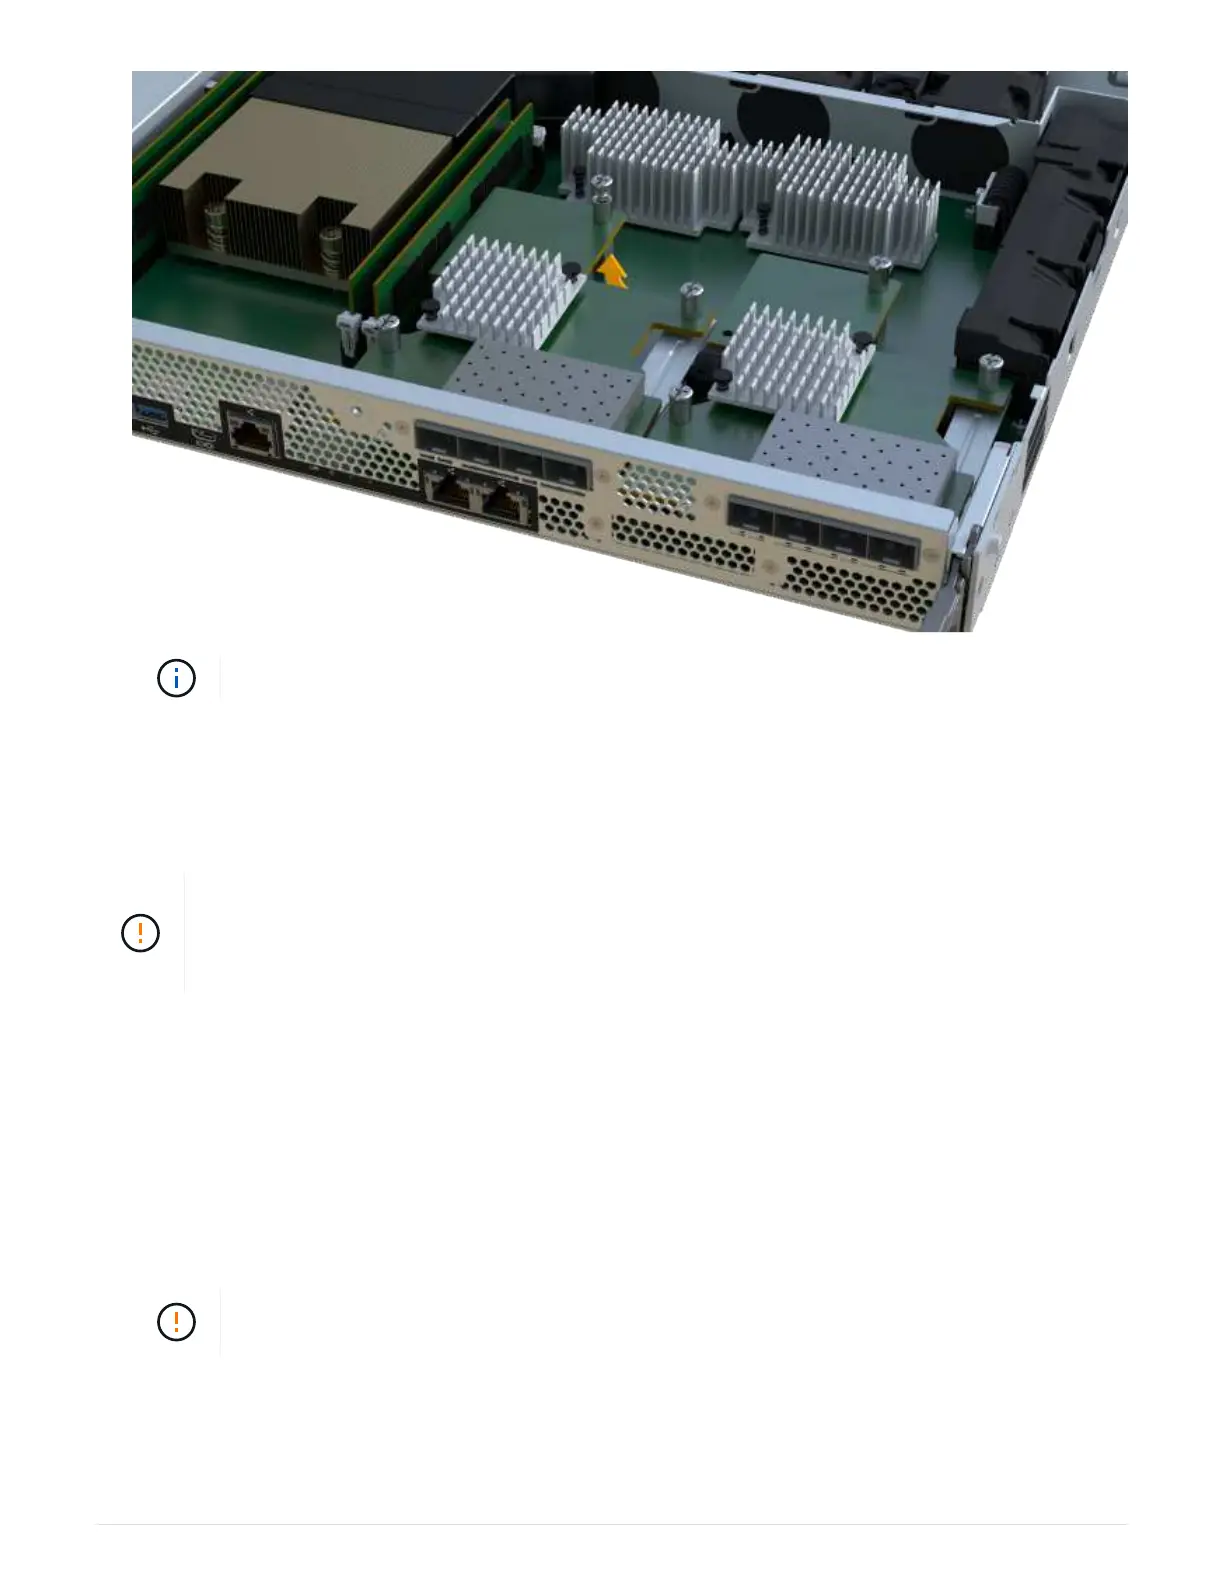
The image above is an example; the appearance of your HIC may differ.
7. Place the HIC on a flat, static-free surface.
Step 4: Replace the HIC
After removing the old HIC, install a new HIC.
Possible loss of data access — Never install a HIC in an EF300 or EF600 controller canister if
that HIC was designed for another E-Series controller. In addition, if you have a duplex
configuration, both controllers and both HICs must be identical. The presence of incompatible or
mismatched HICs causes the controllers to lock down when you apply power.
Steps
1. Unpack the new HIC and the new HIC faceplate.
2. Align the single thumbscrew on the HIC with the corresponding holes on the controller, and align the
connector on the bottom of the HIC with the HIC interface connector on the controller card.
Be careful not to scratch or bump the components on the bottom of the HIC or on the top of the controller
card.
3. Carefully lower the HIC into place, and seat the HIC connector by pressing gently on the HIC.
Possible equipment damage — Be very careful not to pinch the gold ribbon connector for
the controller LEDs between the HIC and the thumbscrew.
80
 Loading...


