Product ManualXG-7100-1U
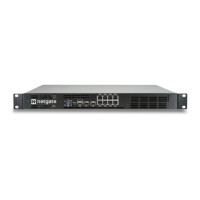
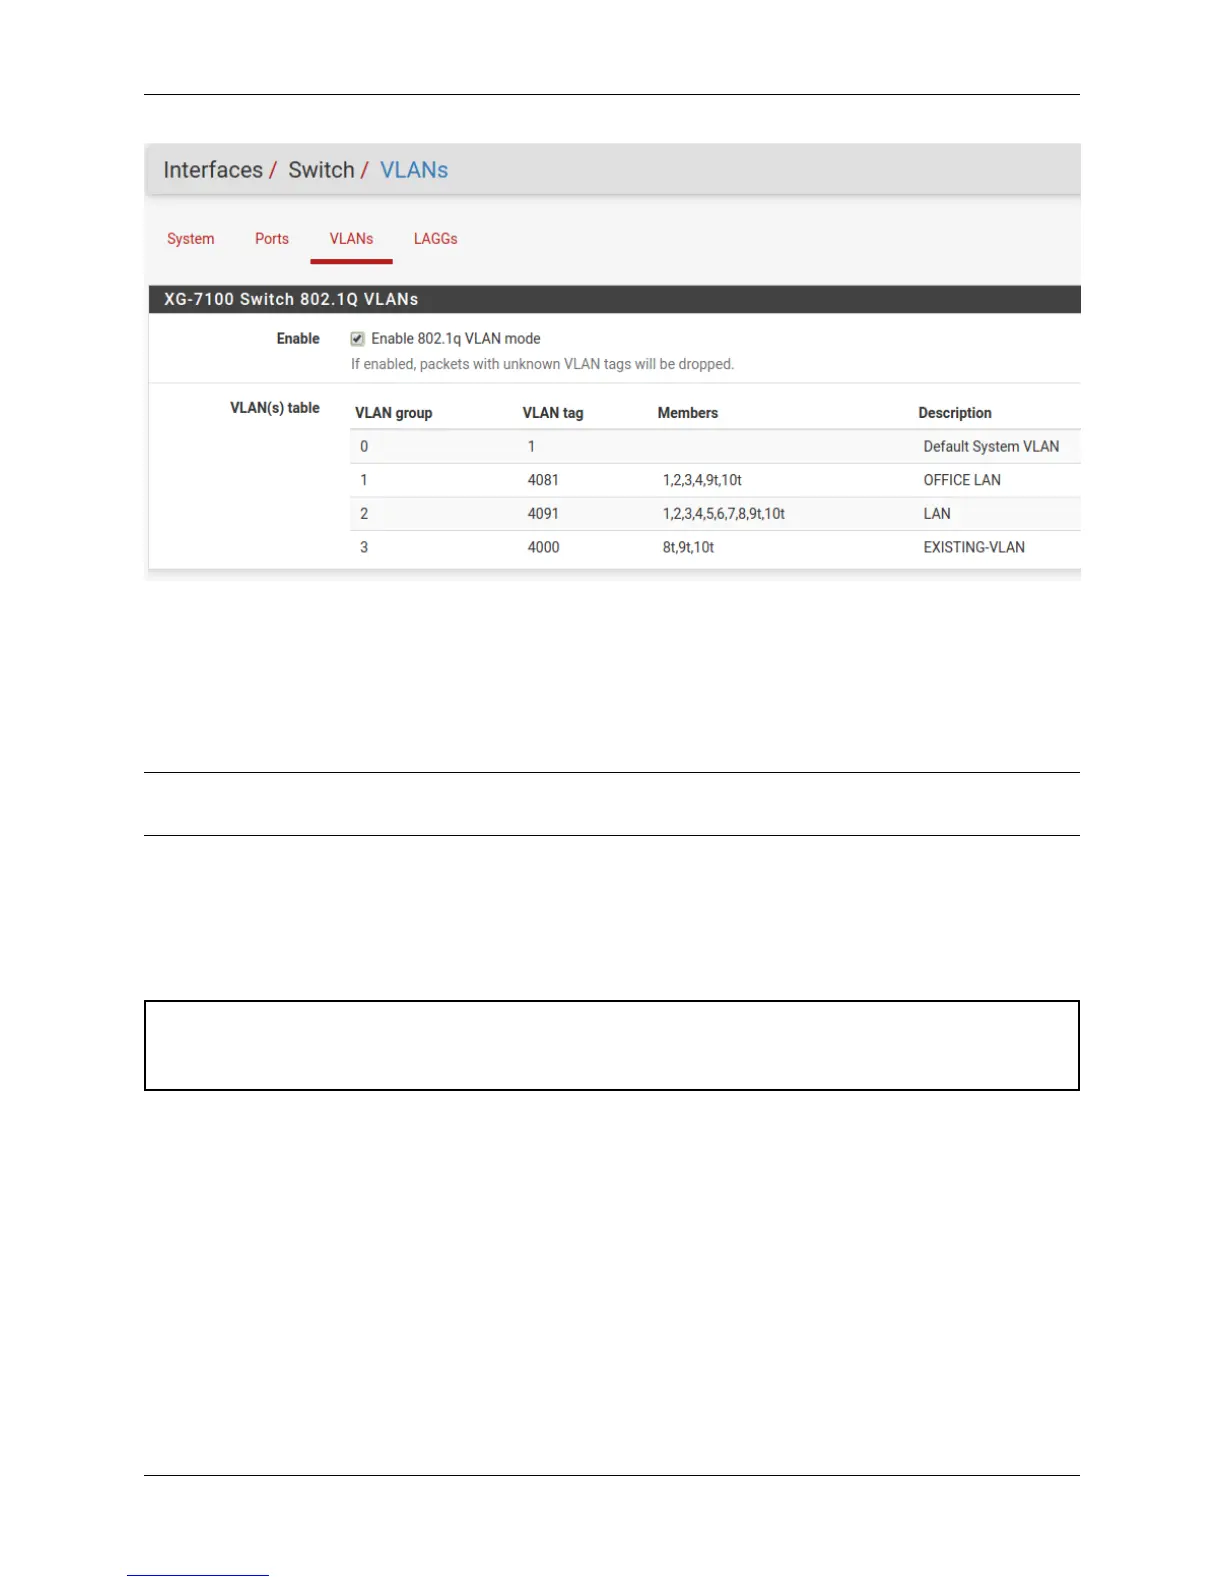
Untagged traffic on ETH8 will be assigned a VLAN ID of 4091. ETH8 and the uplinks will also accept traffic that has
already been tagged with a VLAN ID of 4000 as well.
1.3 Getting Started
Tip: Before configuring the pfSense appliance it is best to activate it by following the instructions at https://www.
netgate.com/register/.
The basic firewall configuration begins with connecting the pfSense appliance to the Internet. Neither the modem nor
the pfSense appliance should be powered up at this time.
Establishing a connection to the Internet Service Provider (ISP) starts with connecting one end of an ethernet cable to
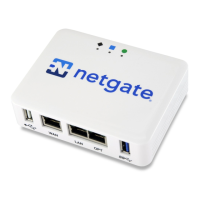
the WAN port (shown in the I/O Ports section) of the pfSense appliance.
Warning: The default LAN subnet on the firewall is 192.168.1.0/24. The same subnet cannot be used on
both WAN and LAN, so if the subnet on the WAN side of the firewall is also 192.168.1.0/24, disconnect the
WAN interface until the LAN interface has been renumbered to a different subnet.
The opposite end of the same ethernet cable should be inserted in to the LAN port of the ISP-supplied modem. The
modem provided by the ISP might have multiple LAN ports. If so, they are usually numbered. For the purpose of this
installation, please select port 1.
The next step is to connect the LAN port (shown in the I/O Ports section) of the pfSense appliance to the computer
which will be used to access the firewall console.
Connect one end of the second ethernet cable to the LAN port (shown in the I/O Ports section) of the pfSense appliance.
Connect the other end to the network connection on the computer. In order to access the web configurator, the PC
network interface must be set to use DHCP, or have a static IP set in the 192.168.1.x subnet with a subnet mask
of 255.255.255.0. Do not use 192.168.1.1, as this is the address of the firewall, and will cause an IP conflict.
1.3. Getting Started 23
 Loading...