Join a WiFi network using WPS
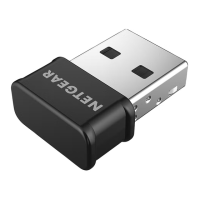
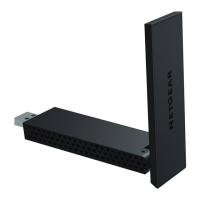
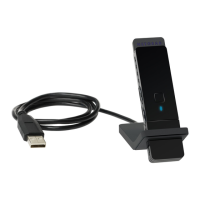
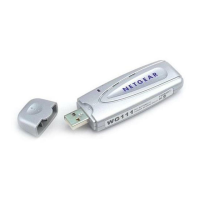
1. Insert the adapter into a USB port on your computer.
2. Press and hold the WPS button on the adapter for two seconds.
3. Within two minutes, press the WPS button on your WiFi router or gateway.
The adapter joins the WiFi network, which might take a few minutes. Your
settings are saved in a prole.
The adapter software allows you to connect the adapter to a WiFi network.
1. Visit https://www.netgear.com/support/download/?model=&model=A6100
and download the latest software le.
2. Unzip the les from the .zip le.
3. Double-click the le that ends in.exe and does not include Standalone in
the le name.
4. Follow the prompts to complete installation.
Install the adapter software Join a WiFi network
You can view the WiFi connection status using the adapter icon that displays in
your Windows system tray. To view details about the WiFi connection, open the
adapter software.
The color of the icon indicates the strength of your WiFi connection:
•
White: Strong connection
•
Yellow: Weak connection
•
Red: No connection
If you remove your adapter, the adapter software becomes unavailable and the
icon does not display. When you insert the adapter again, the icon returns.
View your connection status
The standalone driver allows you to use your computer’s built-in Windows WiFi
network settings to connect the adapter to a WiFi network instead of using the
adapter software.
1. Visit https://www.netgear.com/support/download/?model=&model=A6100
and download the latest software le.
2. Unzip the les from the .zip le.
3. Double-click the le that ends in.exe and includes Standalone in the le
name.
4. Follow the prompts to complete installation.
Install the standalone driver
You can join a WiFi network using the adapter software, your computer’s built-in
Windows WiFi network settings, or Wi-Fi Protected Setup (WPS) if your WiFi
router supports it.
Join a WiFi network using the adapter software
1. Make sure the adapter software is installed.
For more information, see Install the adapter software.
2. Insert the adapter into a USB port on your computer.
3. In the Windows system tray, click the
icon to launch the adapter software.
4. Click the Join a Network button.
5. Select a WiFi network.
6. Click the Connect button.
7. If the WiFi network is secure, enter its password or network key.
The adapter joins the WiFi network, which might take a few minutes.
Join a WiFi network using the built-in Windows WiFi
network settings
1. Make sure the standalone driver is installed.
For more information, see Install the standalone driver.
2. Insert the adapter into a USB port on your computer.
3. Open the WiFi network settings on your computer and select a WiFi network
to connect.
For more information about how to connect to a WiFi network using your
computer, see the Microsoft Windows support site.
 Loading...