7.
Line up the back of the switch (see the left figure) or the bottom of the switch (see
the right figure) with the bracket.
8. Insert the bracket’s lower locking tab and hook into the lower notch on the back or
bottom of the switch.
9. Insert the bracket’s upper locking tab and hook into the upper notch on the back or
bottom of the switch.
10. Click-attach the switch to the bracket.
Attach the switch to a pole or table leg
The switch comes with straps and a bracket. You can attach the straps to a pole or table
leg, attach the bracket to the straps, and click-attach the back or bottom of the switch
to the bracket.
To attach the switch to a pole or table leg:
1.
Peel the plastic cover off the adhesive squares on the rear of the bracket.
2. Attach the straps to the bracket by pulling the straps through the openings in the
bracket.
Hardware Installation Guide32Installation
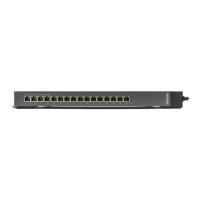
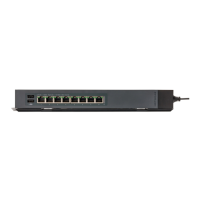
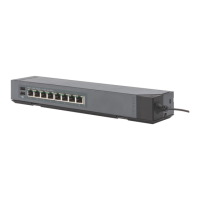
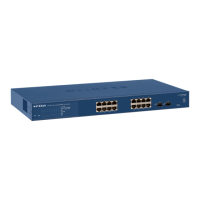
8-Port and 16-Port Gigabit Ethernet (PoE+) Smart Managed Plus Click Switch
 Loading...