4. Follow the steps displayed on screen to
complete installation.
NOTE: The installation program gives you the
option to disable other WiFi adapters. For best
performance, we recommend that you disable
other adapters.
5. Click Finish to exit the installation wizard.
Step 5: Join a WiFi network
1. Open the WiFi network settings on your
computer by right-clicking the WiFi icon
(
) or the No Internet Access icon ( )
displayed in the lower right corner of your
screen.
Step 1: Copy or download the
A7500 Installation Program le
Plug the supplied USB thumb drive into your
computer, then copy the A7500 installation
program le (A7500 Windows Installation
Program V1.x.x.xxx_x.x.xx.zip) to your
computer. After copying the installation
program le to your computer, remove the USB
thumb drive.
Instead of using the thumb drive, you can
also visit netgear.com/A7500-download and
download the A7500 installation program.
Step 2: Verify that Windows is
up-to-date
Make sure that your computer is running an up-
to-date version of Windows 10 or Windows 11.
For more information about updating Windows,
see Microsoft’s Update Windows support article.
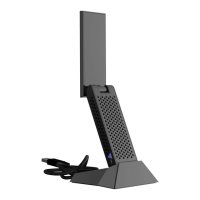
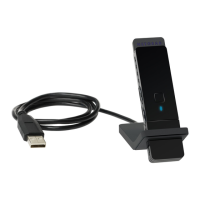
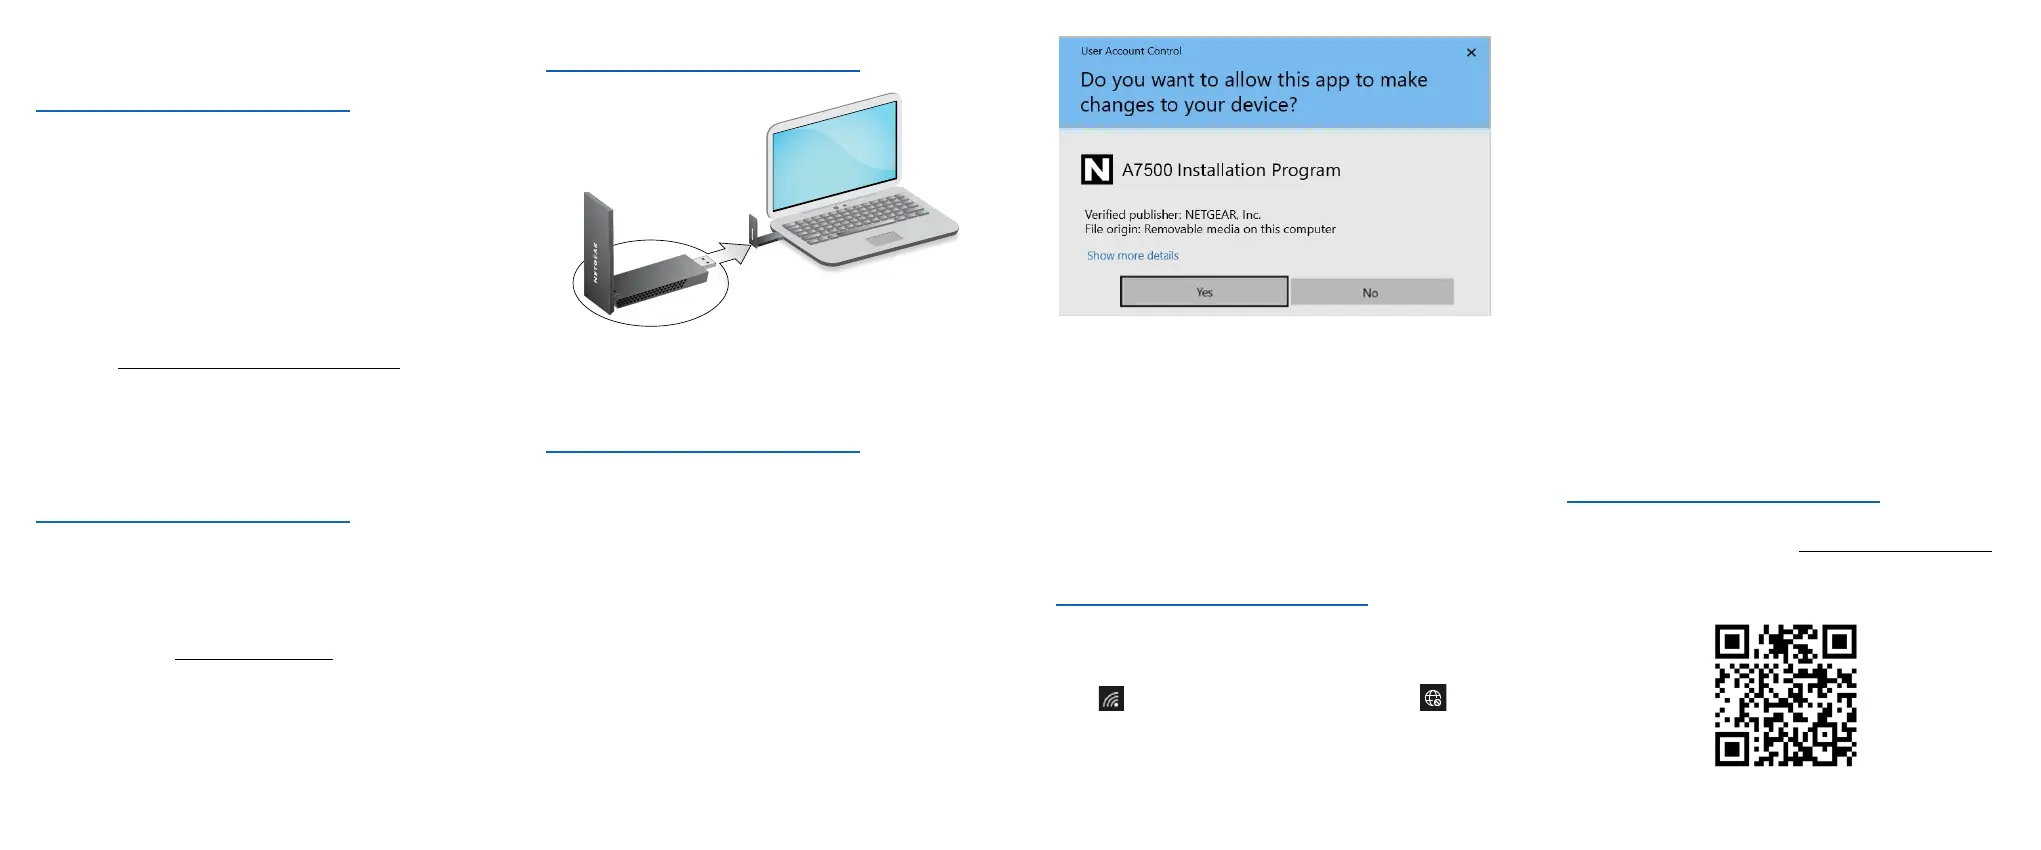
Step 3: Insert the adapter
Step 4: Run the A7500
Installation Program
1. Right-click the the A7500 installation
program le (A7500 Windows Installation
Program V1.x.x.xxx_x.x.xx.zip) that you
previously copied to your computer and
select Extract All.
2. Click Extract.
3. Double-click A7500 Windows Installation
Program V1.x.x.xxx_x.x.xx.exe to launch
the installation program.
NOTE: If a User Account Control window
appears that asks if you want to allow the app to
make changes to your device, select Yes.
2. (Windows 11 only) Click Manage Wi-Fi
connections (>), which is next to the WiFi
icon.
3. Select your network’s name.
4. Click Connect.
5. Enter the network security key (WiFi
password).
6. Click Next.
When you see the message “Connected,
secured”, setup is complete.
7. Press the ESC key or click on the desktop to
exit WiFi network settings.
Step 6: Register your A7500
Scan the QR code or visit netgear.com/register
to register your A7500 and receive the latest
driver updates and other information.
 Loading...