INTERNET INTERNET
1. Connect Your Orbi Router
a. Unplug your modem, remove and replace the backup battery if it uses one, and plug the
modem back in.
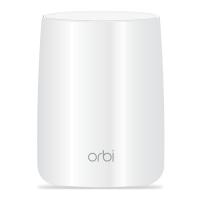
b. Place your Orbi router.
We recommend that you place your Orbi router in the middle of your house.
c. Use the included Ethernet cable to connect your modem to the yellow Internet port on
your Orbi router.
Note: If you want to connect your Orbi router to an existing gateway, we recommend
that you turn o your existing gateway’s WiFi.
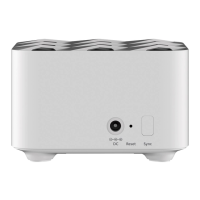
d. Connect your Orbi router to a power source.
The Power LED on the back of the Orbi router lights green. If the Power LED does not
light, press the Power On/O button.
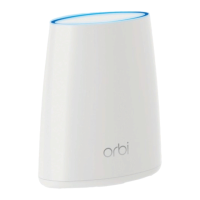
e. Wait for the Orbi router’s ring LED to light white.
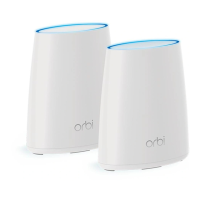
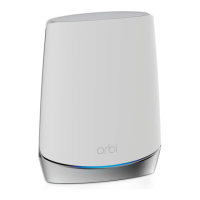
2. Place Your Orbi Satellites
a. Place your Orbi satellites in opposite corners of your house, but still within range of the
Orbi router.
If your house has multiple floors, place your Orbi satellites on dierent floors.
b. Connect an Orbi satellite to a power source.
The Power LED on the back of the Orbi satellite lights green. If the Power LED does not
light, press the Power On/O button.
The Orbi satellite’s ring LED lights white while the satellite attempts to sync with the
Orbi router.
Modem
2. Place Your Orbi Satellites (Continued)
3. Set Up Your Orbi Network
Quick Start Guide
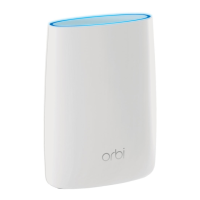
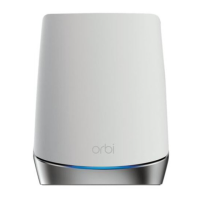
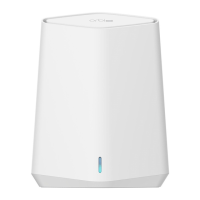
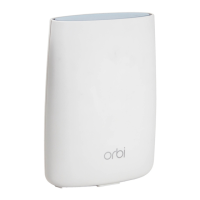
Orbi router
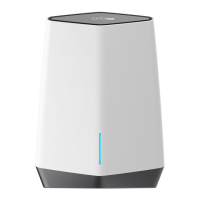
Orbi satellite
Orbi satellite
Aer the Orbi satellite’s ring LED lights white, it lights one of the following colors for about
three minutes and then turns o:
Blue
The connection between the Orbi router and Orbi satellite is good.
Amber
The connection between the Orbi router and Orbi satellite is fair. Consider moving
the Orbi satellite closer to the Orbi router.
Magenta
The Orbi satellite was unable to connect to the Orbi router. Move the Orbi satellite
closer to the Orbi router.
Note: If the ring LED still lights magenta aer about one minute, press the Sync
button on the back of the Orbi router and on the back of the Orbi satellite. If the Orbi
satellite successfully syncs with the Orbi router, the satellite’s ring LED lights white
then lights blue to indicate a good connection, and then turns o.
Repeat these steps to connect the second Orbi satellite.
a. Connect your computer or mobile device to the Orbi router or satellites with an
Ethernet or WiFi connection:
• Ethernet. Use an Ethernet cable to connect your computer to the Orbi router or
satellites.
• WiFi. Use the preassigned WiFi network name (SSID) and password on the label of
the Orbi router or satellites to connect to the Orbi WiFi network.
b. Set up your network using one of the following options:
• NETGEAR Orbi app. Download the NETGEAR Orbi app on your mobile device. You
can scan a QR code on the other side of this quick start guide to get the app. Launch
the app and follow the onscreen instructions.
• Web browser. Launch a web browser and visit orbilogin.com. If a login window
opens, enter the user name and password. The user name is admin and the default
password is password. Follow the onscreen instructions.
The Orbi router’s ring LED turns o aer the setup is complete.