Manage Storage Space
20
ReadyNAS Duo, NV+, and 1100
5. Highlight your system and click the Setup button.
The ReadyNAS Volume Setup screen displays.
6. Select the Flex-RAID radio button.
If you do not pick a format within 10 minutes, your system reboots in the same mode that
it was previously using.
7. From the Select the desired RAID level drop-down list, select a RAID level.
If you select Auto, your ReadyNAS system automatically selects a RAID level based on
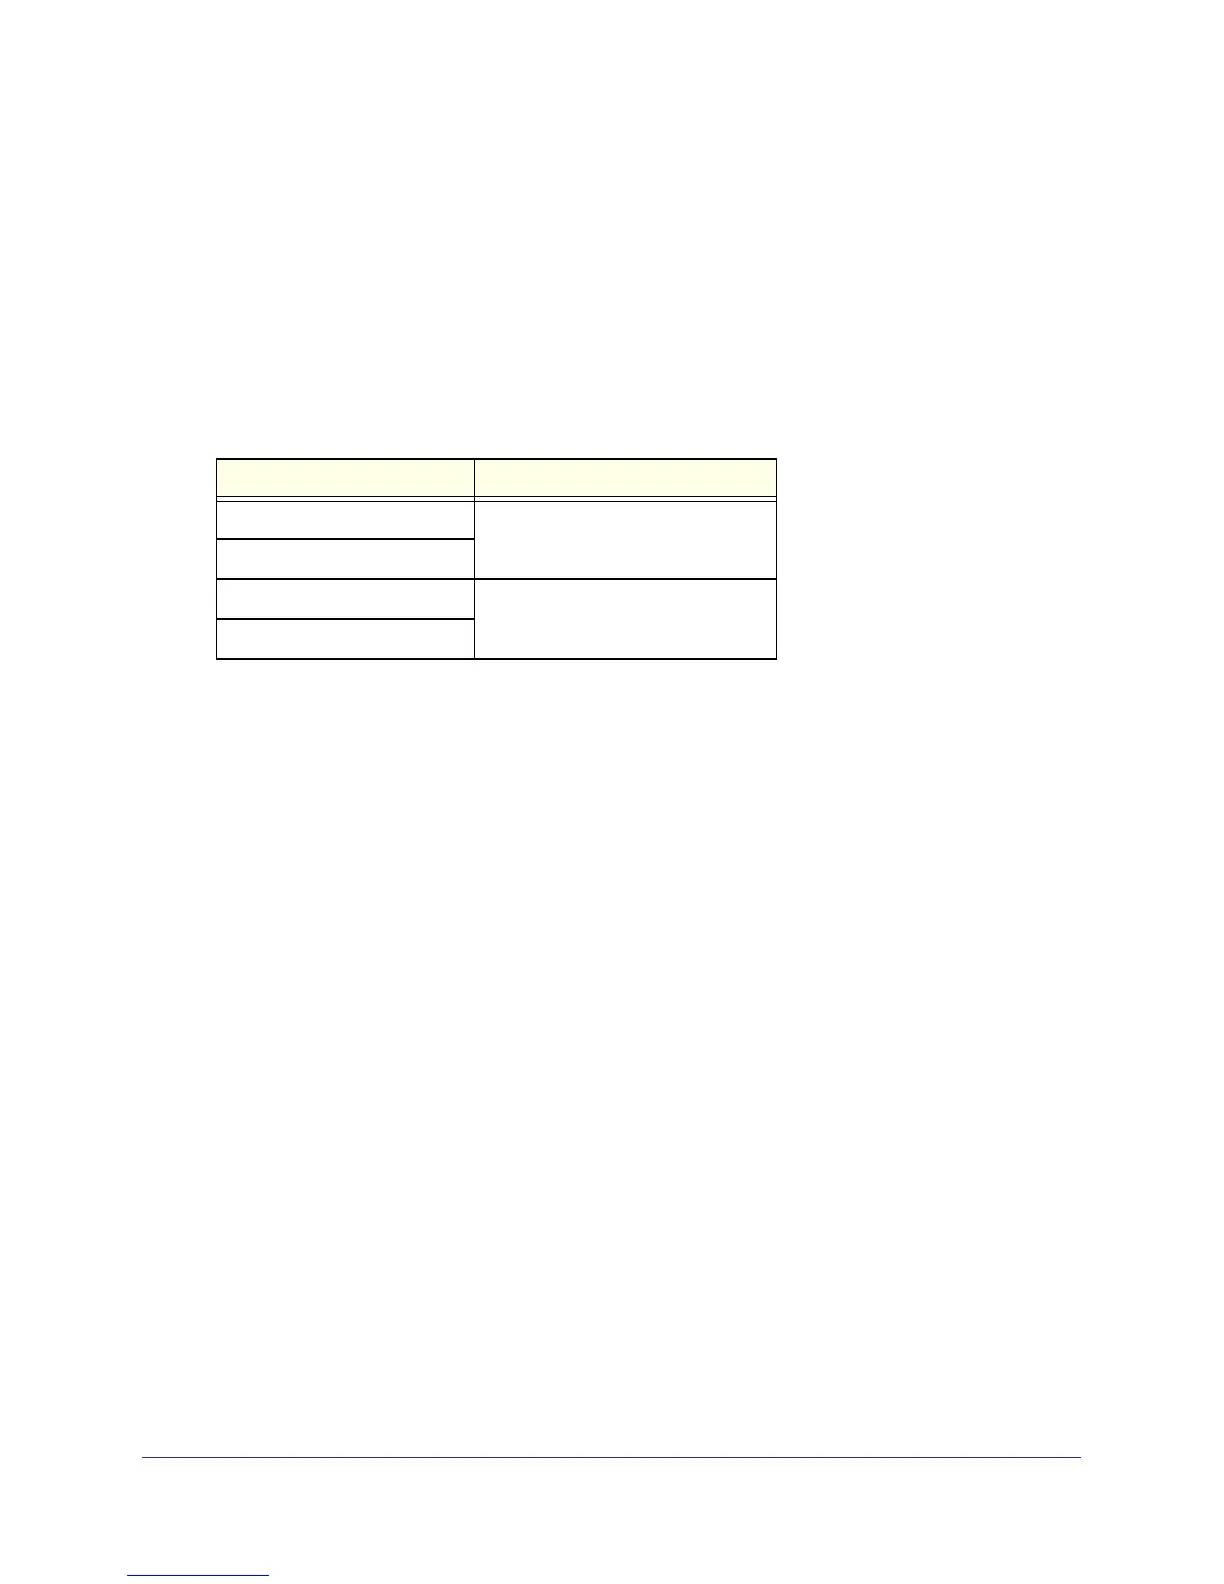
the number of disks that are installed in your system, as follows:
Number of installed disks RAID level automatically selected
1 RAID 1
2
3 RAID 5
4
8. Click the Next button.
You are prompted to confirm the volume creation command.
9. Confirm the command.
The volume is formatted. This can take quite a while, depending on the size of your hard
disk drives.
10. (Optional) Restore any backed-up data and settings.
For more information about restoring files, see Recover Backed-up Data on page 86. For
more information about restoring settings, see Back Up and Restore Settings on page 98.
Create a Volume
You can create up to four data volumes. Each disk can have up to two data partitions.
To create a volume:
1. From the FrontView main menu, select Volumes > Volume Settings.
2. If it is not already selected, click the Add Volumes tab.
3. Select the check box to the left of each disk that you want to include
in the RAID set.
4. From the Select RAID level drop-down list, select a RAID level.
 Loading...