Get Started
9
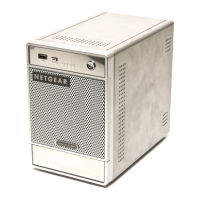
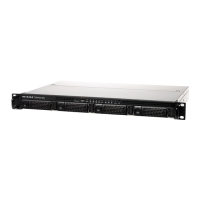
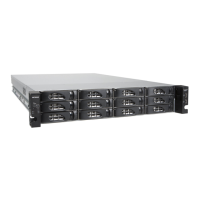
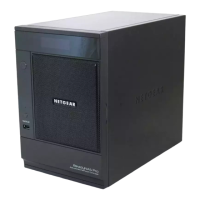
ReadyNAS Duo, NV+, and 1100
• Standard File Protocols. Choose the protocols used to make the files available to
users. For more information, see
Store Files on page 39.
• Streaming Services. If you want to stream multimedia files from your ReadyNAS
system to other devices on your network, choose how to do it. For more information,
see
Stream Multimedia Files on page 69.
• Installed Addons. Choose whether to use ReadyNAS Photos and ReadyNAS
Remote. ReadyNAS Photos lets you share your photographs with others. ReadyNAS
Remote lets you access your files from a computer that is not on the local network.
For more information about add-ons, see
Manage Add-Ons on page 99. For more
information about ReadyNAS Photos, see Share Photos With ReadyNAS Photos on
page 75. For more information about ReadyNAS Remote, see Access a Share Using
ReadyNAS Remote on page 66.
• Share List and Add Shares. Create the shares that contain the files you want others
to access. Your system comes with two shares already created: media and backup.
For more information, see
Store Files on page 39.
• USB Printers. If you connect a printer to the USB port of your ReadyNAS system,
you can configure it here. For more information, see
Set Up a Printer on page 90.
Pay special attention to the Admin Password and Security Mode screens. Choose a
different admin password from the default password. If you have a ReadyNAS NV+ or
1100, change the security mode because share mode, which is the default mode, is not
compatible with recent versions of Mac OS X and Windows.
At any time, you can exit the Setup Wizard by clicking the Switch to Advanced Control
button. You can set the options included in these screens later.
10. (Optional) Click the Register Product button and follow the prompts to register your
ReadyNAS system.
You must register your storage system before you can use NETGEAR telephone support.
 Loading...