September 2017
© NETGEAR, Inc., NETGEAR and the NETGEAR Logo
are trademarks of NETGEAR, Inc. Any non‑NETGEAR
trademarks are used for reference purposes only.
NETGEAR, Inc.
350 East Plumeria Drive
San Jose, CA 95134, USA
NETGEAR INTL LTD
Building 3, University Technology Centre
Curraheen Road, Cork, Ireland
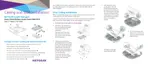
Open a web browser. In the address bar, enter
www.routerlogin.net (or www.aplogin.net), which you can use
only during the initial setup of the access point.
The Day Zero Easy Setup page displays.
Select the Management Mode Standalone radio button.
The page adjusts so that you can specify the basic settings, including
the country of operation
1
, time zone, the password to log in to the
access point, and the WiFi network name (SSID) and password to
connect to the WiFi network.
Aer you save these basic settings, the Day Zero Easy Setup page no
longer displays when you log in.
• Method 3: Log in over Ethernet. Open a web browser from a
computer that is connected to the same Ethernet subnet as the
access point or to the access point’s LAN port directly through an
Ethernet cable.
In the address bar, enter the IP address of the access point.
Note: If the access point is connected to a network that includes a DHCP
server (or router that functions as a DHCP server), you can determine the
IP address by using an IP network scanner. Otherwise, the default IP address
of the access point is 192.168.0.100.
2
The Day Zero Easy Setup page displays.
Select the Management Mode Standalone radio button.
The page adjusts so that you can specify the basic settings, including
the country of operation
1
, time zone, the password to log in to the
access point, and the WiFi network name (SSID) and password to
connect to the WiFi network.
Aer you save these basic settings, the Day Zero Easy Setup page no
longer displays when you log in.
1. Make sure that the country is set to the location where the device is operating. The customer
is responsible for complying within the local, regional, and national regulations set for channels,
power levels, and frequency ranges.
2. If you use an Ethernet cable from your computer to the access point’s LAN port and the access
point functions with its default IP address, make sure that the IP address of your computer is in the
192.168.0.x subnet, with a subnet mask of 255.255.255.0 and a default gateway IP address of
192.168.0.1.
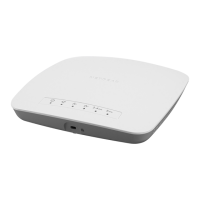
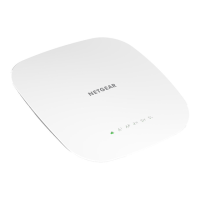
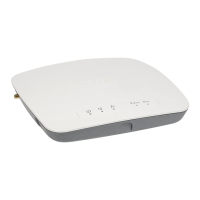
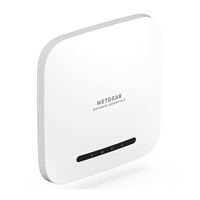
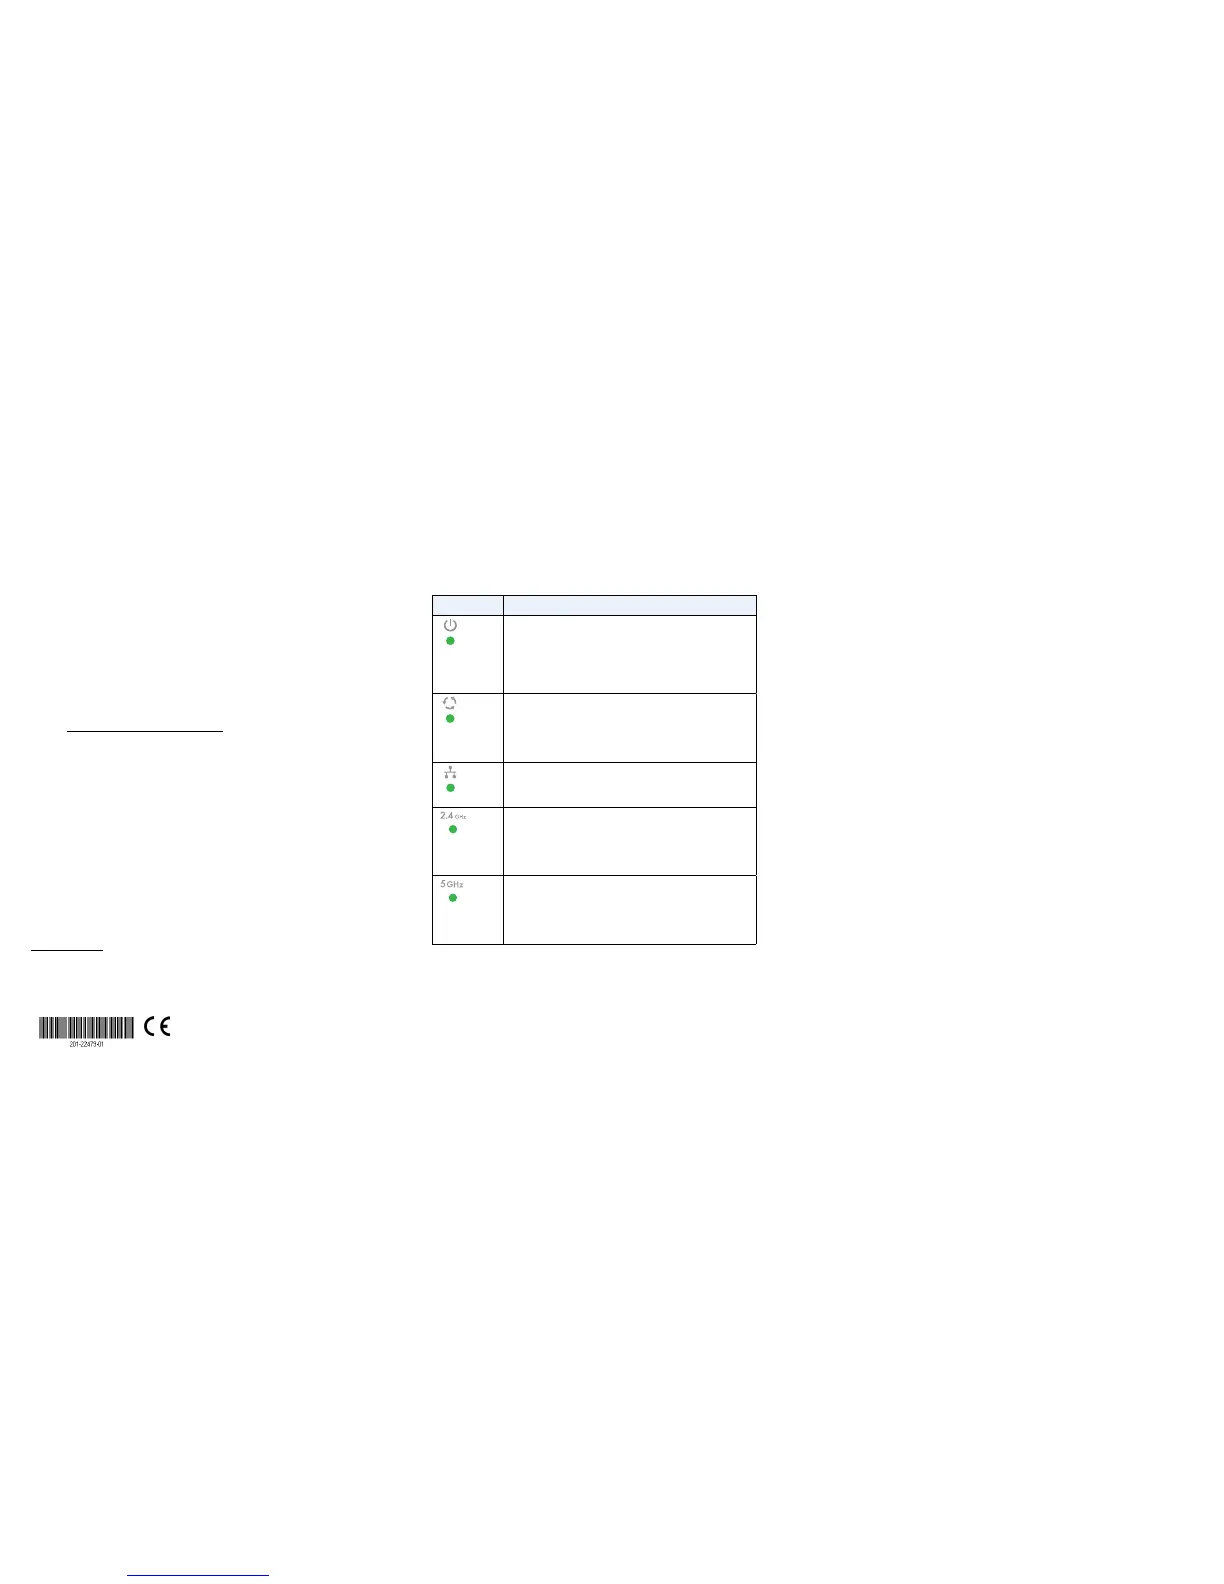
Check the Status
LED Description
Power LED
•O. Power is o.
•Solid green. Power is on and the access point is ready.
•Solid amber. During startup, the Power LED lights solid amber.
If aer five minutes the LED remains solid amber, a boot error
occurred.
•Fast blinking amber. A firmware update is in progress.
Activity LED
•O. No link with the network is detected.
•Solid green. A link with the network is detected.
•Blinking green. Network trac is detected.
•Solid blue. The access point functions in Insight management
mode but is not connected to the cloud.
LAN LED
•O. No Ethernet link is detected.
•Solid amber. A 10/100 Mbps Ethernet link is detected.
•Solid green. A 1000 Mbps Ethernet link is detected.
2.4G WLAN LED
•O. The 2.4 GHz WiFi radio is o.
•Solid green. The 2.4 GHz WiFi radio is on.
•Solid blue. One or more WLAN clients are connected to the
2.4 GHz radio.
•Blinking blue. WLAN trac is detected on the 2.4 GHz radio.
5G WLAN LED
•O. The 5 GHz WiFi radio is o.
•Solid green. The 5 GHz WiFi radio is on.
•Solid blue. One or more WLAN clients are connected to the
5 GHz radio.
•Blinking blue. WLAN trac is detected on the 5 GHz radio.
For more information about the LEDs, see the NETGEAR Insight Managed
Smart Cloud Wireless Access Point (WAC505) User Manual, which you can
download from downloadcenter.netgear.com/.
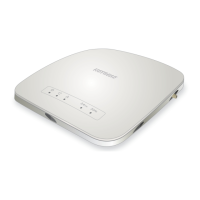
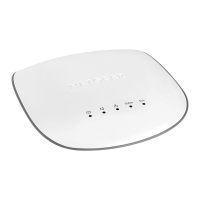
Deploy the Access Point
The best location for the access point is elevated, such as mounted on a wall
or ceiling, at the center of the WiFi coverage area, and within line of sight of all
mobile devices.
For information about mounting the access point, see the NETGEAR Insight
Managed Smart Cloud Wireless Access Point (WAC505) Ceiling and Wall
Installation Guide, which you can download from downloadcenter.netgear.com/.
¾ To deploy the access point:
1. Disconnect the access point and position it where you will deploy it.
2. Reconnect the access point.
For more information, see Check the Status.
Using a mobile or WiFi device, verify connectivity by connecting to the access
point and using a browser to connect to the Internet.
Support
Thank you for purchasing this NETGEAR product. You can visit
www.netgear.com/support to register your product, get help, access the latest
downloads and user manuals, and join our community. We recommend that you
use only ocial NETGEAR support resources.
Si ce produit est vendu au Canada, vous pouvez accéder à ce document en français
canadien à http://downloadcenter.netgear.com/other/.
(If this product is sold in Canada, you can access this document in Canadian-French at
http://downloadcenter.netgear.com/other/.)
For the current EU Declaration of Conformity, visit
http://support.netgear.com/app/answers/detail/a_id/11621/.
For regulatory compliance information, visit
http://www.netgear.com/about/regulatory/.
See the regulatory compliance document before you provide power to the
access point.
 Loading...