7
The location that you choose must be within the range of your
existing WiFi router network.
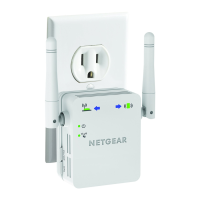
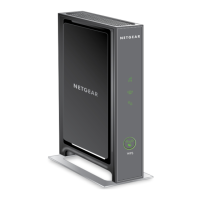
4. Plug the extender into an electrical outlet and wait for the Power LED
to light green.
5. Use the Router Link LED on the front panel to help you choose a
spot where the extender-to-router connection is optimal.
6. If the Router Link LED doesn’t light amber or green, plug the extender
into an outlet closer to the router and try again.
Keep moving the extender to outlets closer to the router unti lthe
Router Link LED lights amber or green.
7. On your computer or WiFi device, find and connect to the new
extended WiFi network.
The extender creates a new extended WiFi network. The extender’s
new WiFi network names are based on your existing WiFi network
name, with _EXT at the end of the name.
For example:
• Existing WiFi network name. MyNetworkName
• New extended WiFi network name. MyNetworkName_EXT.
Use the same WiFi password that you use for your WiFi router.
8. Test the extended WiFi range by moving your computer or WiFi device
to the area with a poor router WiFi signal:
 Loading...