EasyManuals Logo

NETGEAR WN3100RP Installation

NETGEAR WN3100RP
20 pages
To Next Page IconTo Next Page
To Previous Page IconTo Previous Page
Page #12 background imageLoading...
Page #12 background image
12
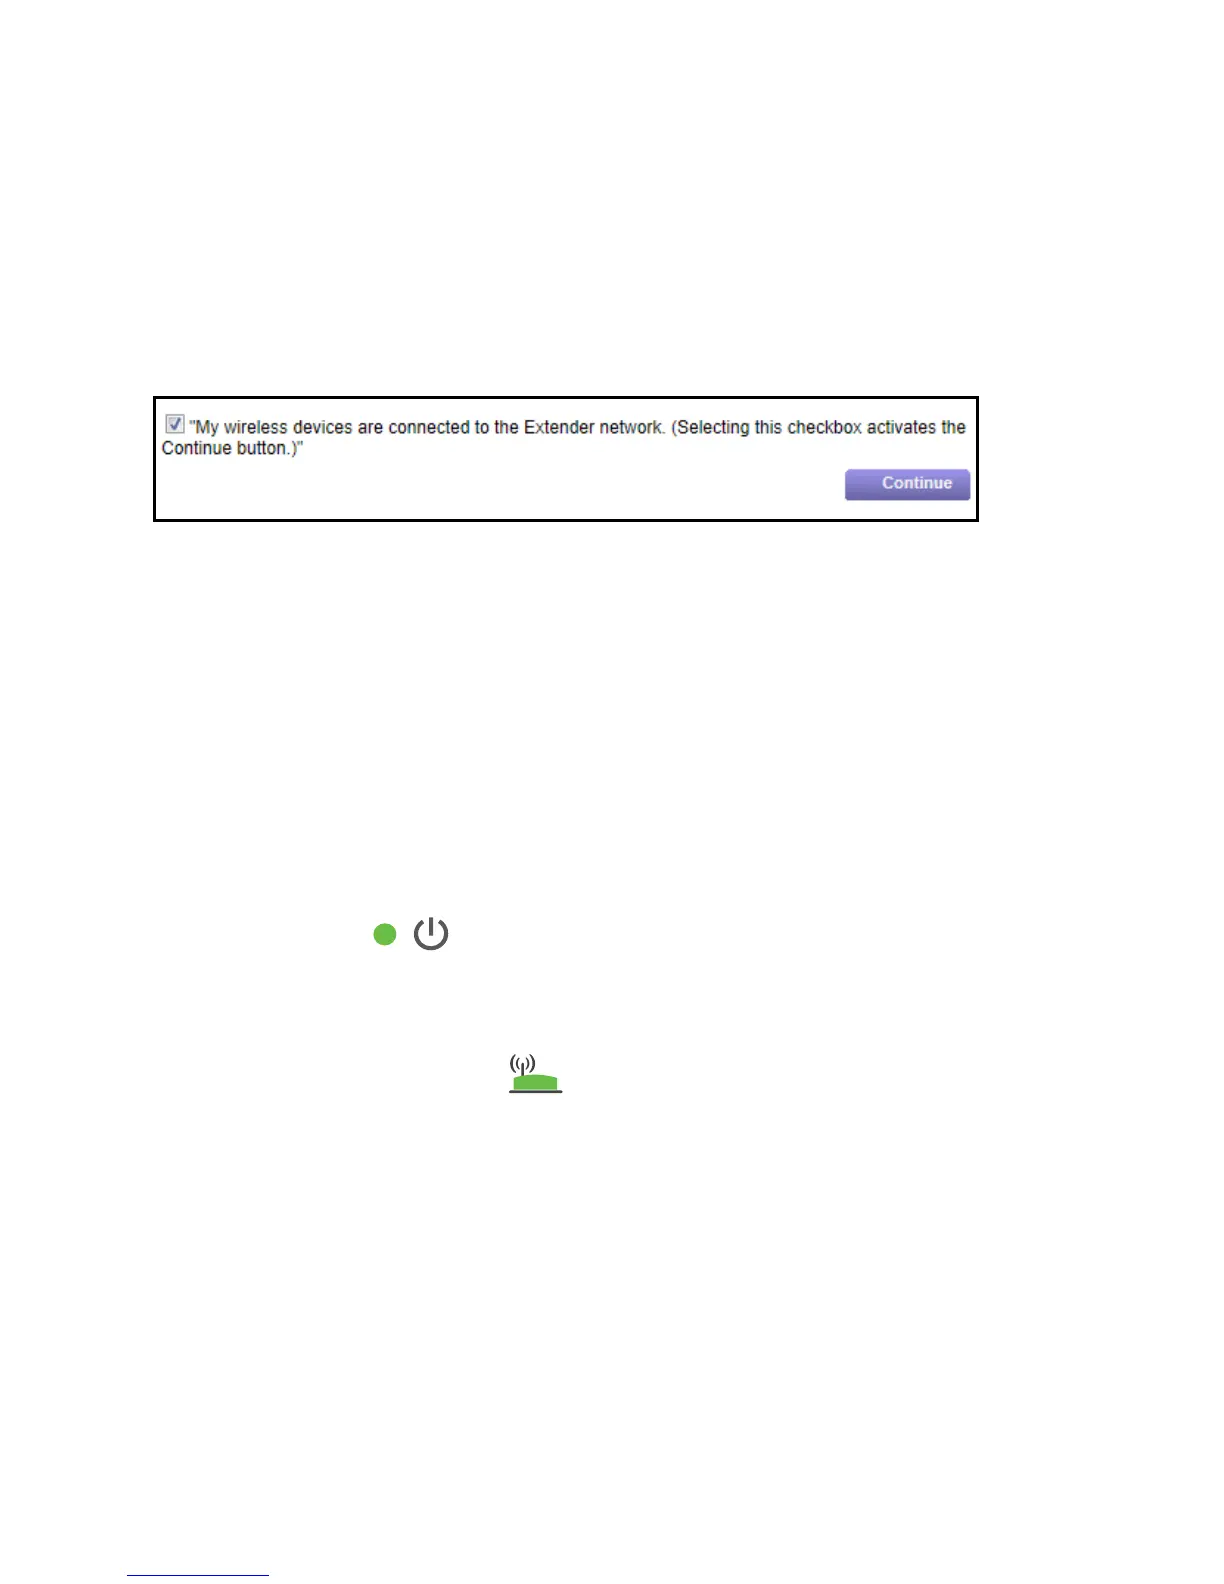
7. If the screen is still displayed on your computer or WiFi device, select
the check box at the bottom of the screen and click the Continue
button.
A message displays confirming that the extender is connected to the
WiFi network.
8. Click the Finish button.
9. Unplug the extender and move it to a new location closer to the area
with a poor WiFi signal.
The location that you choose must be within the range of your
existing WiFi router network.
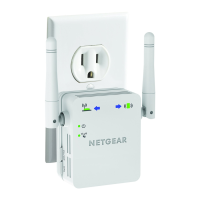
10. Plug the extender into an electrical outlet.
The Power LED lights green. If the Power LED does not light,
slide the Device On/O switch on the side of the extender to the On
position.
Use the Router Link LED to help you choose a spot where the
extender-to-router connection is optimal.

Other manuals for NETGEAR WN3100RP

Questions and Answers:

Question and Answer IconNeed help?

Do you have a question about the NETGEAR WN3100RP and is the answer not in the manual?

NETGEAR WN3100RP Specifications

General IconGeneral
TypeNetwork transmitter
Maximum transfer distance- m
Windows operating systems supportedYes
Product colorWhite
Bandwidth2.4 GHz
Cabling technology10/100Base-T(X)
Security algorithmsWEP, WPA2-PSK, WPS
Networking standardsIEEE 802.11b, IEEE 802.11g, IEEE 802.11n
Ethernet LAN (RJ-45) ports1
Weight and Dimensions IconWeight and Dimensions
Depth32.5 mm
Width55 mm
Height114 mm
Weight175 g

Related product manuals