Got Questions? Let Us Help! Email
SUPPORT@NEUMITECH.COM
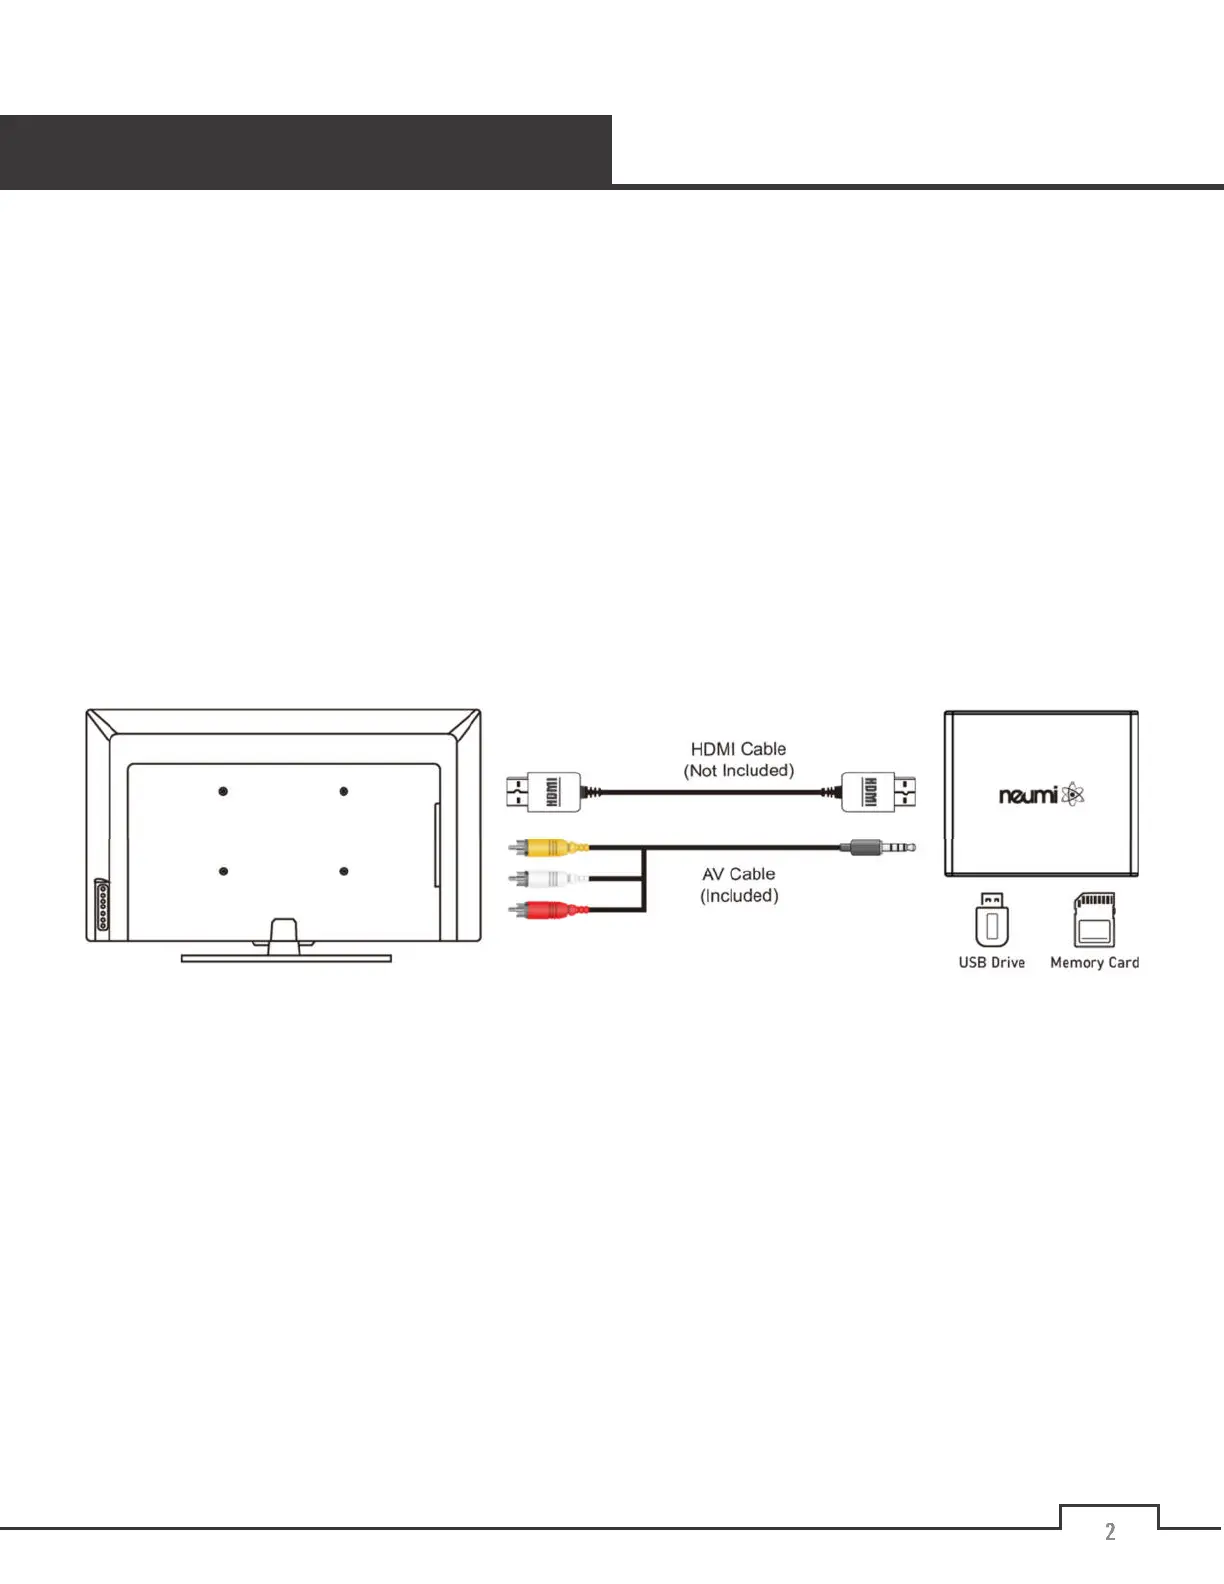
SETUP AND CONNECTIONS
Getting The Media Player Ready for Use
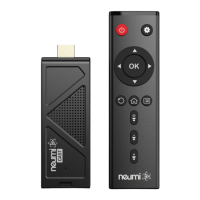
In the package are your new media player, an AC power adapter, a remote control, an AV cable, and this
user’s manual. To get your media player connected for use:
• Connect the media player to your TV using an HDMI cable (not included) or the included analog AV
cable. It is possible to set the media player to send video via HDMI to your TV while sending the audio
out via AV cable to a stereo system. When connecting to a 4K TV using HDMI, be sure to use an HDMI
2.0 cable
• Turn on your TV and set it to the appropriate input source where the media player is connected.
• Connect the AC adapter for the media player – it will turn on automatically. Ta-da!
• Install two AAA batteries (not included) into the remote control.
That’s it! Now all you need to do is load some videos onto a Micro SD card or USB drive (not included) and
begin enjoying your new media player.
Note:
By default, the media player will detect and use the highest resolution supported by the TV and HDMI
cable it is connected to. The
Display Resolution
setting in the settings menu can be used to check and adjust
the output resolution. If the media player is not sending a 4K video signal, make sure the TV’s HDMI input
supports 4K and the HDMI cable is version 2.0 or higher. Some TVs support 3840x2160 at 60Hz but 4096x2160
at only 30Hz – if your TV behaves this way, manually set the media player’s
Display Resolution
to 3840x1060
60Hz for the best video quality.