■ 8
│
GB
│
IE
│
NI SMD 24 A1
4. Push the appliance onto the screws 8 so that the screws 8 enter into the hangers 6
on the back side of the appliance. Then press the appliance downward so that the
screws
8 slide into the rails of the hangers 6 and the appliance rests firmly on the
screws
8.
5. Slide the locking pin
7 upwards until it audibly engages with the hanger 6.
6. Plug the mains plug of the power cable
q into a socket.
Handling and operation
Attaching/removing nozzle attachments
NOTE
► If used daily, replace the nozzle attachments
2 after no more than six months.
► Use only original nozzle attachments
2. Information on ordering replacement
nozzle attachments 2 can be found in the section Ordering replacement parts.
♦ Make certain that the appliance is switched off before attaching or removing the
nozzle attachment 2.
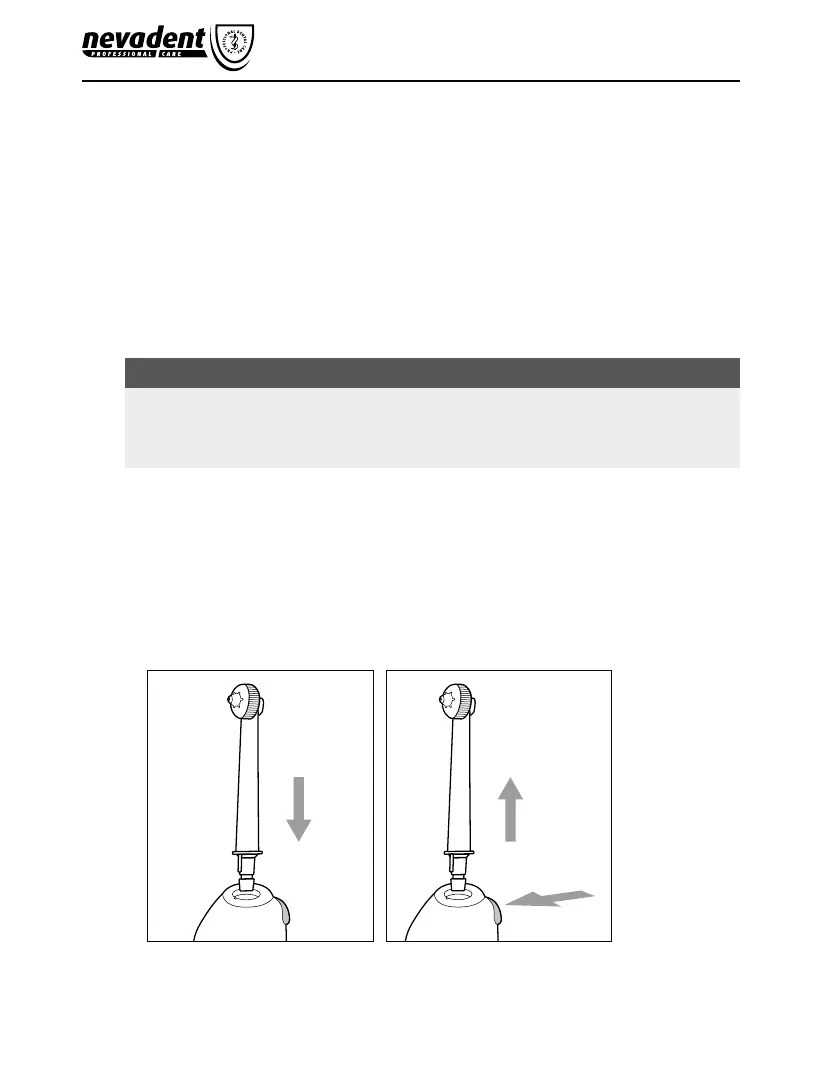
♦ Fit a nozzle attachment
2 onto the hand unit 4. Press the nozzle attachment 2
into the opening until the nozzle attachment 2 audibly engages in the hand unit 4.
Ensure that the guide tab on the lower end of the nozzle attachment 2 is aligned
with the corresponding groove in the opening on the hand unit 4 (see Fig. 2).
♦ To remove the nozzle attachment
2, press the release button 0 on the hand unit 4
and then pull the nozzle attachment 2 out of the hand unit 4 (see Fig. 3).
Click
1.
2.
Fig. 2 Fig. 3
 Loading...