Example:
For this example we'll assume that a lower threshold has been set to 2
lbf and the upper threshold has been set to 5 lbf:
If we were to apply a load force of say 1.5 lbf, then the yellow LED will
signal to us that the applied load has fallen below our test range
settings, resulting in a failure.
If we were to apply a load force of 6 lbf then the red LED will signal to
us that the applied load is greater than our test range settings, also
resulting in a failure.
If we were to apply a load of any force between our two range values,
for example 4 lbf, then the green LED will signal that the load has
successful fallen within our upper and lower limits, resulting in a PASS.
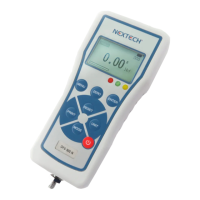
Example LOWER LEVEL = 0 lbf, UPPER LEVEL = 5 lbf.
Load
The “UPPER” LED will ON. Another LED OFF.
Upper level
The “OK” LED will ON. Another LED OFF.
Time
Figure 6a
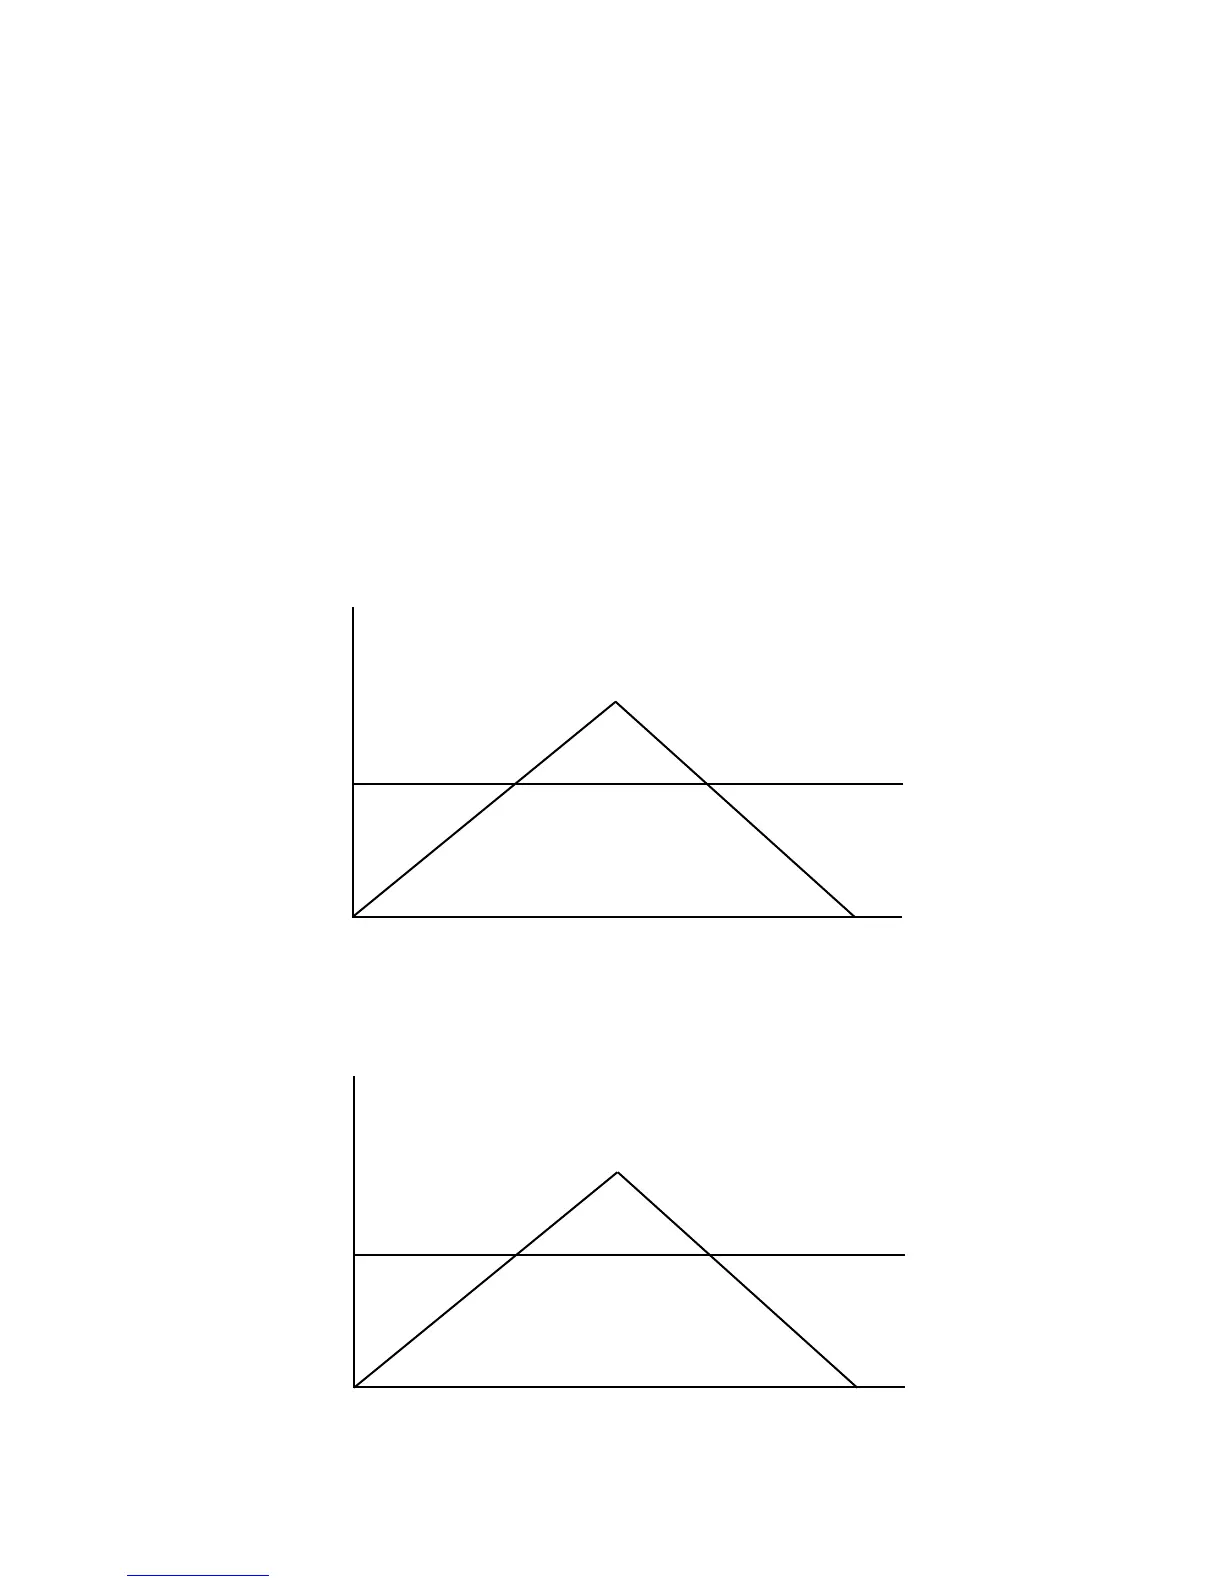
Example LOWER LEVEL = 2 lbf, UPPER LEVEL = 0 lbf.
Load
The “OK” LED will ON. Another LED OFF.
Lower level
The “LOWER” LED will ON. Another LED OFF.
Time
Figure 6b