20
Receiver programming and setup.
Seng up a new user: - Quick learn method.
(Corresponding 4 funcon learn opon)
Receiver Setup
From Standby status
- “Selected” mode -
- Standby
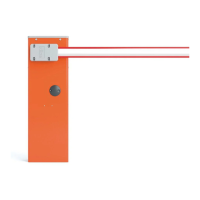
The barrier can be in any posion when performing this roune.
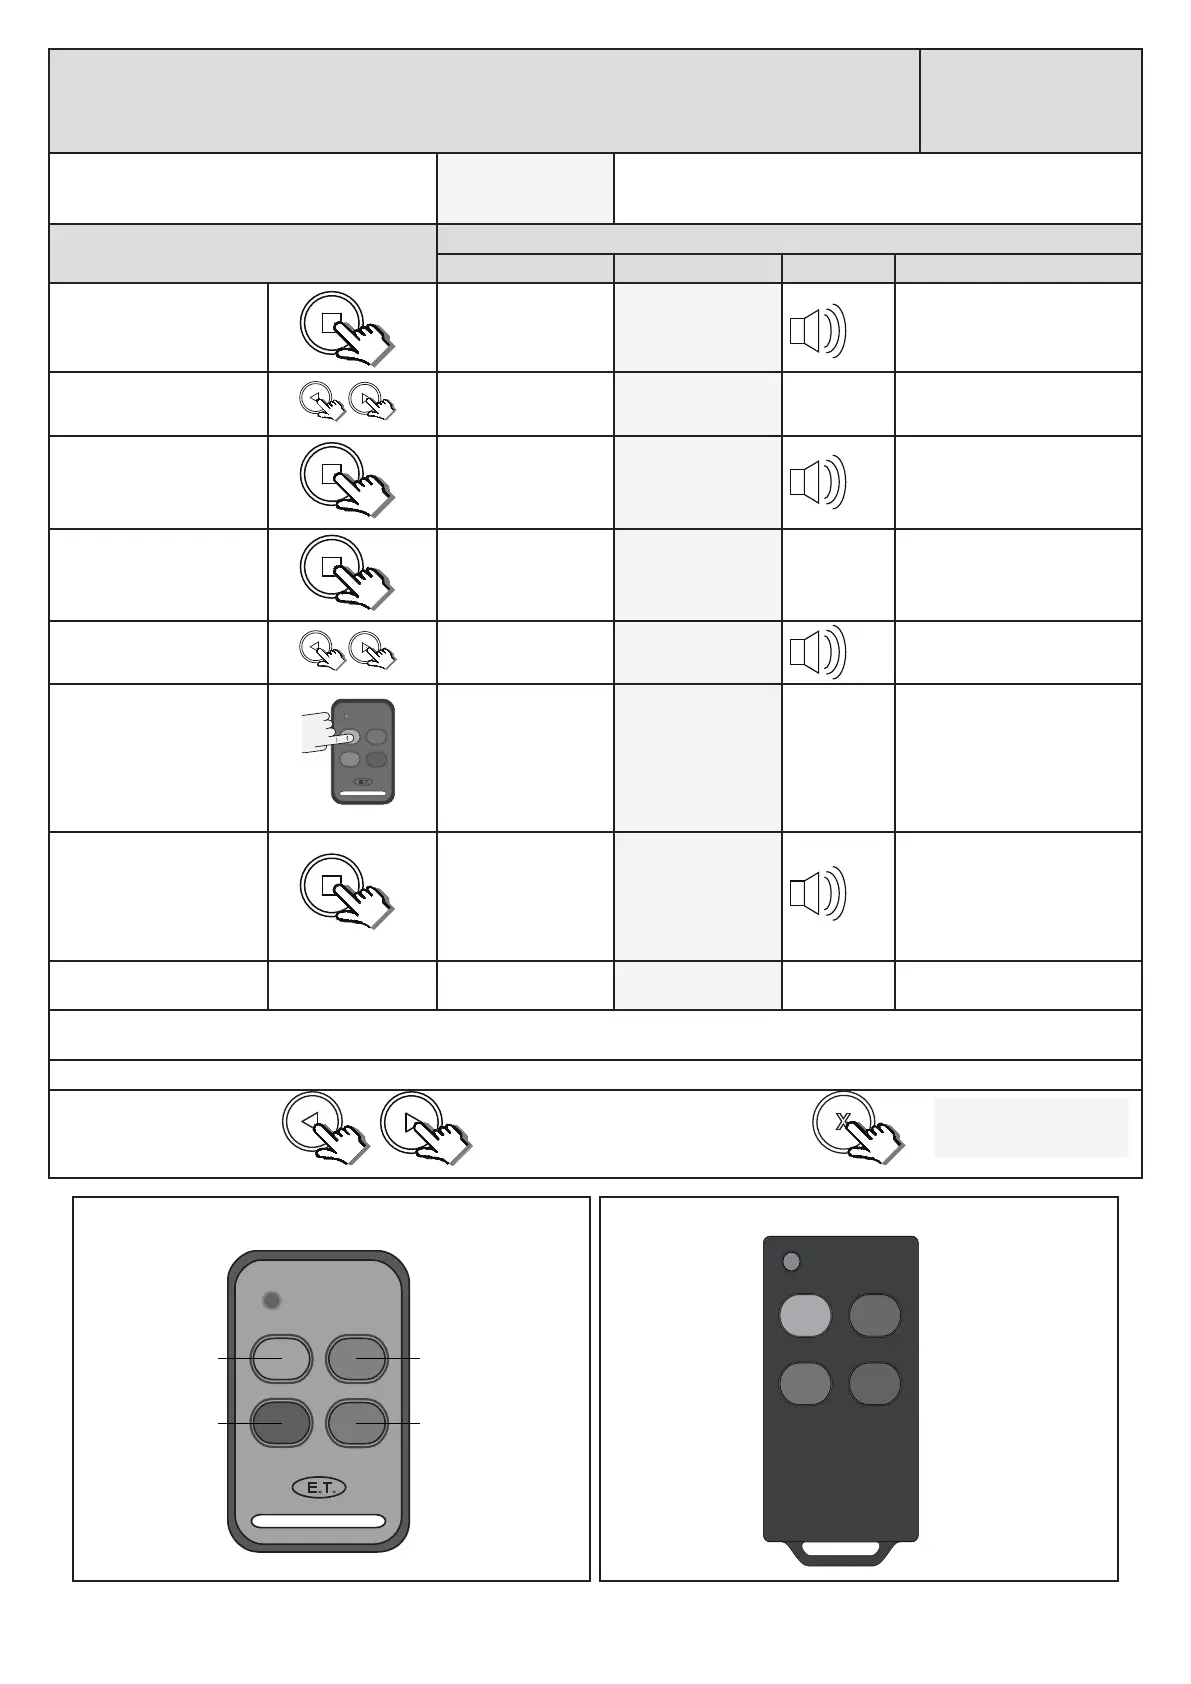
Acon
Response
Descripon Display Buzzer Barrier
To enter the program
menu. Press and hold the
buon unl buzzer
beeps.
Display and buzzer
conrms.
Programming menu
<or> for opons
Scroll < or > to select the
receiver setup opon.
Display scrolls
through opons.
Receiver Setup
< = change >
With “Receiver Setup”
on the display, press and
release .
Display shows current
opon status.
Receiver Setup
Quick learn
With “Quick learn” on the
display, press and release
.
Display prompts you
to select a funcon.
Select funcon
BT, Full opening
Scroll < or > to the
corresponding learn opon.
Select funcon
Corresponding
Press and hold any buon
on the remote transmier.
All four buons must be set
to the same format for this
to work in the same way as
this example.
While sll transming with
the remote buon, press
and release .
Aer the buon
has been released,
the user address
for that transmier
displays and the
buzzer beeps once.
Release the buon on the
remote transmier.
Each buon on that remote transmier has been allocated to the channels on the receiver. Please see below for the automac buon to receiver
channel allocaons.
Repeat the last 4 steps here for addional users or exit back one level in the receiver setup menu for other receiver setup opons.
x2
x1
x1
Scroll le or right to next
program opon.
OR
“Selected” mode
- Standby
EXIT back to standby
status
x1
All buons should be set to either ET BLUE format or ET BLU MIX © format for this to work as shown here.
E.T.
Blue - BT Channel
Red - RLY Channel
Green - PED Channel
Grey - HOL Channel
ET BLUE
Blue - RLY Channel
Red - PED Channel
Green - HOL Channel
Grey - BT Channel
ET BLU MIX ©
 Loading...