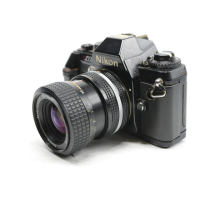
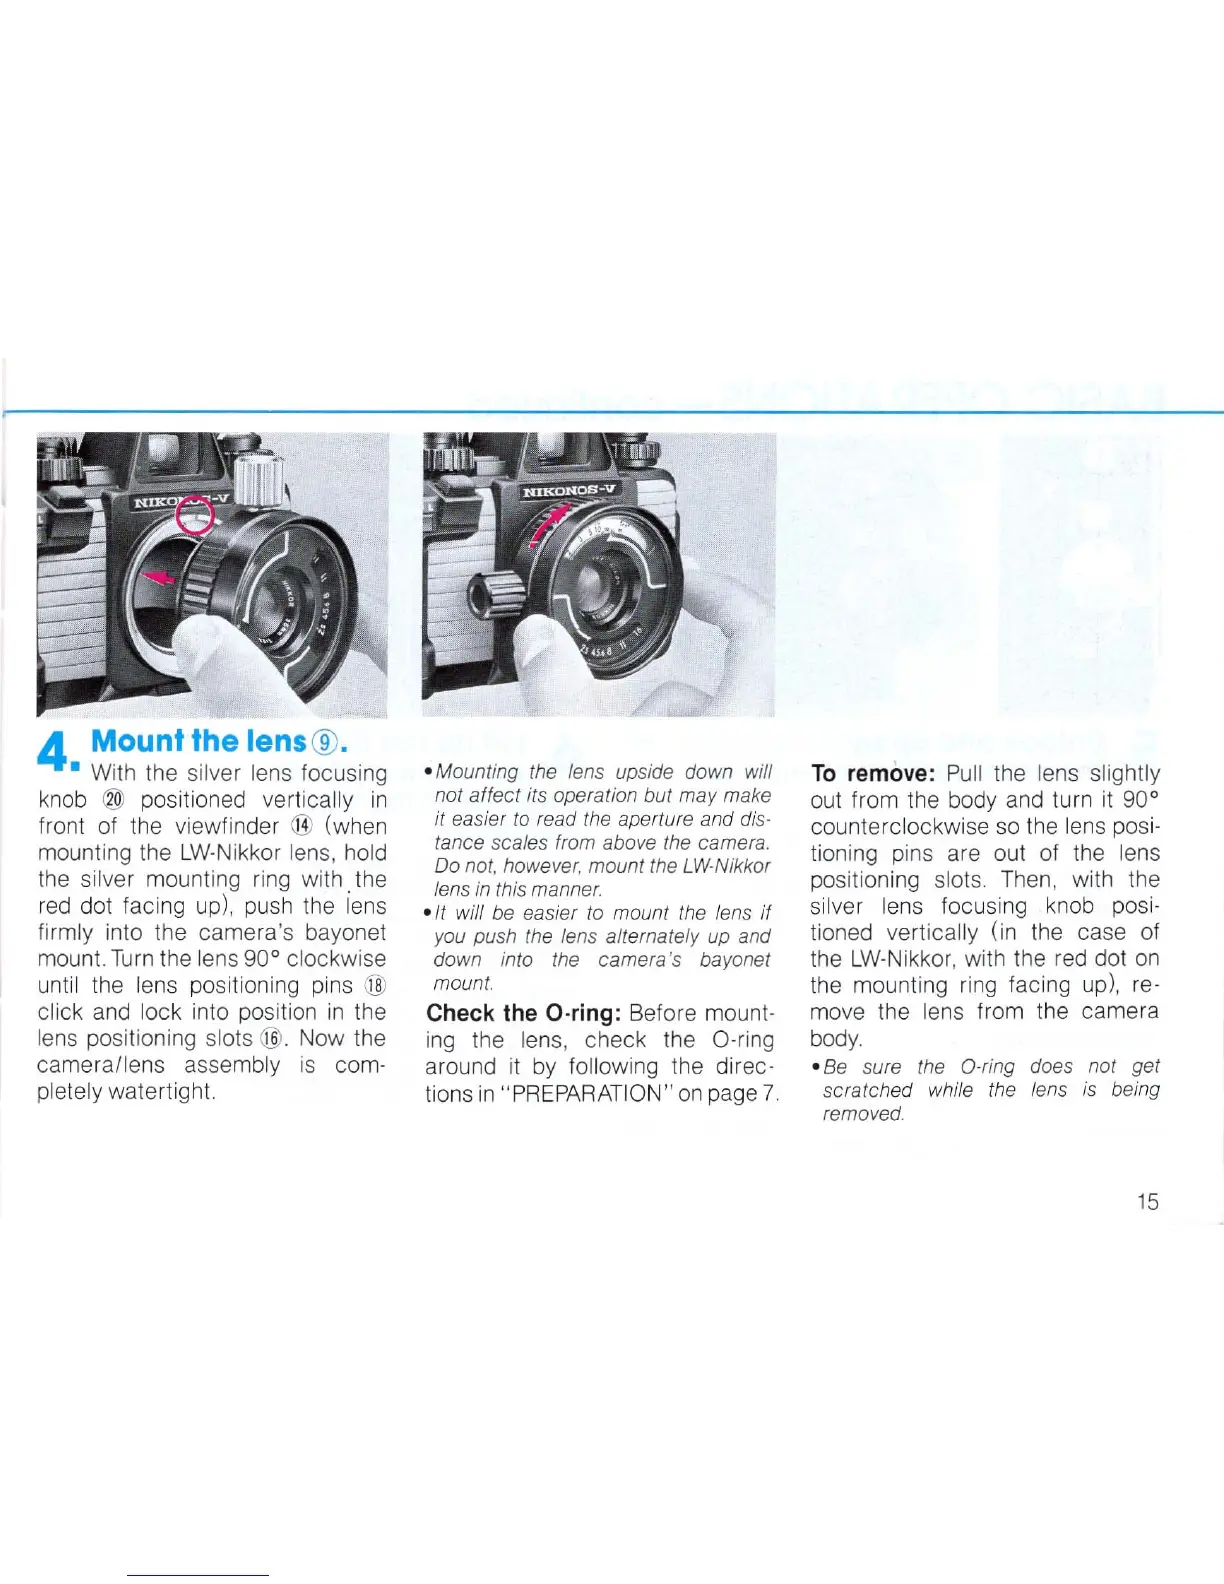
4 Mount the lens@.
• With the silver lens focusing
knob
@ positioned vertically
in
front of the viewfinder ® (when
mounting the LW-Nikkor
lens, hold
the silver mounting ring with the
red
dot facing up), push the iens
firmly into the camera's bayonet
mount.
Turn
the lens 90° clockwise
until the lens positioning pins @
click
and lock into position
in
the
lens positioning slots @. Now the
camera/lens assembly
is
com-
pletely watertight.
o Mounting the lens upside down will
not affect its operation but may make
it easier
to
read the aperture and dis-
tance scales from above the camera.
Do not, however, mount the LW-Nikkor
lens
in
this manner.
olt will
be
easier to mount the lens if
you push the lens alternately up and
down into the camera's bayonet
mount.
Check the Q·ring : Before mount-
ing
the lens, check the O-ring
around
it
by
following the direc-
tions
in
"PREPARAT
ION"
on
page
7.
To
remove:
Pu
ll the lens slightly
out from the body and turn
it
90°
counterclockwise so the lens posi-
tioning pins are out of the lens
pOSitioning
slots.
Then
, with the
silver lens focusing knob posi-
tioned vertically (in the case of
the L
W-N
ikkor, with the
red
dot
on
the mounting ring facing up), re-
move the lens from the camera
body.
o
Be
sure the a·ring does not get
scratched while the lens
is being
removed.
15
 Loading...