16
E
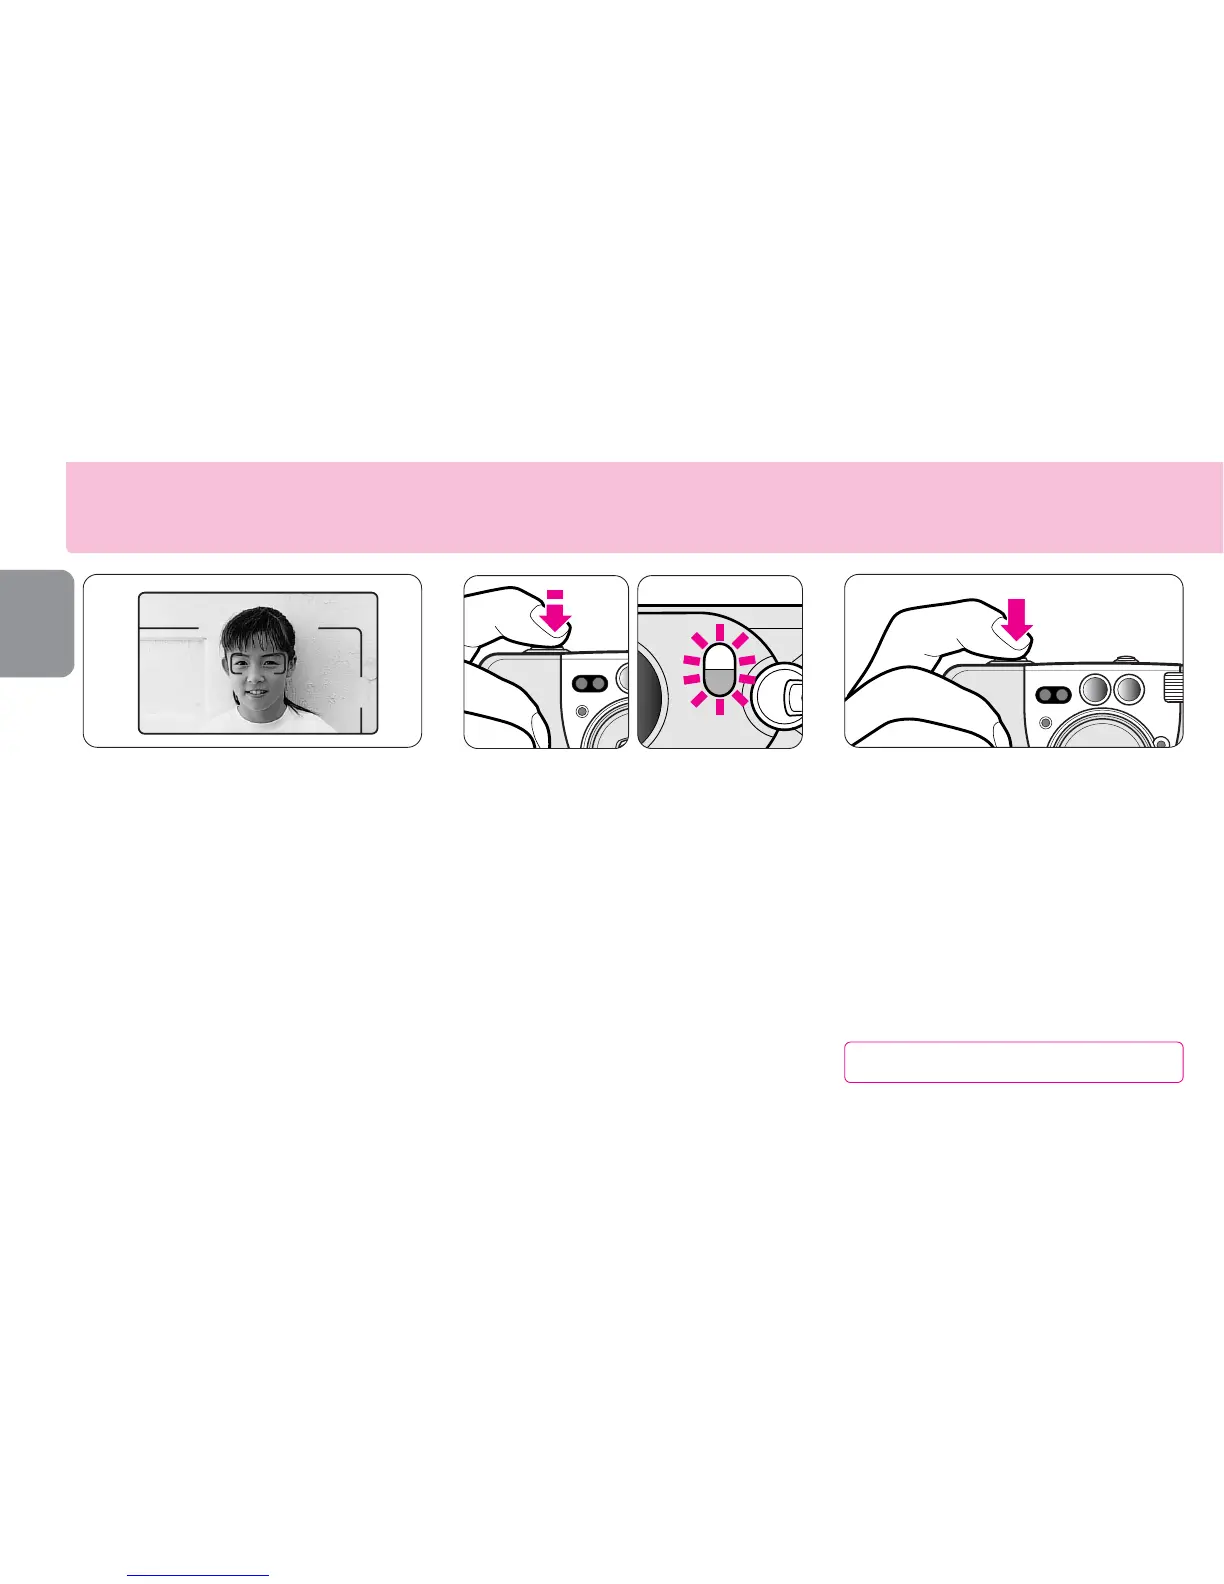
Focusing and shooting
1
Compose the picture.
•Center the autofocus frame mark on
the subject.
•To ensure sharp pictures, make sure
your subject is at least approx. 0.45m
(1.5 ft.) away from the camera.
•When taking subjects within the range
of approx. 0.45 to 1m (1.5 to 3.3 ft.),
compose the picture within the parallax
compensation marks. (-P. 26)
2
Focus on the subject.
▼
Lightly press the shutter release
button.
•The green LED lights up when focusing
is complete.
If the green LED blinks slowly: the
shutter is locked, because the shooting
distance is less than 0.45m (1.5 ft.).
If the green LED blinks quickly: the
subject is difficult to focus (-P. 17).
In this case, the shutter can be released,
resulting in out-of-focus pictures.
3
Gently depress the shutter release
button all the way to take a picture.
•If there is not enough light or the subject
is backlit, the orange LED lights up and
the flash fires automatically. (- P. 21)
•After shooting, the number of available
frames is reduced on the LCD panel
one-by-one.
•Pressing the shutter release button with
a jerky motion may cause camera shake.
Turn the camera off to save battery power.
 Loading...