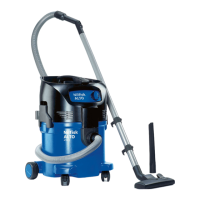
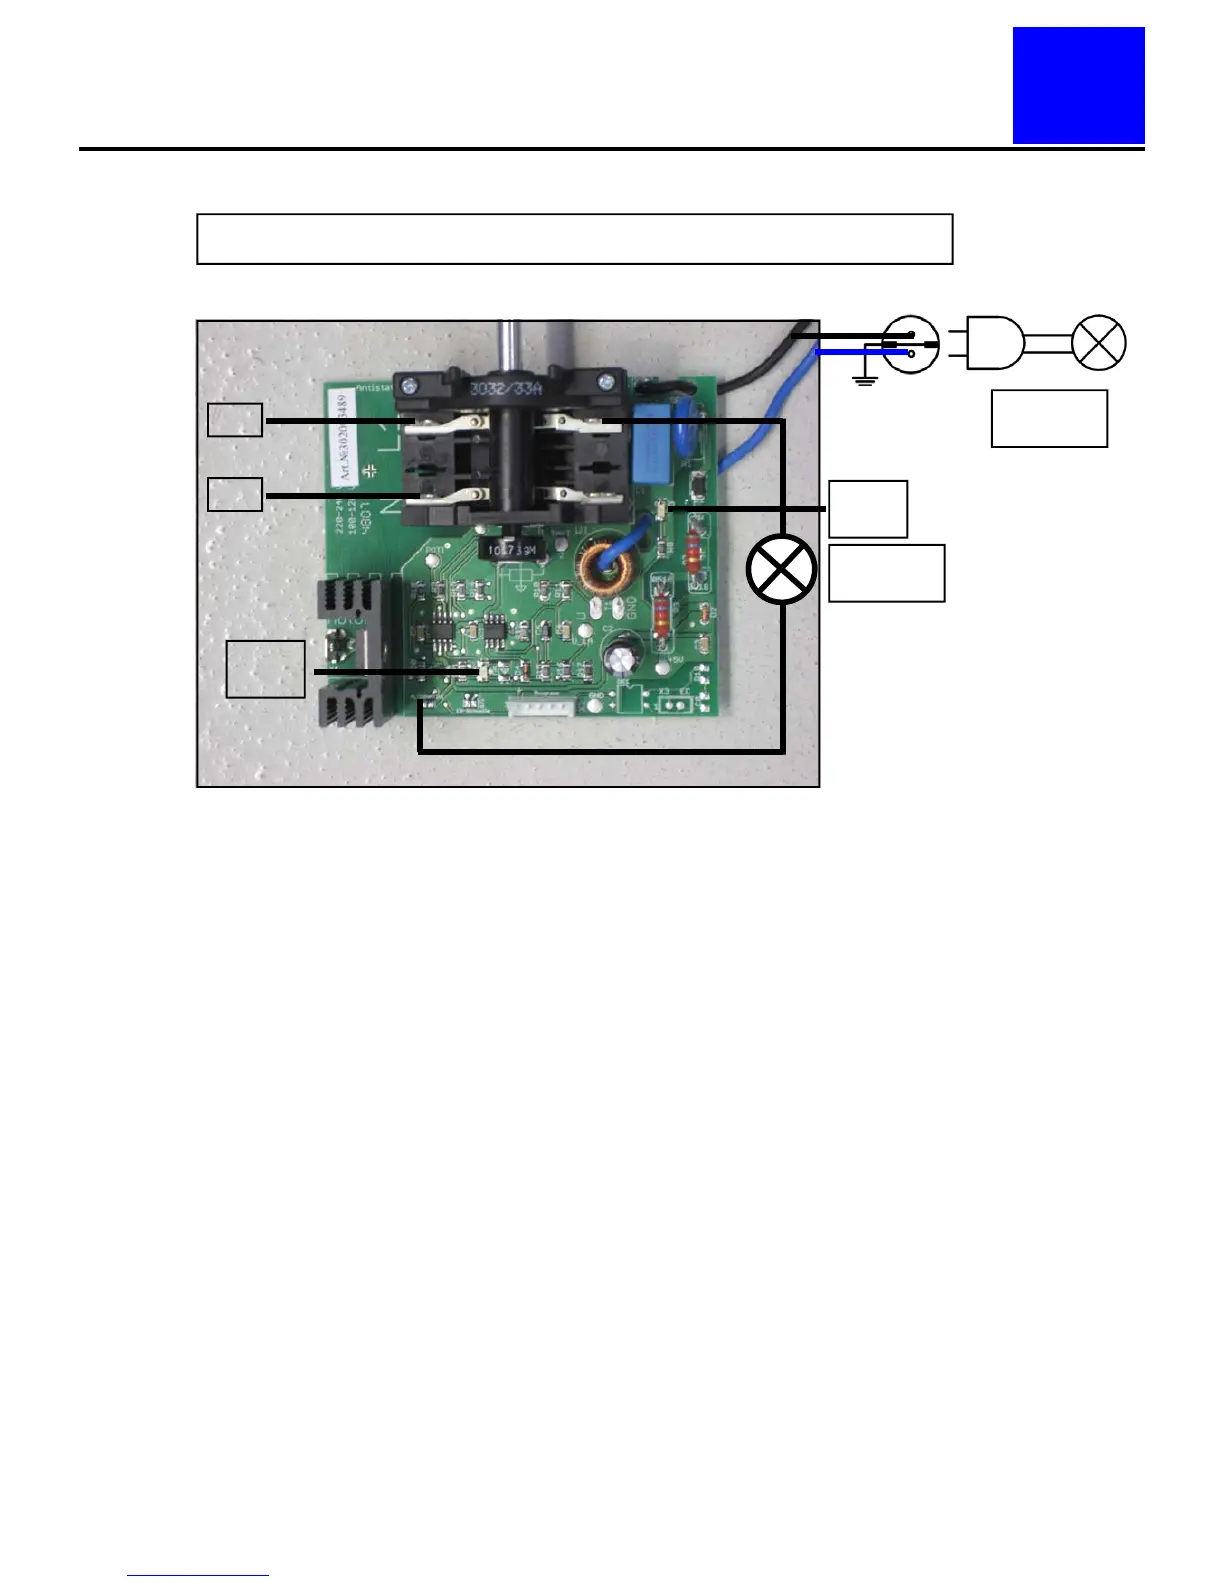
EasyManua.ls Logo

Nilfisk-ALTO ATTIX BASIC User Manual

Nilfisk-ALTO ATTIX BASIC
23 pages
To Next Page IconTo Next Page
To Previous Page IconTo Previous Page
Page #11 background imageLoading...
Page #11 background image
11
11
Nilfisk
ALTO
E
Trouble shooting
1. Isolate component from the electricity supply.
2. Remove cover.
3. Apply mains voltage.
Set switch to position “I” at full power.
4. Visual inspection:
Green LED lights up (5 V OK).
Red LED lights up (motor is activated).
5. Isolate component from the electricity supply.
6. Remove the two motor cables from the circuit board and the switch.
7. Connect test lamp 302000764.
8. Apply mains voltage.
9. Test:
“Motor” lamp slowly star it to light up (soft star t).
Set switch to minimum speed.
The brightness of the lamp becomes less.
Checking electronics of automatic starter with speed control in “AUTO” mode.
Motor Tool
302000764
Motor Tool
302000765
L 1
N
Green
Led.
Red-
Led.
Question and Answer IconNeed help?

Do you have a question about the Nilfisk-ALTO ATTIX BASIC and is the answer not in the manual?

Nilfisk-ALTO ATTIX BASIC Specifications

General IconGeneral
BrandNilfisk-ALTO
ModelATTIX BASIC
CategoryVacuum Cleaner
LanguageEnglish

Summary

Preface

Symbols used to mark instructions

Explains symbols used for safety and operational guidance in the manual.

Safety Issues

ESD (electrostatic discharge) Precautions

Precautions to prevent damage from electrostatic discharge when working with electronic parts.

Technical Data

Construction

Function

Automatic starter with speed control

Explains the automatic starter and speed control features for electric tools.

Trouble shooting

Checking electronic starter in AUTO mode

Steps for troubleshooting the automatic starter and speed control in AUTO mode.

Checking electronic starter in MAN mode

Steps for troubleshooting the automatic starter and speed control in MAN mode.

Motor not working flowchart

Flowchart to diagnose why the motor is not working.

Motor not working with switch set to 1

Troubleshooting steps when the motor is not working with the switch set to position 1.

Motor not working with switch set to Auto

Troubleshooting steps when the motor is not working with the switch set to AUTO.

Spare parts

Diagram

Tools

Related product manuals