6 7
ninjakitchen.com
ninjakitchen.com
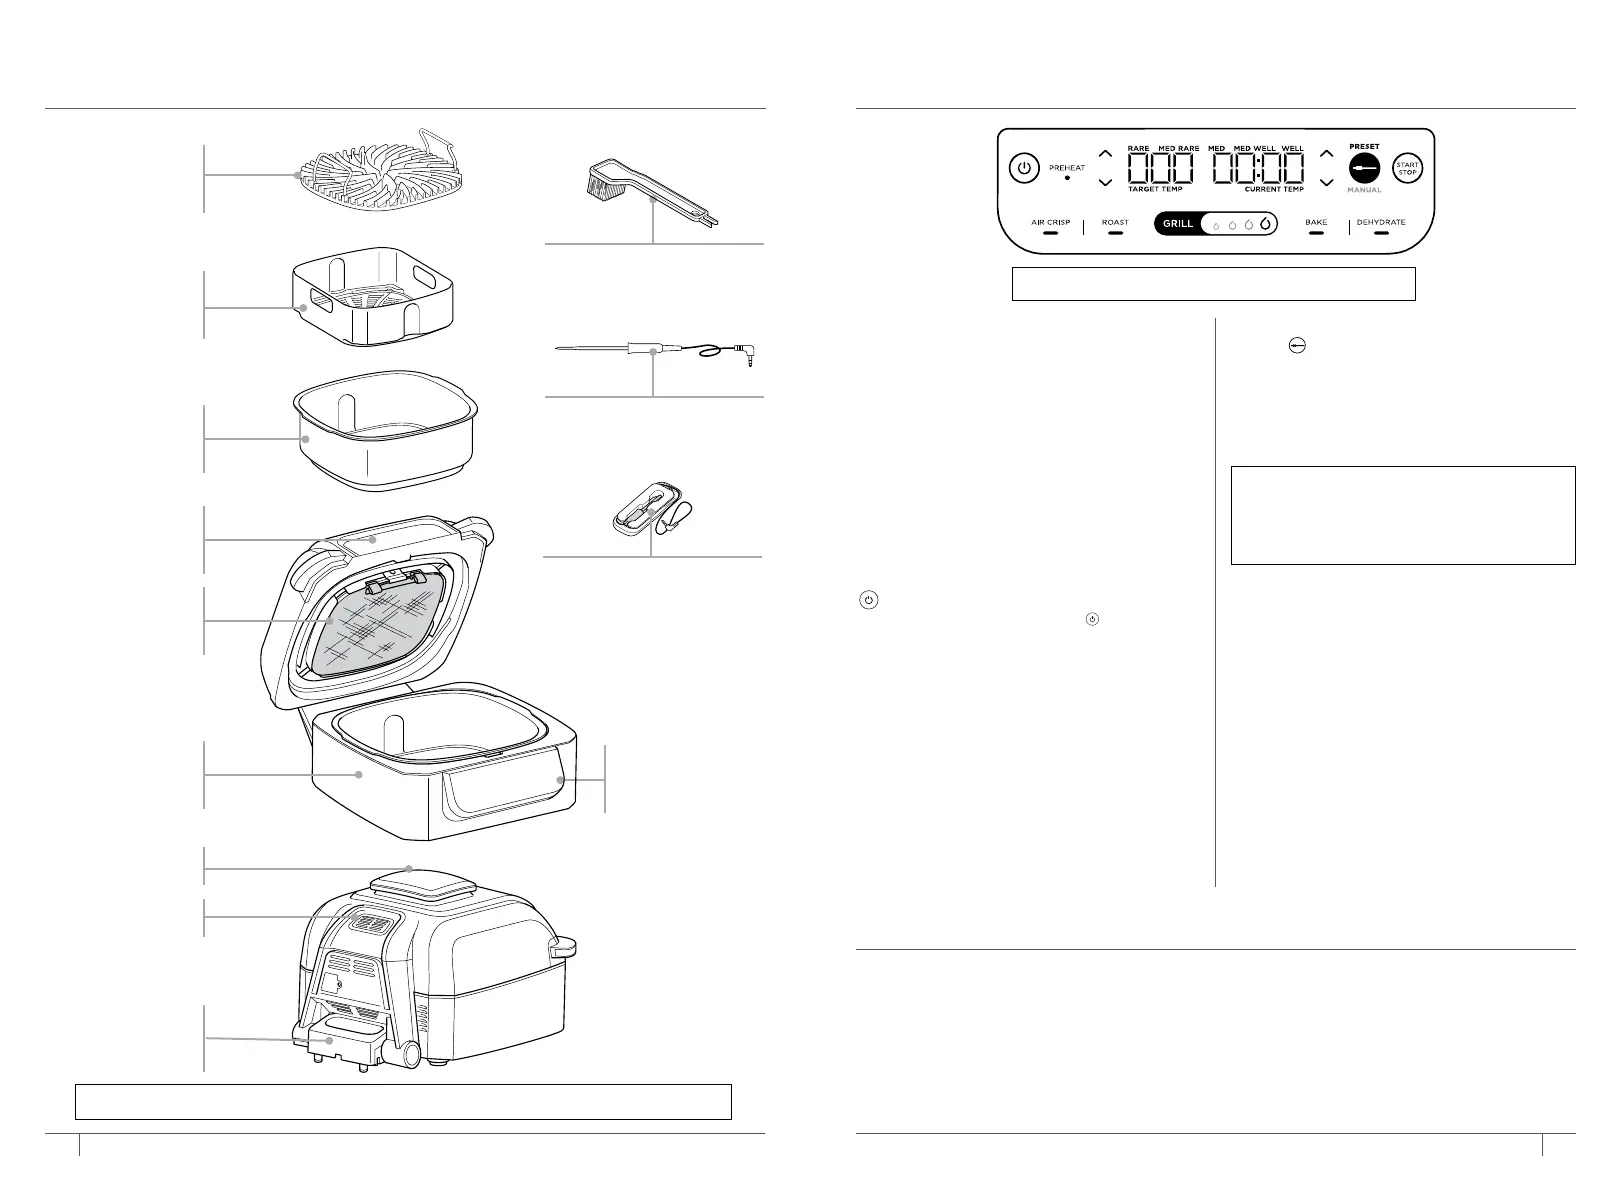
PARTS
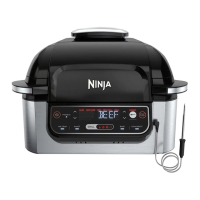
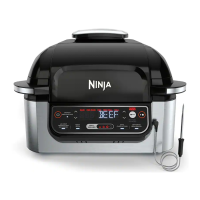
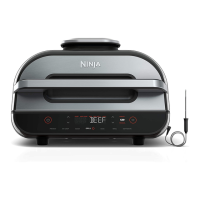
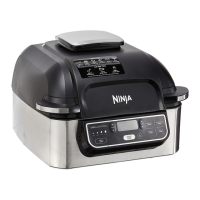
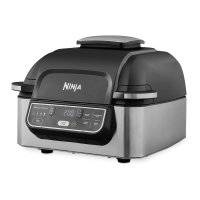
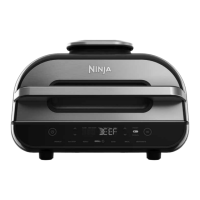
GETTING TO KNOW THE
NINJA® FOODI® SMART GRILL
1 Remove all packaging material, promotional labels, and tape from the unit.
2 Remove all accessories from the package and read this manual carefully. Please pay
particular attention to operational instructions, warnings, and important safeguards
to avoid any injury or property damage.
3 Wash the grill grate, splatter shield, crisper basket, thermometer, cleaning brush, and
cooking pot in warm, soapy water, then rinse and dry thoroughly. All accessories,
except the thermometer, are dishwasher safe. NEVER clean the main unit or
thermometer in the dishwasher.
BEFORE FIRST USE
FUNCTION BUTTONS
GRILL Grill indoors while creating even
char, grill marks, and grilled flavor.
AIR CRISP For crispiness and crunch with
little to no oil.
BAKE Bake cakes, treats, desserts, and more.
ROAST Tenderize meats, roast vegetables,
and more.
DEHYDRATE Dehydrate meats, fruits,
and vegetables for healthy snacks.
OPERATING BUTTONS
POWER button Once the unit is
plugged in, press the power
button to
turn on the
unit. Pressing it during cooking
stops the current
cooking function and
turns o the unit.
Left arrows Use the up and down
arrows to the left of the display to adjust
the cooking temperature in any function
or to set the internal doneness when using
PRESET and MANUAL buttons.
Right arrows Use the up and down
arrows to the right of the display to set the
food type when using PRESET or to adjust
the cook time when not cooking with the
Foodi Smart Thermometer.
MANUAL setting Pressing the thermometer
button twice switches the display screen
so you can manually set the thermometer
internal doneness.
PRESET setting Switches the display
screen so you can set the thermometer,
food type, and internal doneness.
START/STOP button After selecting
temperature and time, press the
START/STOP button to begin cooking.
Standby Mode If there has been no
interaction with the control panel for
10 minutes and the unit is not cooking,
the unit will go into Standby Mode and
the control panel will dim.
PREHEAT If the unit is preheating, it will
be indicated by a progress bar on the
display screen and the PREHEAT button
will illuminate. To turn o Preheat, press
the PREHEAT button while the grill is in
preheat state. ADD FOOD will display.
Foodi® Smart
Thermometer
Thermometer Storage
Double-sided
Cleaning Brush
NOTE: To adjust the temperature or time
during cooking, press the up and down
arrows. The unit will then resume at
those settings.
NOTE: Not all functions included in each model.
NOTE: Additional accessories are available for purchase at ninjaaccessories.com.
Grease
Collector
Removable
Splatter Shield
Hood
Main Unit
(power cord
not shown)
Control
Panel
Ceramic-Coated
Grill Grate
Ceramic-Coated
Crisper Basket
Ceramic-Coated
Cooking Pot
Air Intake
Vent
Air Outlet
 Loading...