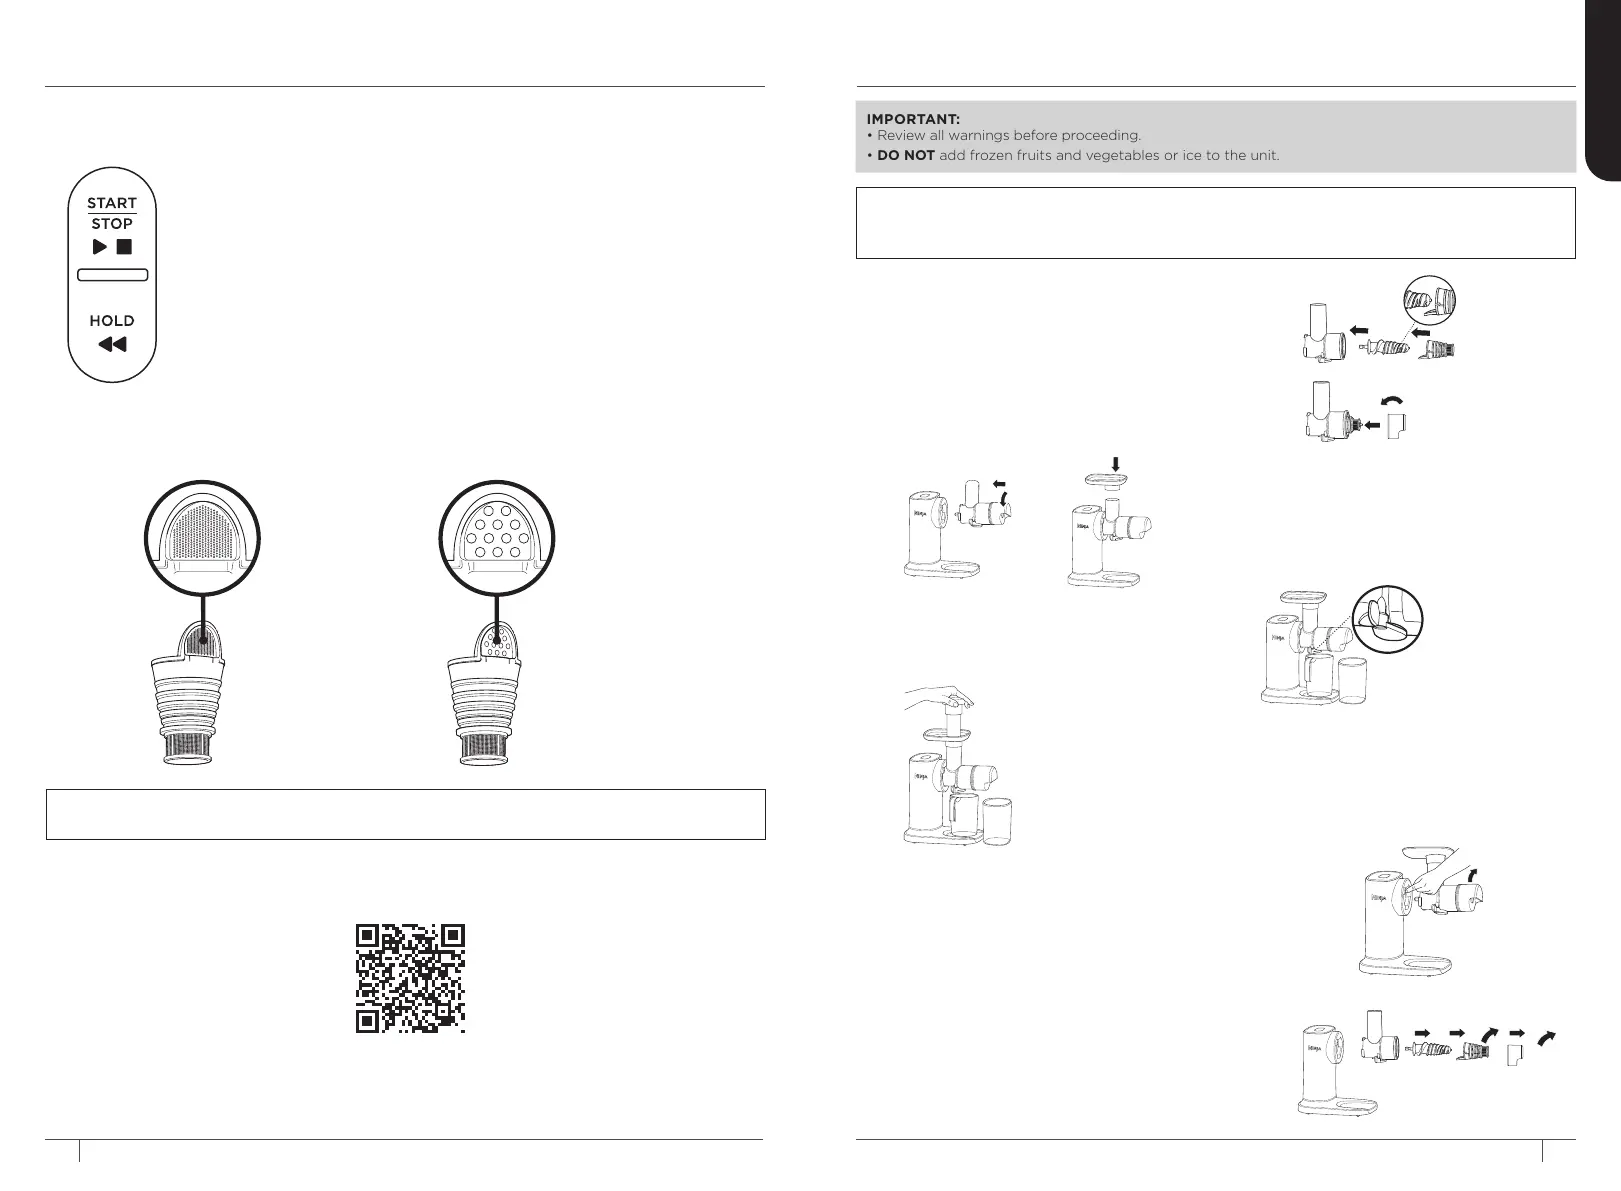
START/STOP
Press once to start continuous running up to 12 minutes; press again to stop.
HOLD
If the feed chute chamber becomes blocked or ingredients are not processing,
press and hold HOLD. There will be a beep and a brief pause, then the auger will
rotate in the opposite direction. Release HOLD to stop. Repeat as needed. Press
START/STOP to resume normal operation.
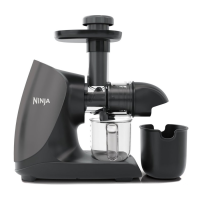
USING THE FILTERS FOR PULP CONTROL
LOTS OF PULP
Use the Orange
filter with the
largest mesh for
juice with lots of
pulp.
Control the amount of pulp by choosing the appropriate filter.
LESS PULP
Use the Black
filter with the
finest mesh for
juice with less
pulp.
NOTE: For best results, we recommend using the Orange (Lots of Pulp) filter when processing soft fibrous fruits like
pears, berries, seeded melons, and pineapple.
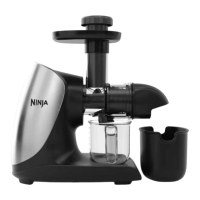
FEATURES
USING THE CONTROL PANEL
1 Plug in motor base and place on a clean, dry, level surface
such as a countertop or table.
2 Insert the auger into the feed chute chamber, then attach
the desired filter onto the auger, with the metal portion of
the filter on the bottom of the auger. The filter will sit
loosely around the auger.
3 Attach the pulp spout to the feed chute chamber by
installing at an angle on top of the filter, then turning
counterclockwise to lock in place.
4 Install the assembled feed chute chamber on the motor
base at an angle, then turn counterclockwise until it
clicks into place.
5 Install the food tray on the top of the feed chute chamber.
IMPORTANT:
• Review all warnings before proceeding.
•
DO NOT add frozen fruits and vegetables or ice to the unit.
NOTE: If the feed chute chamber becomes blocked or ingredients are not processing, press and hold
REVERSE. There will be a beep and a brief pause, then the auger will rotate in the opposite direction.
Release REVERSE to stop. Repeat as needed. Press START/STOP to resume normal operation.
6 Place the pulp container under the pulp spout, then
place the juice jug under the anti-drip lever on the
feed chute chamber.
7 Select START/STOP, then gradually add ingredients to the feed chute.
For best results, allow juicer to process each ingredient before adding more.
Use the tamper to push ingredients down through the feed chute, as
needed.
8 When juicing is complete, select START/STOP, then close the anti-drip lever.
Stir juice and serve.
Align the metal
portion of the filter
with the bottom of
the auger.
Make sure the anti-
drip lever is open
before juicing.
9 To disassemble, press and hold the RELEASE button while
turning the feed chute chamber clockwise and removing it
from motor base.
10 Remove the pulp spout from the feed chute chamber by
turning clockwise. Remove the filter and auger by gently
pulling them out of the feed chute chamber.
11 Unplug the unit when finished. If moving the unit, grab from
the bottom of the base. Refer to the Care & Maintenance
section for cleaning and storage instructions.
USING THE JUICER
To watch videos on how to use and clean
the Ninja NeverClog Cold Press Juicer,
scan the QR code.
24 25
ninjakitchen.eu
ninjakitchen.eu
ENGLISH