5 ninjakitchen.com4 ninjakitchen.com
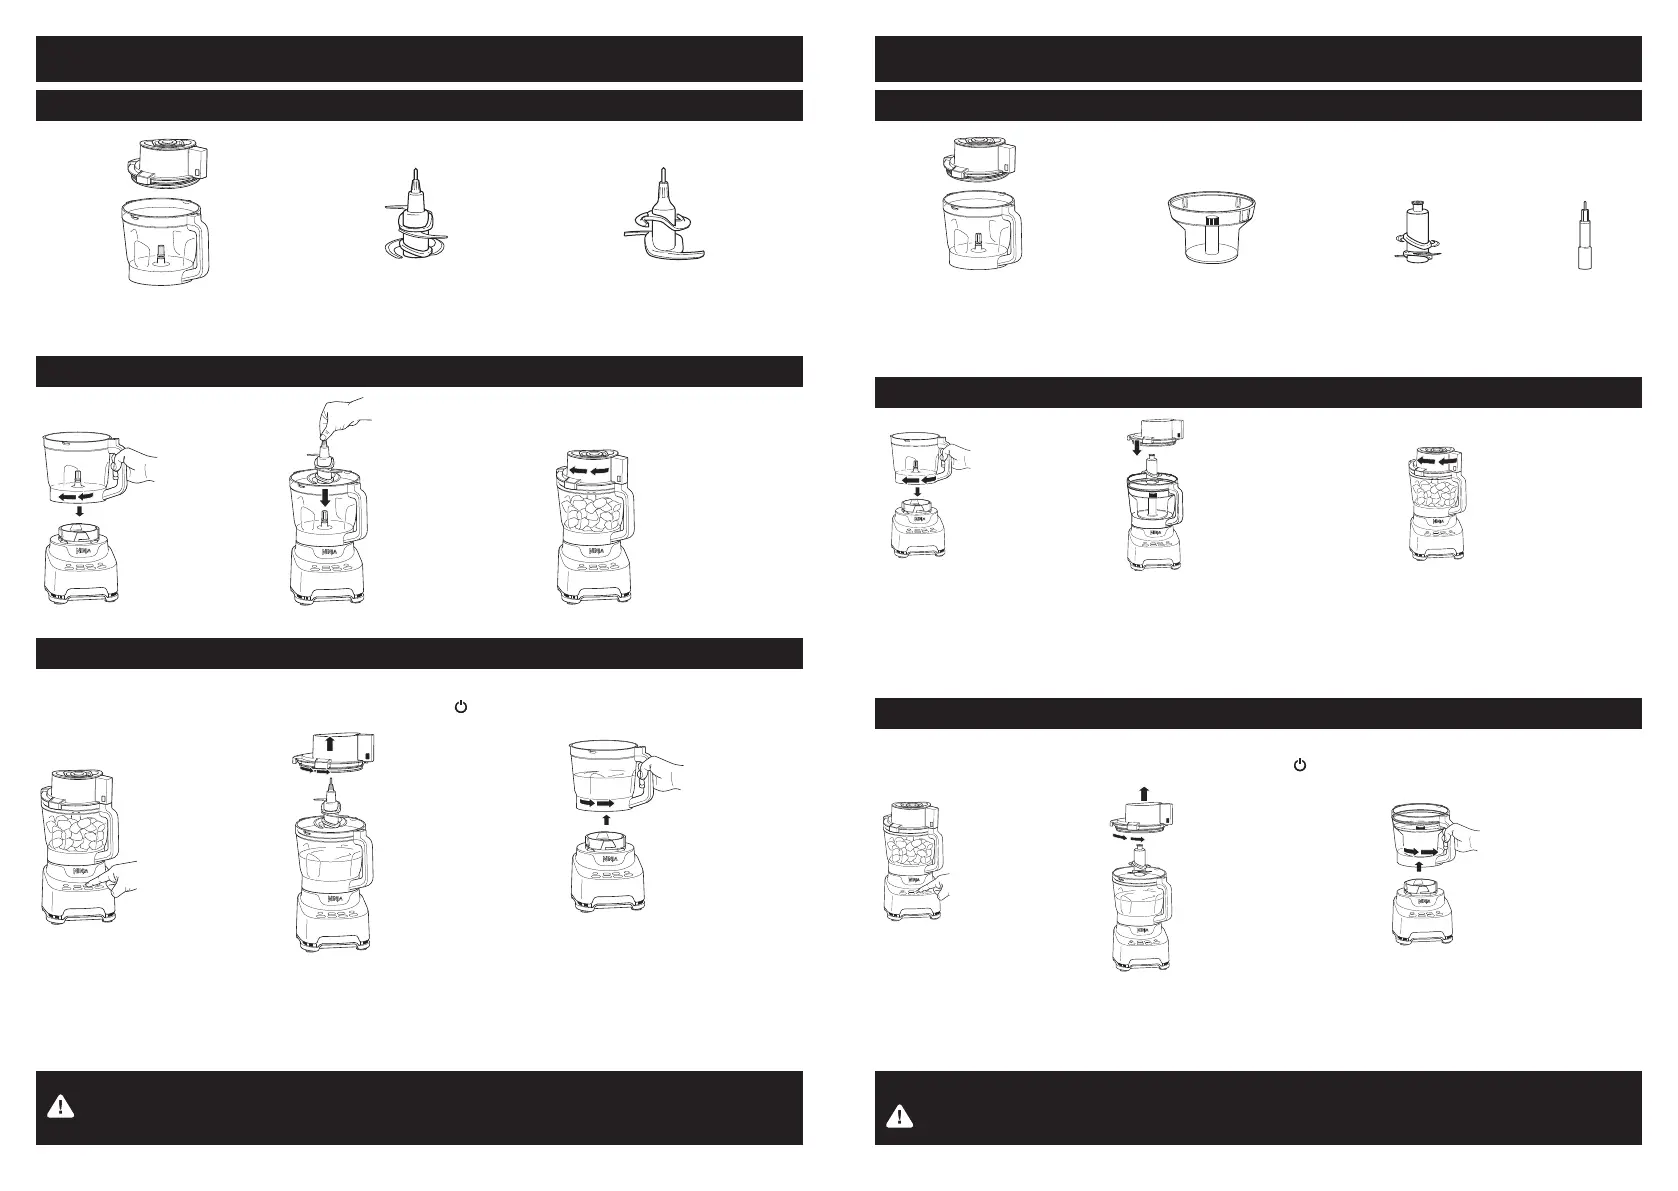
USING THE CHOPPING & DOUGH BLADE ASSEMBLIES
PROCESS & ENJOY
1.
Select desired
program to
begin processing.
2.
When processing
is complete, press
button on feed
chute lid near handle
to unlock. Turn lid
counterclockwise and
lift from bowl.
Remove blade assembly
before emptying bowl.
PARTS
3.
Place ingredients
in bowl. Place lid
on bowl and turn
clockwise to lock
in place.
BLADE ASSEMBLY
WARNING: Chopping Blade Assembly is sharp and not locked in place. Before pouring,
carefully remove Chopping Blade Assembly. Failure to do so will result in a risk of
laceration. Refer to the Ninja Safety Instructions for additional information.
1.
Place Precision
Processor Bowl
on base and
turn clockwise
to lock in place.
3.
Remove bowl
from base
by turning it
counterclockwise,
then lifting it up.
2.
Holding the blade
assembly by the
top of the shaft,
install it in bowl.
Once the Precision Processor Bowl is locked onto the base, plug in the unit,
then press the Power button
to turn the unit on.
NOTE: Large food pusher must be inserted in the feed chute for the unit to run. For thinner recipes
such as sauces and chopping, make sure all 3 parts of the pusher are installed to avoid splatter.
NESTING BOWL (not included with all models)
PROCESS & ENJOY
1.
Select either a
manual program
(LOW, HIGH,
PULSE) or the
PUREE Auto-iQ
program to begin
processing.
2.
When processing is
complete, press button
on feed chute lid near
handle to unlock. Turn
lid counterclockwise
and lift from bowl.
Remove blade assembly
before emptying nesting
workbowl.
PARTS
3.
Place ingredients
in bowl. Place lid
on bowl and turn
clockwise to lock
in place.
2.
Place the nesting
workbowl in the processor
bowl with the arrow on
the workbowl aligned
with the arrow on the
processor bowl handle.
Place the disc spindle through the
opening in the middle and sit it on
the drive gear. Then place the
small chopping blade over the
spindle inside the workbowl.
NESTING WORKBOWL
WARNING: Chopping Blade Assembly is sharp and not locked in place. Before pouring,
carefully remove Chopping Blade Assembly. Failure to do so will result in a risk of
laceration. Refer to the Ninja Safety Instructions for additional information.
1.
Place Precision
Processor Bowl
on base and
turn clockwise
to lock in place.
3.
Remove workbowl
by grasping the
textured center
and lifting up.
Remove bowl from
base by turning it
counterclockwise,
then lifting it up.
Once the Precision Processor Bowl is locked onto the base, plug in the unit,
then press the Power button
to turn the unit on.
NOTE: Do not make dough with the 4.5-Cup Nesting Workbowl.
NOTE: Large food pusher must be inserted in the feed chute for the unit to run. For thinner
recipes such as sauces and chopping, make sure all 3 parts of the pusher are installed.
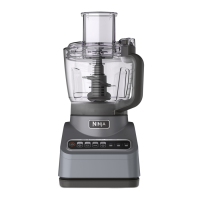
PRECISION PROCESSOR®
BOWL & LID WITH
3-PART FOOD PUSHER
CHOPPING BLADE
ASSEMB LY
DOUGH BLADE
ASSEMB LY
NOTE: Nesting workbowl not included with all models. Available for purchase on ninjaaccessories.com.
SMALL CHOPPING
BLADE ASSEMBLY
4.5-CUP NESTING
WORKBOWL
PRECISION PROCESSOR®
BOWL & LID WITH
3-PART FOOD PUSHER
DISC
SPINDLE
 Loading...