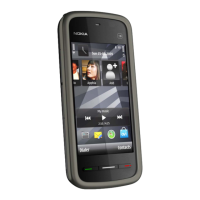
Nokia 5230
RM-588 / RM-593 / RM-594 / RM-629
Service Manual Level 1&2
22 Confidential • Copyright © 2010 NOKIA • All rights reserved Version 8.0
19) ..turn the TOUCH PANEL ASSY on top of the LCD.
Press from the side to attach clips. Assemble the
TOUCH PANEL ASSY by first pressing from one side.
20) Then press from the bottom end and check that
the KEYMAT keys are correctly placed.
21) Work around the device to attach the remaining
clips. Make sure that all the clips are attached by
pressing around the sides of the TOUCH PANEL ASSY.
22) When placing the SLIDE KEY make sure that the
slide key switch and the slide key notch are aligned
as shown. Push the SLIDE KEY to its place.
23) Open the USB DOOR. 24) Place the top end of the SIDE BAND ASSY as
shown. Start attaching the SIDE BAND ASSY by
pressing from the top corners.

 Loading...