NMM-3 Company Confidential
5 - Disassembly Instructions CCS Technical Documentation
Page 5-18 Copyright 2003 Nokia Corporation. Issue 1 (11/2003)
Company Confidential
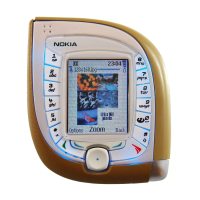
5. Assemble the 7
th
screw into the
back of the B-Cover making sure not
to damage the B-Cover. This screw
must be a new 5.3mm x 1.6mm T6
(IP6) machine screw (NMP 6150905)
with an orange threadlock patch
applied with a torque of 26 Ncm.
Note: Only use a hand torque driver.
6. Assemble the 6 screws into the
ATO in the order indicated opposite.
Using new 9.0mm x 1.6mm T6 Rem-
form screws (NMP 6150903). A
torque of 19 Ncm must be applied to
these screws when an old B-cover is
re-used and 22 Ncm for a new cover.
Ensure the screws heads are sitting
flush on the lightguide or LCD frame.
Note: Only use a hand torque driver.
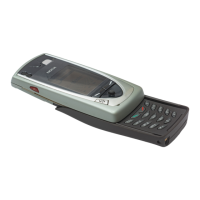
Assembly of Transceiver
1. Assemble the A-Cover module
onto the ATO module using the clip-
ping sequence outlined opposite,
ensuring clip number one is slid onto
the lightguide clip (pressure must
only be applied to the edge of the A-
Cover over the clips and NOT over the
LCD).
Note 1: Each of the clips must be
checked for correct assembly in
which case the clip must be fully visi-
ble within the A-Cover aperture.
Make sure the blind clip over the sys-
tem connector (9) is also assembled.
Note 2: Make sure the LCD protective tape is removed before assembly of A-Cover module.
5
6
1