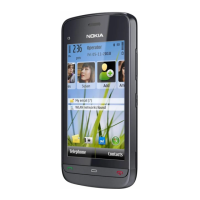
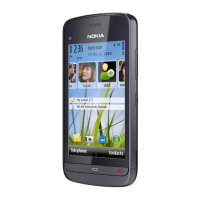
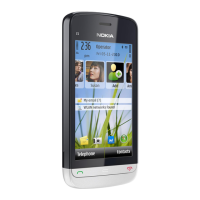
RM-645
Service Manual Level 1&2
Co nf id e nt ial • Cop yright © 2011 NOKIA • A ll rights reserved
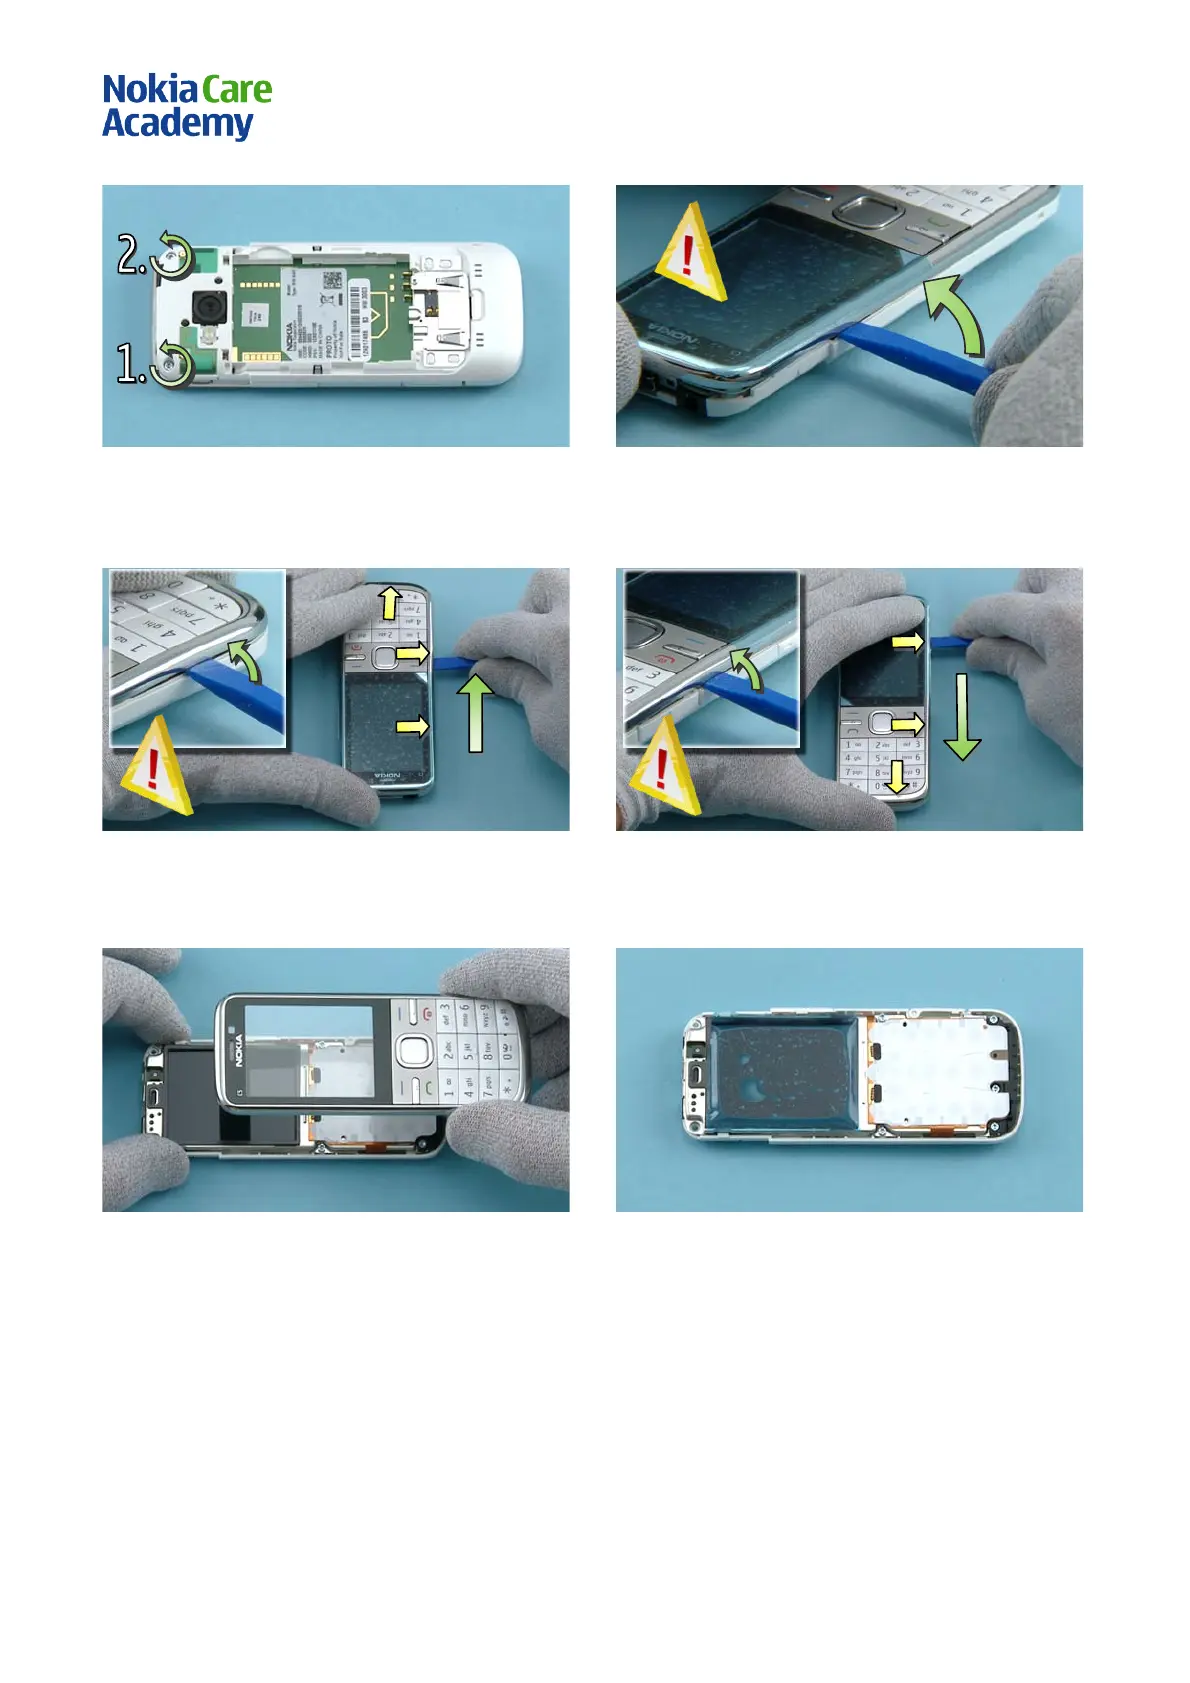
7) Unscrew the two TORX+ size 6 screws in the order
shown.
8) I nsert the SS-93 between the A-COVER ASSY and
the B-COVER on the left side of the device. Carefully
lever the B-COVER outwards to release the clips
holding the A-COVER ASSY.
9) Move along the edge of the device towards the
bottom end and carefully detach the clips.
10) By using the same procedure as before, very
carefully detach the clips on the right side of the
device. Star t from top and move towards bottom
end.
11) Remove the A-COVER ASSY.
12) Protect the LCD with a protective film.
 Loading...