RM-697, RM-
Service Manual Level 1&2
Co nf id e nt ial | Co p y rig ht © 2011 Nokia | A ll rights reserved
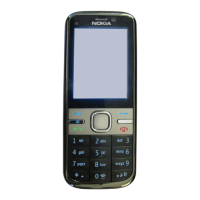
19. Lower down the FRONT COVER and press it
firmly down to lock up the shown clips.
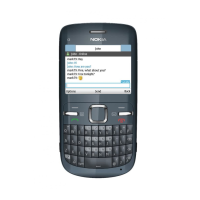
20.Tighten the four TORX+ size 6 screws to the torque of
14 Ncm in the order shown.
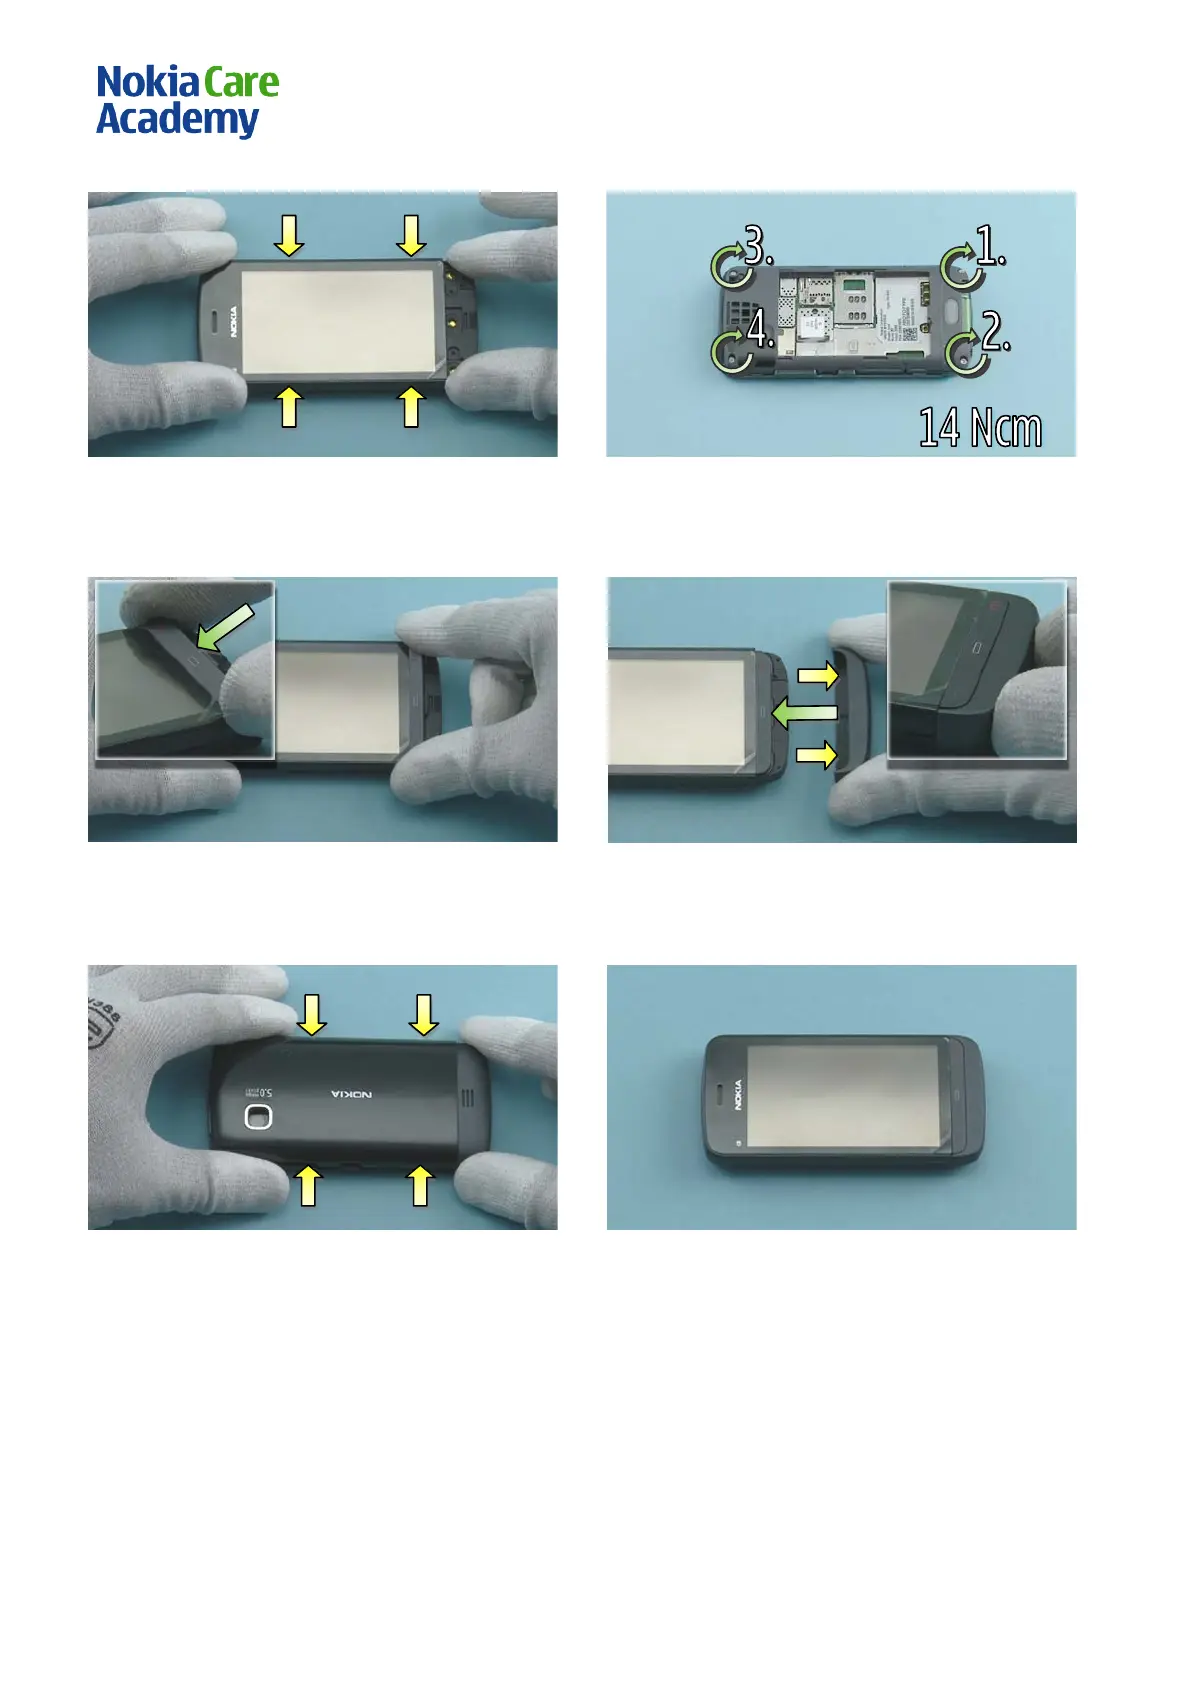
21. Place the KEYMAT to its place and make sure
its correctly placed.
22. Push the BOTTOM CAP to its place. Make sure that the
shown clips are locked up correctly.
23. Insert the BATTERY and place the BATTERY
COVER to its place. Press it gently to lock up the
clips.
24. Nokia C5-03 assembly is now complete.
-END OF ASSEMBLY-

 Loading...