Installation
14
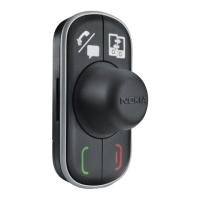
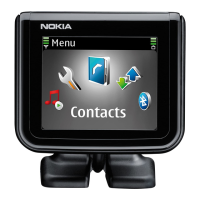
6. Push the remote control into the holder (7).
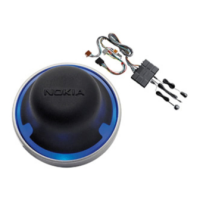
Display
Attach the display using the supplied mounting
plate. The display should be located so that it is
clearly visible for the user and it can be easily
rotated left, right, up, or down.
For the built-in microphone, mount the display so that it is not too far
from the driver or exposed to direct air streams from the vents.
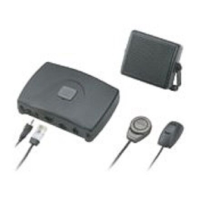
■ Integration with a car radio system
The car kit can be connected to a car radio system in three different
ways:
• Installation using the ISO cable CA-160: When you connect the car
kit to the car radio system with this cable, the car radio is muted
when you make or receive a call.
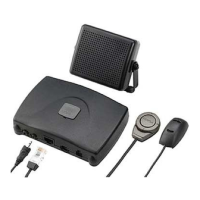
• Installation using the power cable CA-153P and an external speaker:
The junction box RX-73 is connected to the car radio with the power
cable CA-153P, and an optional external speaker is used for calls.
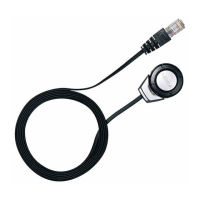
• Installation using the power cable CA-153P and direct input cable
CA-161: The junction box RX-73 is connected to the car radio with
the power cable CA-153P and the direct input cable CA-161, and the
car radio speakers are used for calls.
■ Optional accessories
Charging cable
To charge a compatible mobile device from the car kit, you can use an
optional charging cable, such as CA-134.
Microphone
In noisy car environments, you can use an optional external microphone
(such as Nokia MP-2) to improve the audio quality.
7