Do you have a question about the Nokia RH-36 Series and is the answer not in the manual?
Protect display window with film to avoid dust and scratches.
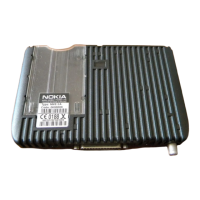
Press release button to remove battery cover, then open A-Cover from bottom.
Use SRT-6 to unlock Keymat from A-Cover and remove it.
Unscrew six Torx Plus size 6 screws; note torque for reassembly.
Remove C-Cover, unlock LCD snaps, and remove LCD with lightguide.
Use tweezers for speaker removal; lever out shielding from the top.
Loosen system connector with SRT-6 if tight; carefully push out microphone.
Lever out Vibra Motor with tweezers and remove Buzzer carefully.
Use SRT-6 to loosen corner; tear off Domesheet diagonally to avoid glue residue.
Position new Domesheet towards upper right corner near shielding edge.
Slowly place Engine Module from top side, ensuring it is close to the shielding edge.
Carefully press Domesheet, avoid bubbles, and verify hole alignment with Engine Module.
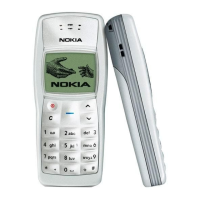
| Brand | Nokia |
|---|---|
| Model | RH-36 Series |
| Category | Transceiver |
| Language | English |