B3
11
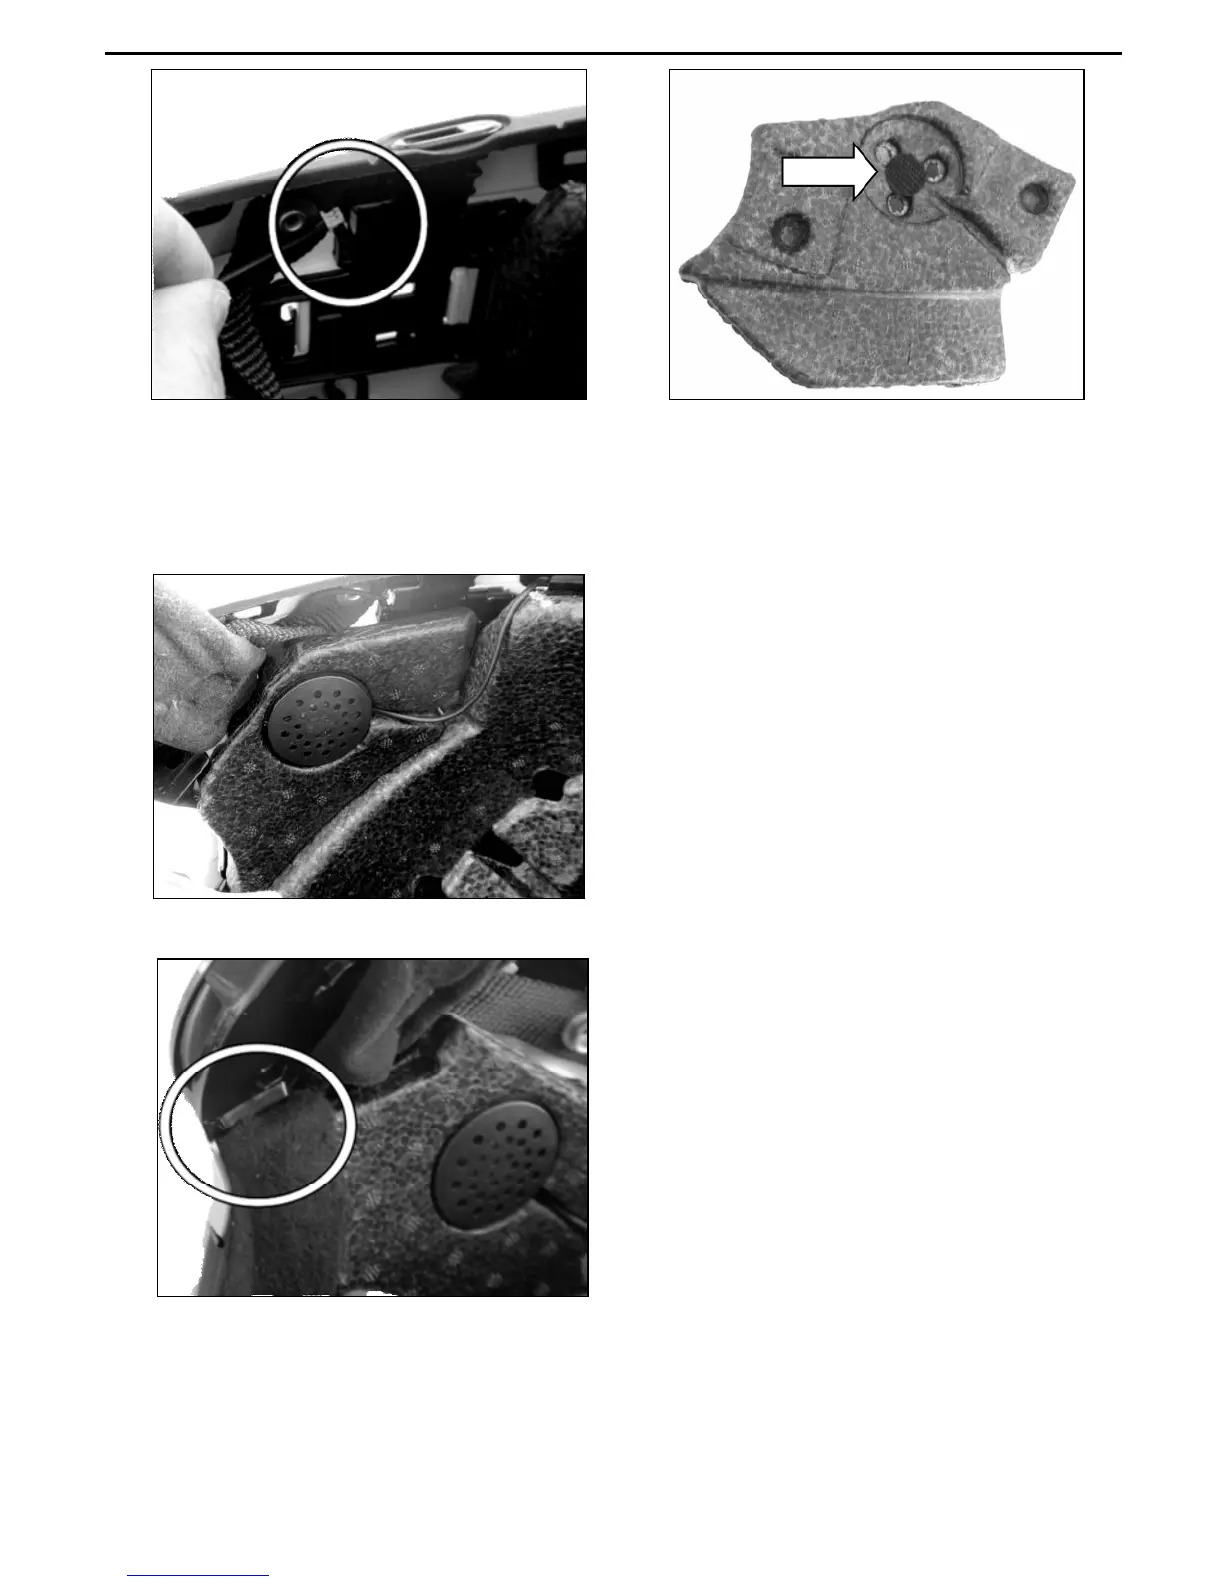
Fig. 23
Fig. 24
Insert the microphone connector in the micro USB electronic plate.
Before you place the speaker in its housing, apply the Velcro pad to the polystyrene cheek pad (Fig.
24).
Fig. 25
Position the loudspeaker in the special
housing obtained in the polystyrene cheek
pad (Fig. 25).
Fig. 26
Replace the polystyrene cheek pad (left side),
positioning the cable in the groove that you
see in the cheek pad (Fig. 25).
Note: Make sure the cheek pad is properly
positioned in its housing, pushing in the
lined corner underneath the ribbing on the
shell (Fig. 26).