Within 20 seconds the flame will
o out, indicatin
the safet
lock-out circuit is operational. Reconnect
the wire to the i
nition module upon completion of
the test.
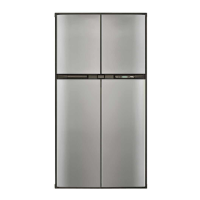
Door Panel Installation
The Norcold refri
erator doors provide slots for in-
sertin
decorative panels. Installation of the panels is
accomplished b
removin
the handle assembl
, in-
sertin
the decorative panel, and re-insertin
the
handle assembl
. This procedure applies to both
doors.
See Fi
ure 12
The frame slots are desi
ned to accept panel thick-
ness up to 3/16" maximum.
TABLE 4
PANEL DIMENSIONS
662, 663
6162, 6163
682, 683
6182, 6183
Upper
Door
19 11/16" x 16" 19 11/16" x 16"
Lower
Door
19 11/16" x 32 1/4"
19 11/16" x 39 1/4"
Note:
use this dimension
for models 652,3 &
6052,3 outer door
INSTRUCTIONS
1. Prepare panel b
cuttin
to size indicated in ac-
compan
in
chart.
See TABLE 4
2. Remove handle assembl
A
b
removin
four
screws
B
.
See Fi
ure 12
3. Slide panel into frame slots.
4. Replace the handle assembl
.
Instructions for Reversing Door Swing
Your refri
erator is e
uipped with convertible hin
es
which allows the door swin
to be chan
ed at an
-
time.
TOOLS REQUIRED
Phillips Screwdriver - Size #2
Two Slotted Screwdrivers
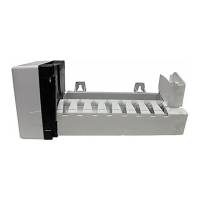
REMOVING THE DOORS
1. Remove all items of food,
uices, etc., from the
doors. Remove the
uice rack and stora
e bins.
Close both doors before removin
hin
e pins.
2. Remove the top hin
e pin usin
one of the slot-
ted screwdrivers. Remove the center hin
e pin
both pieces
usin
the two slotted screwdriv-
ers; one on each end of the pin. Lastl
, remove
the bottom hin
e pin. Be sure to save the pins
for reassembl
later.
See Fi
ure 19
3. Remove the upper door b
openin
the door
sli
htl
and pullin
the bottom of the door awa
from the refri
erator. Allow enou
h room to
slide the door down off of the upper hin
e pin
shoulder.
See Fi
ure 13
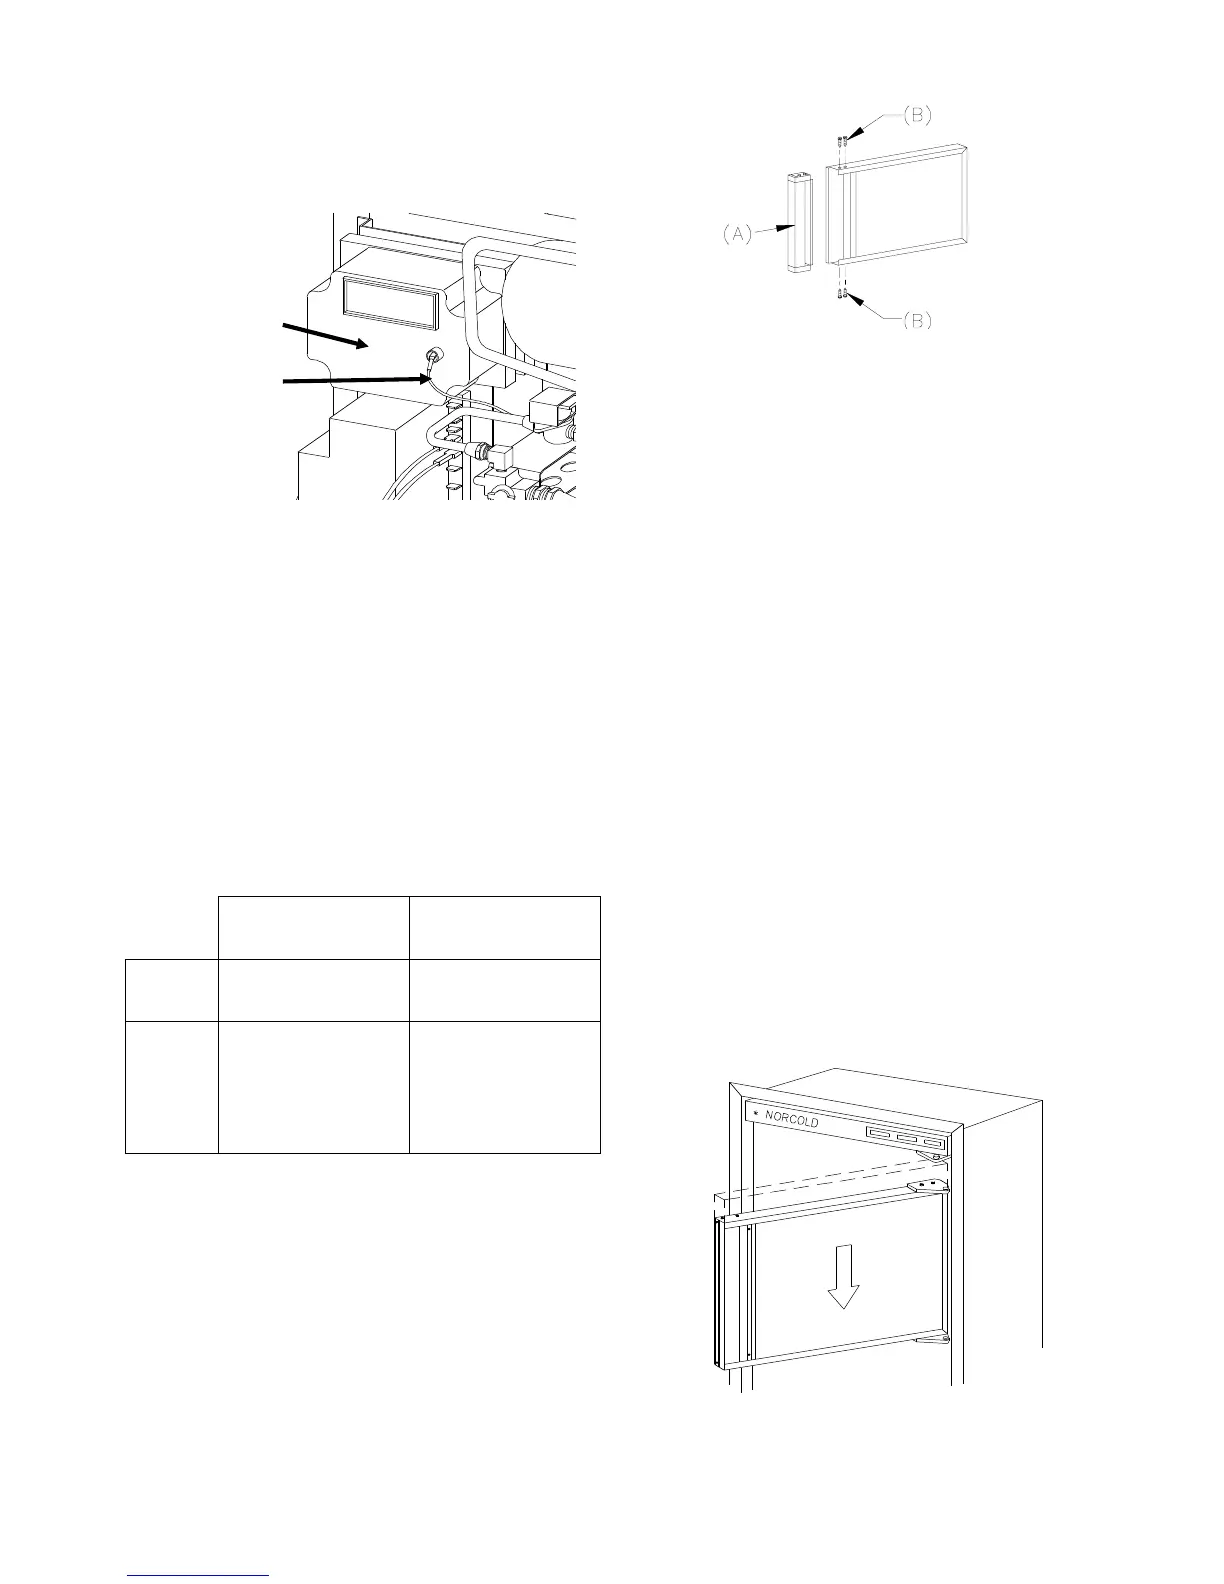
I
nition Module
Electrode Wire
Fi
ure 11
Fi
ure 12
Fi
ure 13
11