3. GETTING STARTED | 13
corresponding to the 3symbol in the display, to instead show the Split Position settings. Set
the Middle split point to C4 using the dial.
5 Make sure that the other two split points (Low and High) are set to “Off”, accessed by press-
ing the Program 1 and 3 buttons respectively.
The keyboard is now divided into two zones, the split point being indicated with a green LED
above the keyboard. The M LED above the SPLIT ON/SET button will also be lit, indicating both
that Split is turned on, and that only the Mid split point is active.
ASSIGN THE PIANO TO THE UPPER ZONE
6 Hold SHIFT and press the Piano KB ZONE SELECT button repeatedly until only LED’s 3 and 4
are lit.
This assigns the Piano to the upper zone of the keyboard. Feel free to use the OCTAVE SHIFT
buttons in the Piano section for accessing a different range of the piano sound.
SET THE SYNTH TO THE LOWER ZONE
7 Turn ON the Synth section. Hold SHIFT and press Synth KB ZONE SELECT until only LED’s 1
and 2 are lit. This will activate the synth and assign it to the lower half of the keyboard.
M By using all three split points, Low, Mid and High, it is possible to divide the keyboard into a
total of four distinct zones, all of which can have any or all of the six sound engines and two
Extern sections assigned to it.
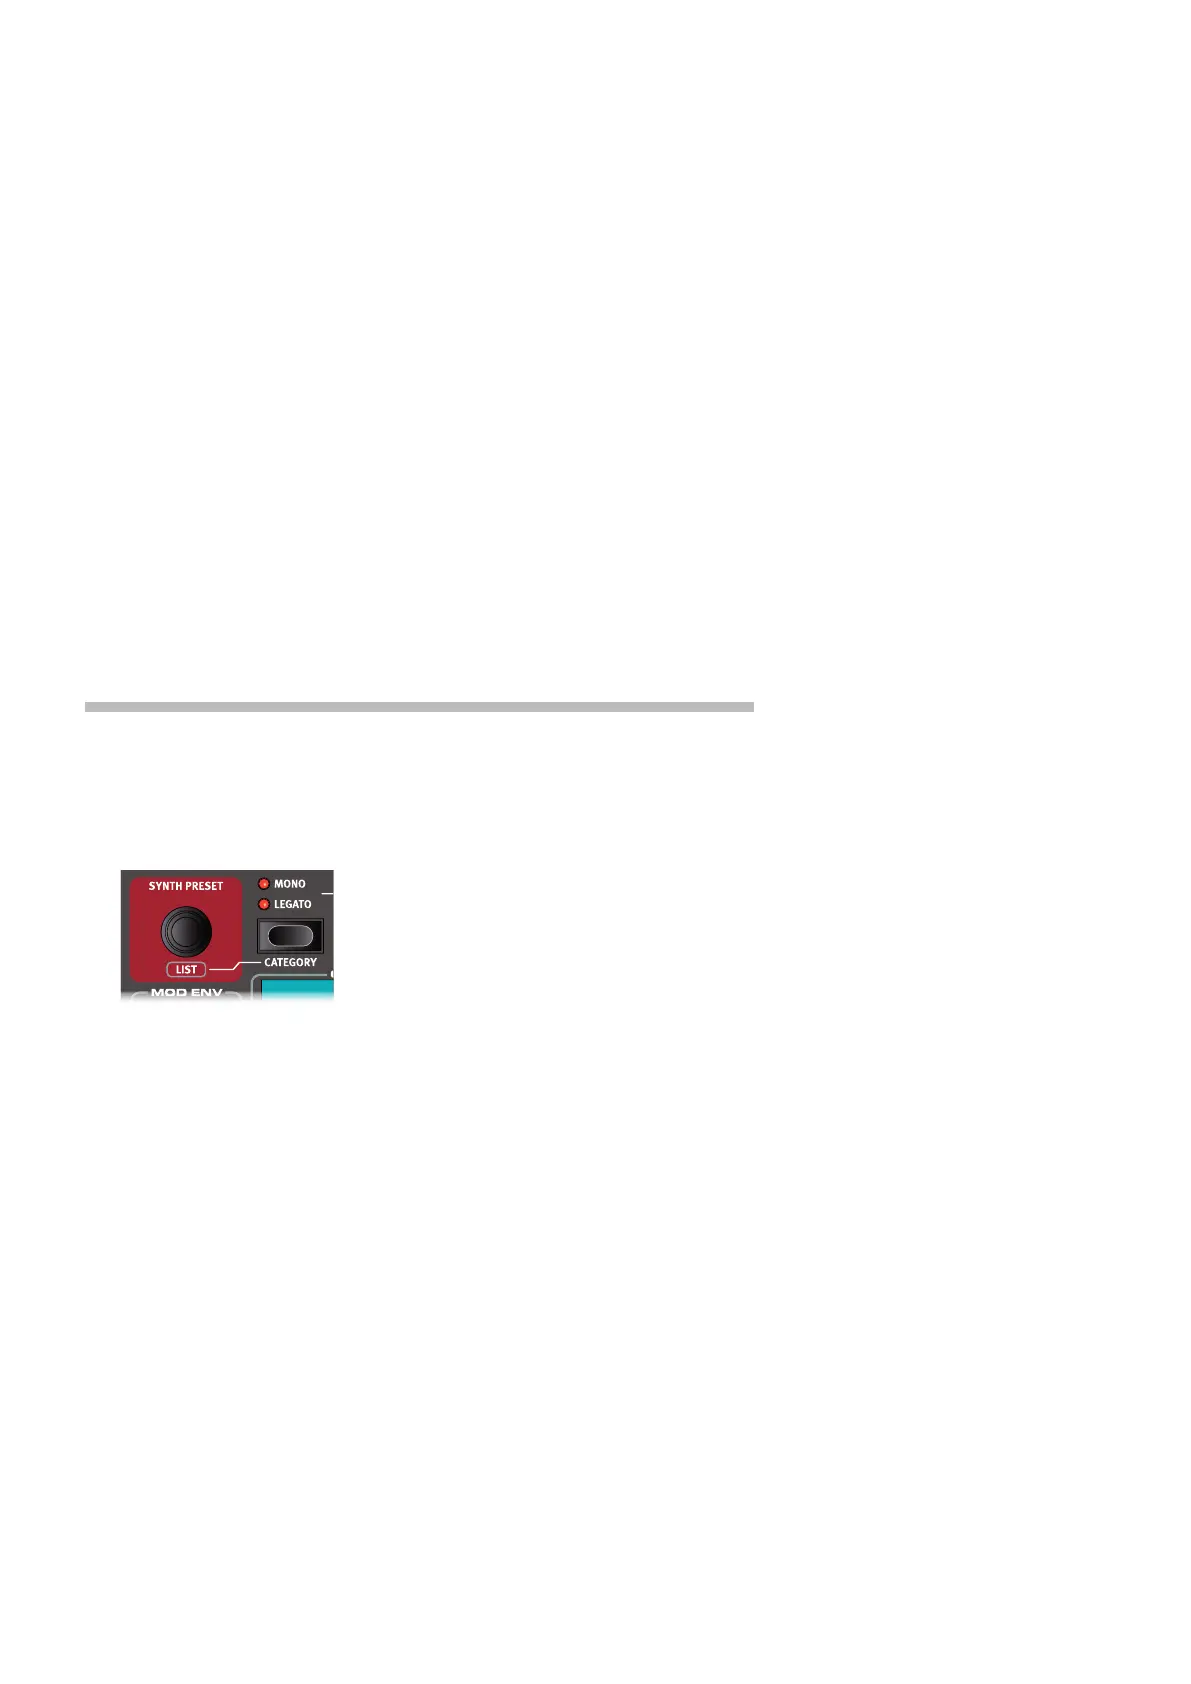
LOAD A SYNTH PRESET
1 Turn the SYNTH PRESET dial and select any of the Synth presets from the 8 preset banks -
perhaps a Bass Synth sound. Note that the location and name of the preset is displayed at
the bottom of the Program area display. The Synth display will show the currently active
oscillator settings.
All the synthesizer parameters on the panel can be adjusted, even when using a preset as a
starting point. An in-depth description of these parameters can be found in the Synth reference
chapter, starting at page 31.
To view a parameter setting without changing it, hold the Monitor button and turn the pa-
rameter’s knob.
CREATE A LAYER
Let’s add a third sound to the Synth/Piano split we just created.
1 Activate Panel B by pressing the PANEL B button, giving access to a second set of sound
engines and effects.
2 Make sure that only the Synth section is active: Press SHIFT + PROG INIT and select Synth
from the display by pressing Program button 4.
The Prog Init function is used for quickly initializing the current panel in a manner which
suits the type of program which should be created, and will disable all sections and reset all
parameters that should not be used.
3 Use the SYNTH PRESET dial to select a sound which should be layered upon the previously
set up split.
ACTIVATE BOTH PANELS
4 Press both the PANEL A and PANEL B buttons simultaneously to create a layer with the
 Loading...