
J
jimmyrobinsonAug 19, 2025
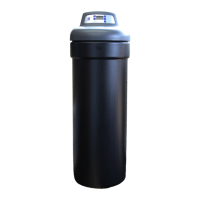
Why is the water from my North Star Water Dispenser hard sometimes?
- BBrandon RiggsAug 20, 2025
If the water from your North Star Water Dispenser is sometimes hard, there are several potential causes: 1. The time might be set incorrectly. Check and correct the time setting. 2. The water hardness might be set incorrectly. 3. The model code might be programmed incorrectly. 4. Hot water may be used when the softener is regenerating. Avoid using hot water during regeneration, as the water heater will fill with hard water. 5. There might be a possible increase in water hardness. Test untreated water and program the water softener accordingly. 6. There may be leaking faucet or toilet valve, leading to excessive water usage. Fix any leaks and ensure faucets are fully closed.