OM0123 Page 42 of 68
Rev 15
9.0 Calibration
Proper calibration of the US Autoflow involves four parameters: chamber temperature, door temperature, CO
2
sensor, humidity, and O
2
sensors (NU-4850, 4950). The first two, chamber and door temperature should be
completed and stabilized before any CO
2
/humidity/O
2
sensor calibration is performed. Below, each calibration
procedure is described in detail. For the best results, follow the procedure carefully, and if the desired result is
not achieved, try procedures again from the start.
9.1 Chamber Temperature Calibration
The US Autoflow's TEMPERATURE CALIBRATION MUST BE PERFORMED WITHIN 1°C OF THE PLANNED
OPERATING TEMPERATURE. Normally, 37.0°C is the most common setpoint. To initiate the procedure, turn on
the IR Autoflow via the power switch on the back panel. Press the run/setup key until the unit goes into setup
mode to check the temperature value parameter for your planned operating temperature and change if
necessary. Press the run/setup key again until the unit switches back to Run and let stabilize for 8 to 12 hours.
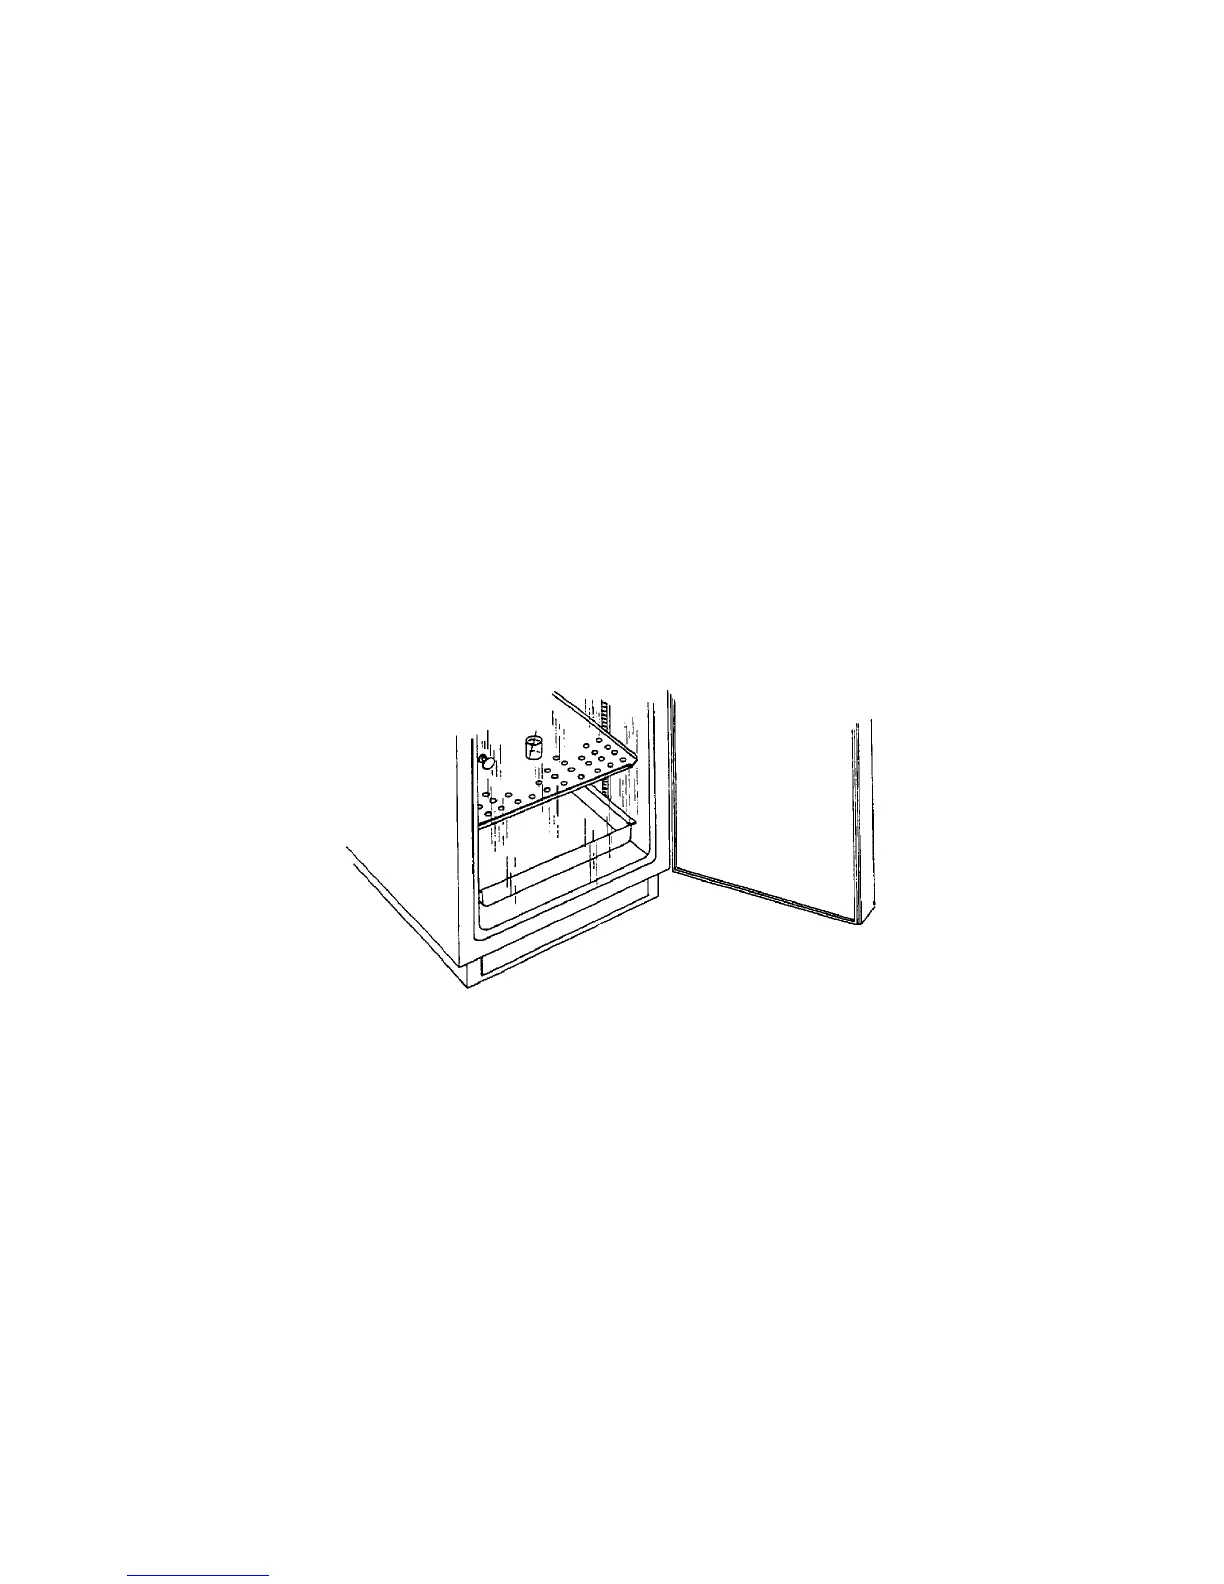
At the beginning of this procedure, set a mercury glass thermometer in a glass beaker filled with water resting
on a shelf in the middle of the IR Autoflow chamber. Do not place the glass beaker on the bottom of the
chamber because it will result in a slightly higher temperature due to the heater pan being located just below
the chamber bottom. Placing the thermometer in a glass beaker on the middle shelf will give the most accurate
results for calibration. Chamber should be humidified to avoid false low readings due to evaporation of water
from the flask. An accurate digital thermometer with a type K thermo couple could also be used.
When the unit has stabilized at the operating temperature, perform the following calibration procedure.
• Make sure unit is in Run mode, green LED above the run/setup key should be on solid.
• Press [SEL] to indicate green LED next to temperature display.
• Press and hold key for four seconds, temperature display alternates between "Adj" and the current
temperature.
• Press or key to indicate same temperature as thermometer.
• Press [SEL] key to complete calibration.
The chamber temperature calibration is complete. Let unit stabilize for 8 to 12 hours. If the chamber
temperature (actual thermometer) still does not match the display, perform the above procedure again. In
some cases it might be necessary to calibrate several times to achieve a stable condition due to ambient
conditions of temperature and humidity within the laboratory.
 Loading...