NM#5000P
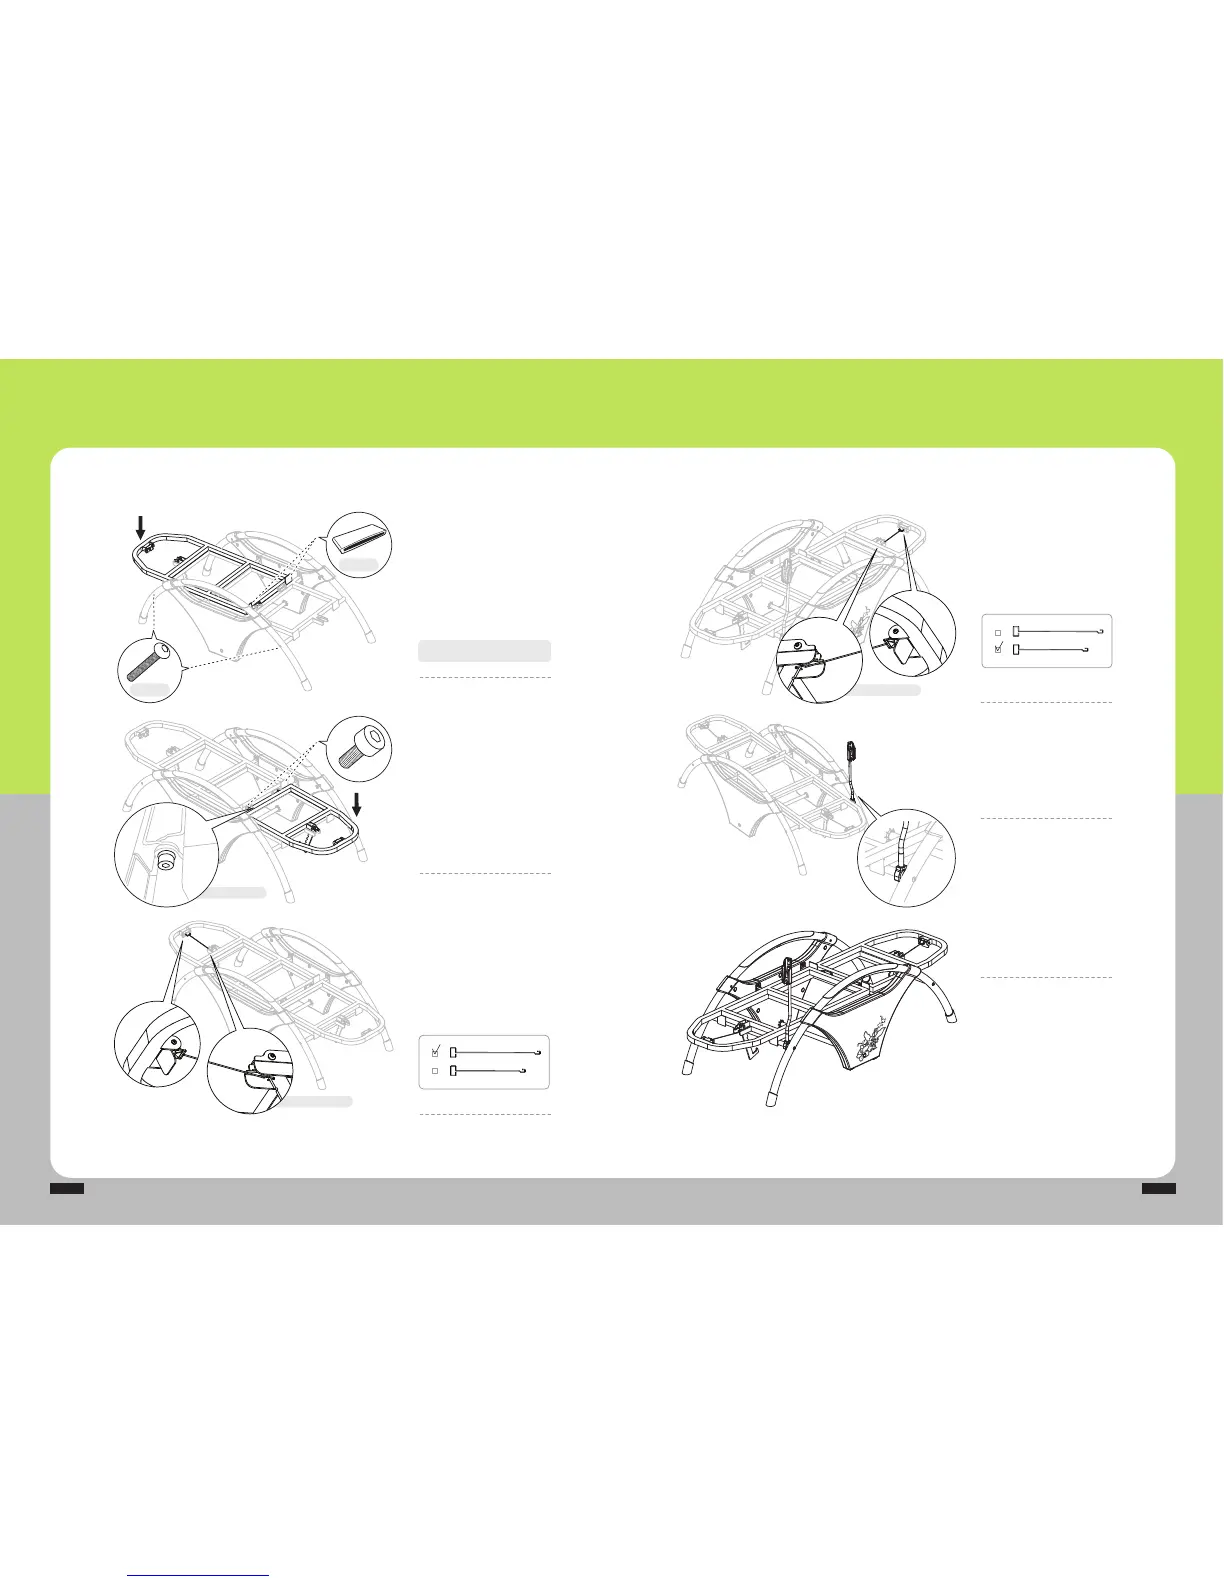
How$to$Assemble$the$Product$Frame
Connect$the$ring$for$
angle$adjustment
Connect'the'(shorter)'ring'for'angle'
adjustment'to'the'sub'angle'frame'as'
shown'in'the'picture.
Fix$the$remote$
controller$holder
Use'an'L<wrench'to'fix'the'remote'
controller'holder'as'shown'in'the'
picture.
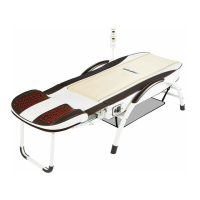
Completed$appearance
Place$the$main$angle$frame
Put'the'main'angle'frame'on'the'
assembled'product'frame.
Fix'the'frame'leg'and'leg'support'
with'2'pieces'of'Screw'No.'13'as'
shown'in'the'picture.
Place$the$sub$angle$frame
Put'the'sub'angle'frame'on'the'
assembled'product'frame.
Loosen'screws'placed'on'the'sub'
angle'frame'and'then'fix'the'main'
angle'frame,'main'base'frame'and'
sub'angle'frame'all'together .
Fix$the$frame$leg$and$leg$support$with$2$pieces$
of$Screw$No.$13$as$shown$in$the$picture.
Connect$the$ring$for$angle$
adjustment
Connect'the'(longer)'ring'for'angle'
adjustment'to'the'main'angle'frame'
as'shown'in'the'picture.
Appearance$from$the$bottom
Appearance$from$the$side
Screw$No.13
buffer$rubber
Appearance$from$the$bottom