Assembling Your Veggie Bullet | 2524 | Assembling Your Veggie Bullet
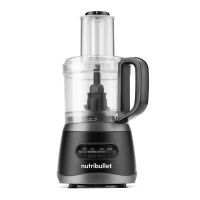
SAFETY NOTE:
Check to make
sure that the lid is securely locked
in place and that the push button
on the hinge pin is not pushed in.
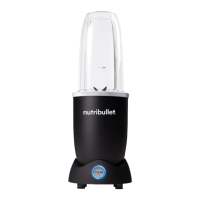
STEP 5:
To securely close the SPIRALIZER LID (2D), hook the front safety
clasp over the LID and press down to LOCK. The POWER INDICATOR
LIGHT will glow RED when all pieces are locked and in place.
Press the Power Button to turn the machine ON and the indicator light
GREEN. If everything is properly assembled, the Button will glow GREEN
and the motor will run. If the Button doesn't glow GREEN, turn o power
and check your assembly to make sure all pieces are locked and in place.
To UNLOCK and open the SPIRALIZER LID (2D), first turn OFF the
machine by pressing the Power Button. The POWER INDICATOR
LIGHT will glow RED when the unit is o . Then, pull the bottom arm of
the safety clasp outward to unhook and simply li lid to open.
S TE P 4:
Fasten SPIRALIZER LID (2D)
to the back of the SPIRALIZER
BASE attachment (2A) by
squeezing the retractable
hinge pin on the back of the
SPIRALIZER BASE (2A) and
holding the SPIRALIZE LID (2D)
at 90 degree angle.
Interlock the metal hinge on
the SPIRALIZER LID (2D) with
the back metal hinge pin, then
release the hinge pin and close
the SPIRALIZER LID (2D) flat
over SPIRALIZER BLADE (2C).
2C
2B
2A
2A, 2B
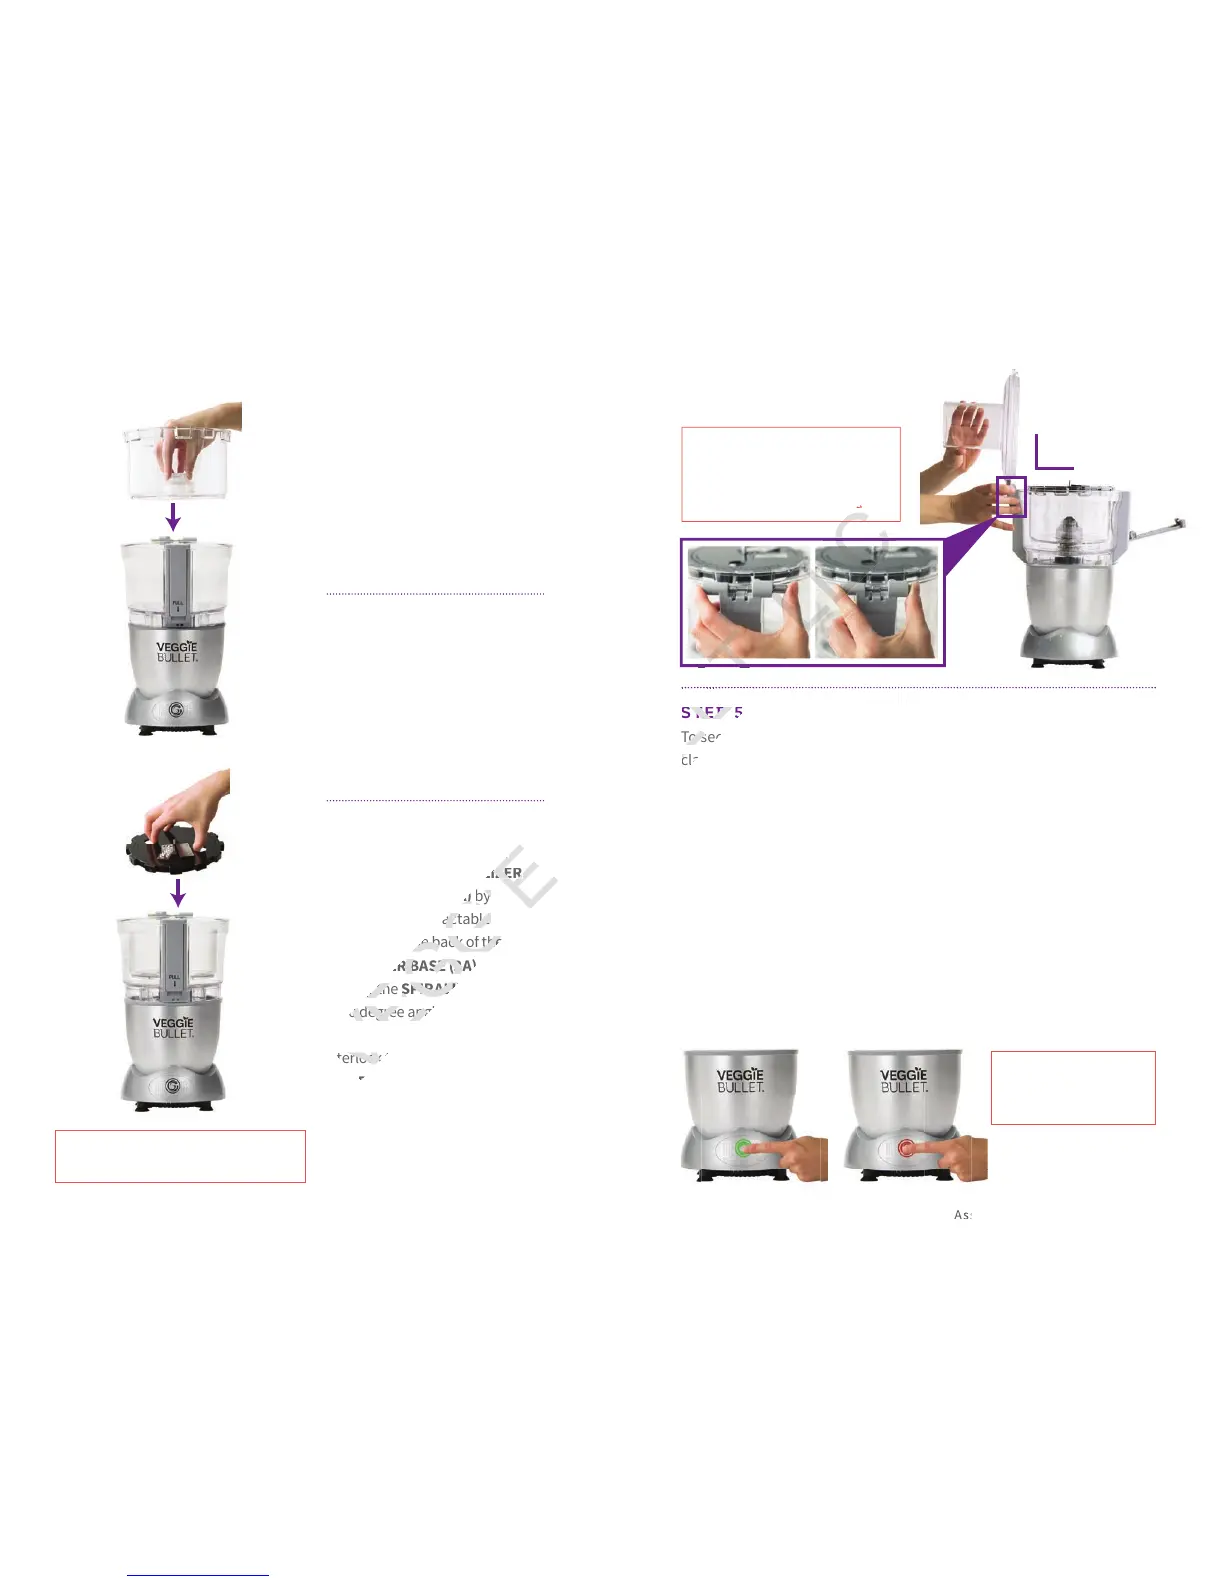
STEP 2:
Place SPIRALIZER BASKET
component (2B) over top of
the center spindle inside of the
SPIRALIZER BASE attachment
(2A). Make sure that the basket
is properly seated in and aligned
with the spokes on the spindle.
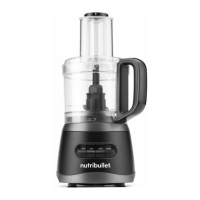
S TE P 3:
Using the circular finger grips,
carefully place the SPIRALIZER
BLADE (2C) on the SPIRALIZER
BASKET (2B) and set the
rectangular notches into place
on the top of the SPIRALIZER
BASKET (2B).
90°
2D