19
19
DELAY
Default – 1 hour.
1. Press ON/OFF.
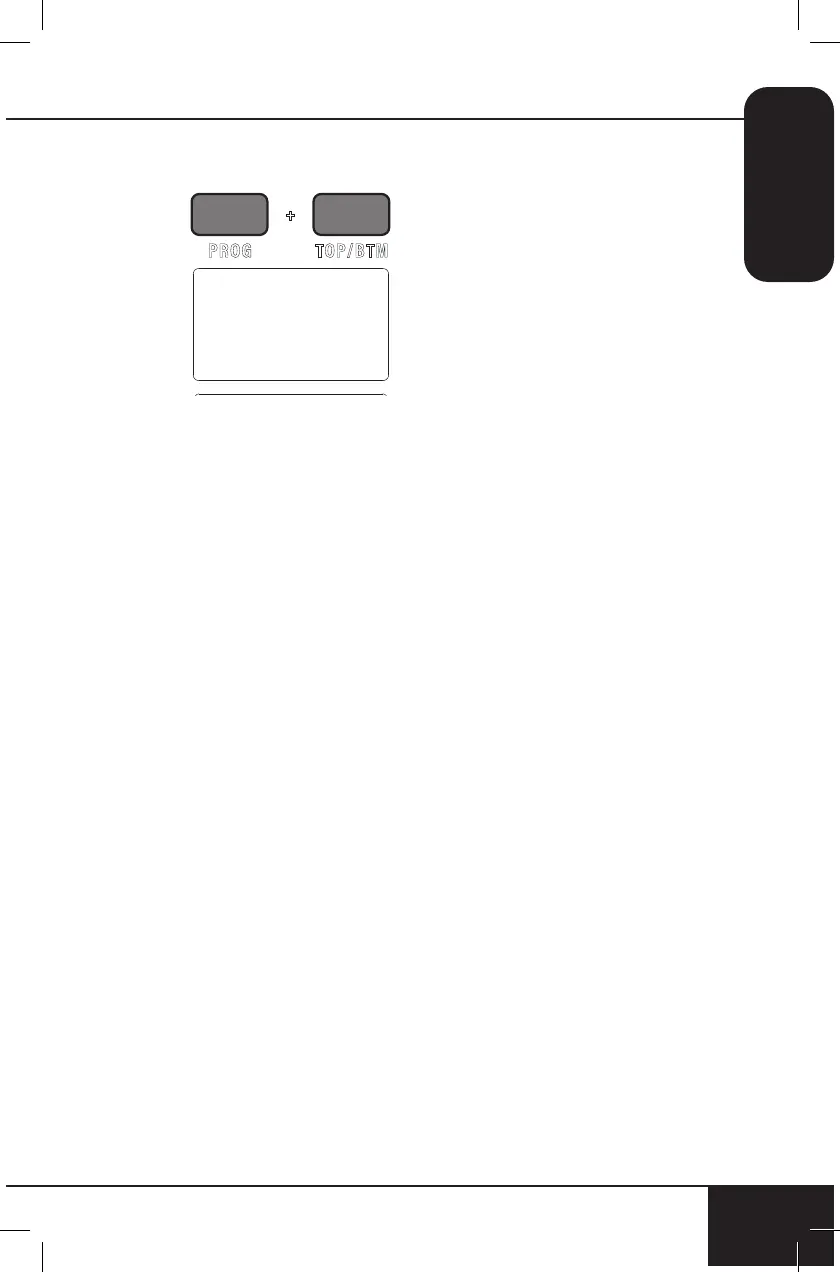
2. Press PROG and TOP/BTM.
• Adjust delay time by
turning START/PAUSE
clockwise to increase
time in 1-minute
increments or by
turning START/PAUSE
counterclockwise
to decrease time in
1-minute increments.
Quickly turn the dial
to adjust in larger
increments.
• Maximum delay time is
24 hrs. (“24:00”).
0 1:00
3. Press START/PAUSE to
begin delay time countdown.
• The set delay time will
be displayed with a
countdown.
4. Once delay countdown is
complete, the Bravo will
begin cooking at set cooking
temperature and time
(default is 350F (177C) for
15 minutes).
Using Delay with Cooking
Function
Example 1: Delay cooking 40
minutes, cook at 360F (182C)
for 20 minutes.
1. Press TEMP/TIME. Adjust
cooking temperature to
360F (182C).
2. Press TEMP/TIME a
second time. Adjust
cooking time to 20 min.
3. Press PROG and TOP/
BTM at the same time. Ad-
just Delay time to 40 min.
4. Press START/PAUSE.
The Bravo will delay for
40 minutes, then begin to
cook at 360F (182C) for 20
minutes.
Example 2: Delay cooking 60
minutes (1 hour), cook at 400F
(204C) for 10 minutes.
1. Press TEMP/TIME. Adjust
cooking temperature to
400F (204C).
2. Press TEMP/TIME a sec-
ond time. Adjust cooking
time to 10 min.
3. Press PROG and TOP/
BTM at the same time.
Adjust Delay time to 1 hr.
4. Press START/PAUSE. The
Bravo will delay for 1 hr,
then begin to cook at 400F
(204C) for 10 minutes.
5. When the Bravo is
finished, “End” will be
displayed and the unit will
beep three times.
Note: Delay will always be the
first function executed by the
Bravo.
 Loading...