ii
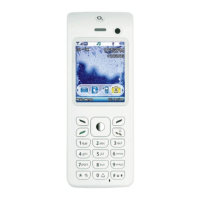
Basic navigation
Here’s how to navigate when using your
O
2
Ice mobile.
• Use the navigation key to move up,
down, left or right
•
Press or to select an item
•
Press to go Back or delete
digits entered
•
Press to go back to the
standby screen
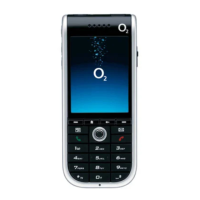
How to make a call
•
Type the number of the person you wish
to call by using the numbered keypad or
scroll down on the navigation key to
select Contacts then scroll up and down
to find the contact. If you enter one or
more letters from the beginning of a
contact’s name, then you can find their
entry much quicker than just by scrolling
up and down
•
Press . Your O
2
Ice mobile will start
to dial the number
•
After you’ve connected, press to
end the call
Below are some instructions to get you
started quickly. If you want to know more,
take a look at the detailed sections of
this guide.
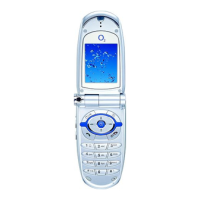
Setting up
•
Slide open the back of your O
2
Ice
mobile and insert the SIM into the slot
underneath the metal grooves. Slip the
battery into the space over the SIM card
and replace the back. See page 20 for
further information
•
Check everything is securely in place,
then hold and press until the screen
turns on. Enter a PIN if necessary*.
See page 113 for more information on
PIN codes
•
You’re now ready to use your O
2
phone
Charging the handset
•
Insert the lead from the charger into
the charging socket on the base of
your handset
•
Connect the charger to the correct
electrical socket. Make sure the socket
is switched on. Your phone will now
start charging
•
When the phone is fully charged
disconnect the charger from the socket
and then from the phone
i
* If you enter an incorrect PIN code three times in succession, your SIM card will lock and you must enter the PUK
code to unlock it. Please contact O2 Customer Ser
vice or visit www.o2.co.uk/PUK and follow the instructions.
Quick start guide