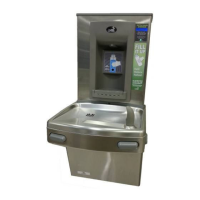
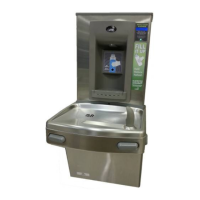
7. Install the drip tray and anti-splash grate into the alcove area and secure
with the two (2) stainless steel phillips head screws.
Anti-splash grate
Drip tray
Anti-splash grate
screws (provided)
8. Connect male tab terminals from bottle filler power supply to female
terminals on power cord. Make sure male tab is seated inside metal
contacts of female terminal.
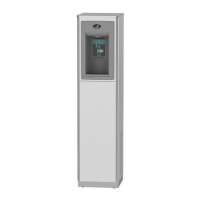
9. Plug in bottle filler cord. The program should be set up specific for that
installation. See the program guide on the next page.
Section 3: Installation
10. Turn ON water supply and check for leaks.
Place a container in the alcove to release any
trapped air from the system. Plug in the power cord
and replace the front panel.
11. If everything works correctly, place the top cap
back on the bottle filler and use the remaining two
(2) torx screws to fasten it in place. Otherwise,
calibrate the sensor per the instructions on the next
page.
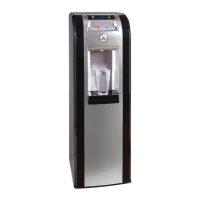
Insert bottle
INSTALLATION COMPLETE