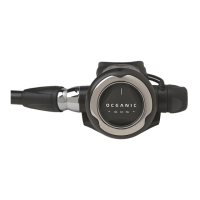
EOS SERVICE PROCEDURE 12-2810-R02 (10/3/10)
!"##$%&'(&$))*+%,,'((-..*/01*0/-0(2(+34 '((15.*167*1/./(2(,839)'((:;<=>?;@A?;BC>?D:BE?AF 4
(
K9!3!!,8J)I(#%$H,K"%,(
G$&,'( J;( :D<;( RA( T;<SA<F( RN;( :R;T:( ADRQ>C;O( >C( RN;( L;C;<BQ( !;<=>?;( #<A?;OD<;( WKA?E( GAE( 5_*__._*<._Y( T<> A<( RA(
O>:B ::;FdQ>CU( RN;( ,A:( :;?ACO( :RBU;E( %;=>;V( RN;( & <ADdQ;:NAAR> CU( :;?R>AC( AC( TBU; ( 0( RA( d;RR;<( DCO;<:RBCO ( VN>?N(
>CR; <CBQ(TB<R:(FBP(C;;O(<;TQB?>CUf(BC O(RA(d;RR;<(B O=>:;(RN;(?D:RAF;<(AS(RN;(:;<=>?;(<;aD><;OE(
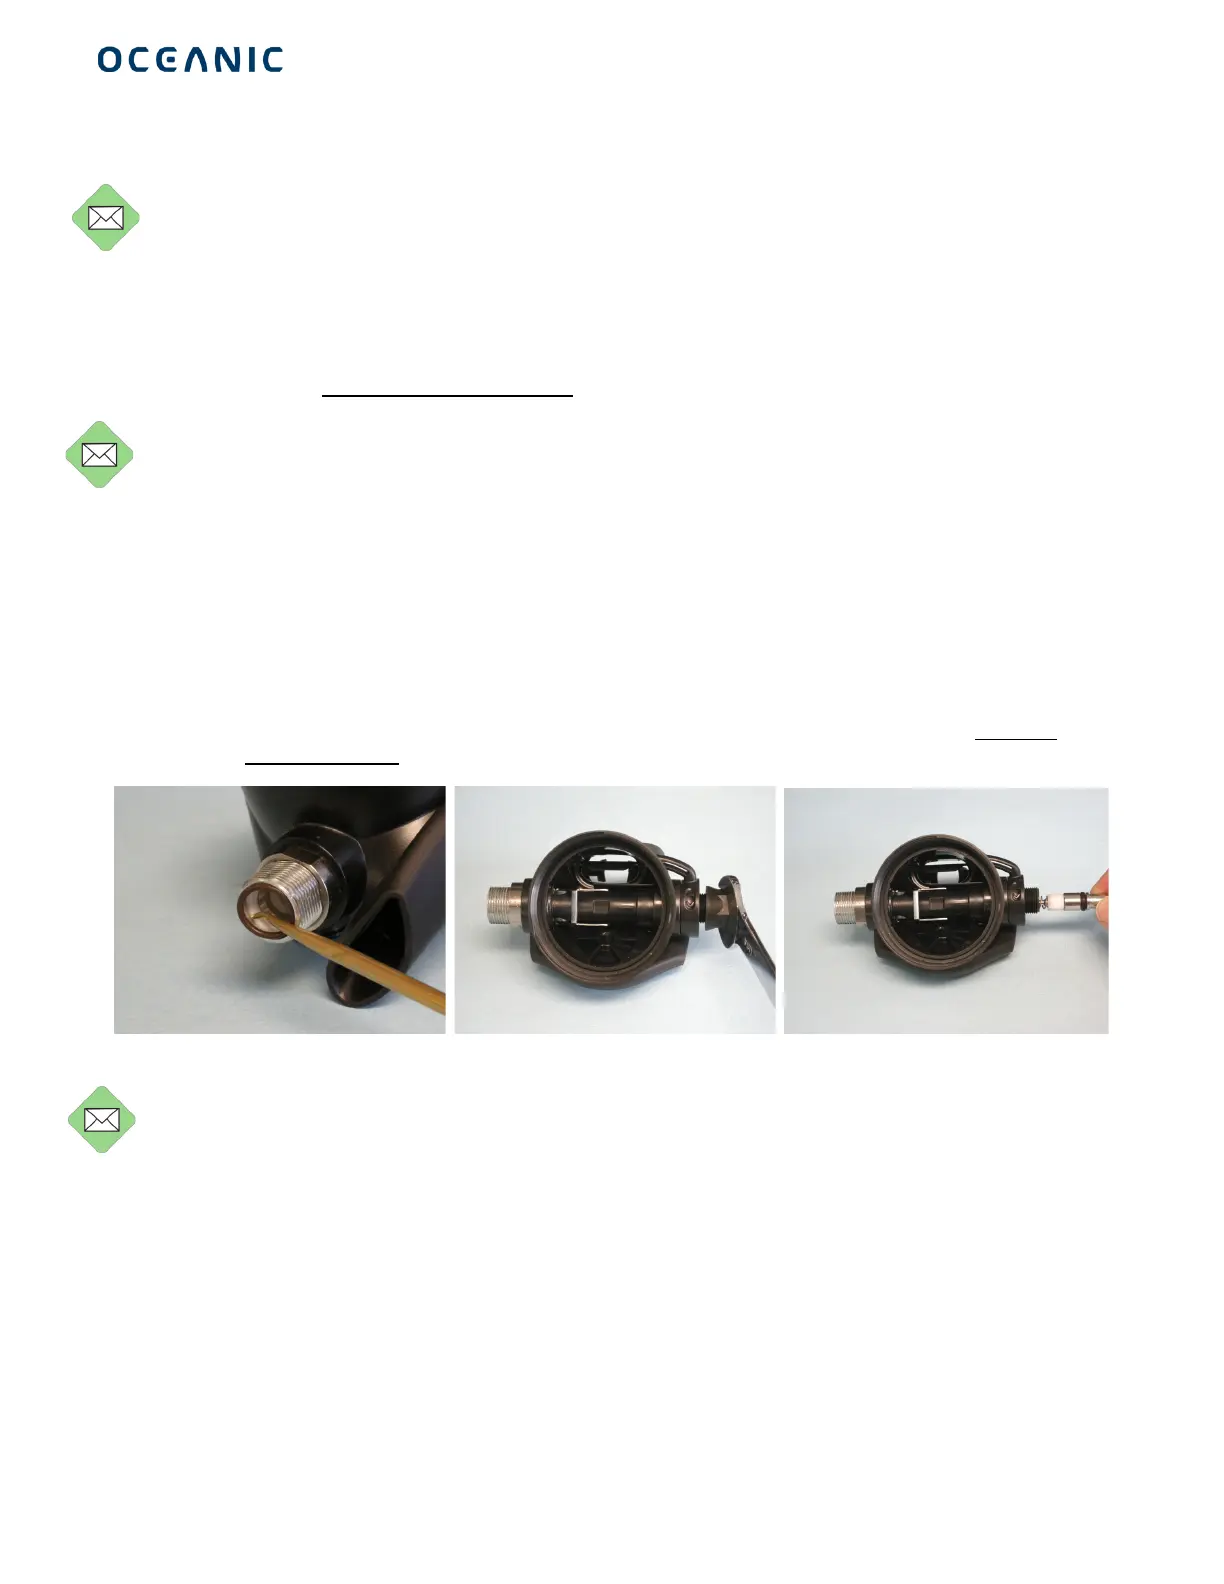
1. Carefully!snip!the!&>;(^<BT(W\Y((schedule!A)!on!the!8ADRNT>;?;(W-Y;!remove!8ADRNT>; ?;(W-Y(and!inspect!for!holes,!
tear s!or! deforma tion.!Dis card !if!any!found.!
2. Remove!the!)#(ZA:;(W07Y(fr om!the!MBQ= ;!ZAD:>CU(W _\(A<(/ /Y(using!an !adjustable!wrench;!remove!the!$*<>CU(W0\Y(and!
!V>=;Q(^B:N;< (W_/(ONLY%USED%ON%SWIVEL%VER.%2Y!with!a!brass!pick!(O‐ring!Tool!Kit!40.9520)!from!the !MBQ=;(ZA D:>CU(
W_\(A<(//Y(and!discar d!(sched ule!A);!K$(G$&(%,"!,.!W+>UE(5Y!
G$&,'(& N;(VB:N;<(QA?BR;O(>C :>O;(RN;( )#(ZA:;( d;N>CO(RN;(:V>=;Q(dBQQ(>:(CAR(: ;<=>?;BdQ;(BCO(>:(G$&(RA( d;(<;FA=;OE!
3. Remove!the!HA=;<(%>CU(W5Y(and(&AT(H A=;<(W_Y(by(turning!count er!clockwise. !
4. Remove!the!K>BTN<BUF(%;RB>C>CU(%>C U!W0Y(by!unsc rewi ng!it!counter!clockwise.!
5. Remove!the!K>BTN<BUF(^B:N;<(W/Y!and!K>BTN<BUF(W1Y(by! grasping !the!raised!edges !of!the!center!and!lift!with!a!slight!
upward!twist!to!remove. !Hold!up!to!t he!light!and! insp ect!f or!holes,!tears!or !deformation;!discard!if!any!found.!
6. Turn!the!3OhD:RF;CR(iCAd(W_0Y(o ut!completel y!counter!clockw ise.!Rem ove!the!3OhD :RF;CR(iCAd(!?<;V(W__Y!with!a!
3/32”!hex!key!and!re mov e!the!3OhD:RF;CR(iCAd(W_0Y(from! the!3OhD:RF;CR(!NBSR(W5\ Y.!!
7. Remove!the!#B?b>CU(GDR(W_.Y(from!the!3OhD:RF;CR(&Dd;(W55Y!with!a!5/8”!open!end! wrench!turning!clock wise!W+>U E(_Y;!
the! nut!is!left‐hand!threaded.!Be!careful!not!to!lose!the!&N<D:R(^B:N;<(W57 Y.!
(( ( ( (
((((((( ((((((((((+>U E(5( ( ( ( ((((((((((+>UE(_( ( ( ( ((((((( ((((((((((((((+>UE(0!
G$&,'(& N;(3OhD:RF;CR(!NBSR(W5\Y (:DdB::;FdQP(>:(DCO;<(:T<>CU( QABO(BCO (FBP(TAT(ADR(VN;C(RN;(#B?b>CU(GDR(W_.Y(>:(
<;FA=; Ok(d;(?B<;SDQ (CAR(RA(QA:;(BCP(?AFTAC;CR:(OD<>CU(O> :B::;FdQPE!
8. Remove!the!&N<D:R(^B:N;<(W57Y!f rom!the! 3OhD:RF ;CR(!NBSR(W5\Y;!if!missing,!it!m ay!be!inside!the!#B?b>CU(GDR(W_.Y.!
9. Grasp!the!3OhD:RF;CR(!NBSR(W5\Y(with!your!fingers !and!pull!straight!out!from!the!3OhD:R F;CR(&D d;(W55Y.!W+>UE(0Y.!
10. Remove!the!#ATT;R(!T<>CU(W51Y!and!JBQBC?;(!NBSR(W5/Y.!If! the!JBQBC?;(!NBSR(W5/ Y(does!not!come! out,!gently!tap!the!
3OhD:RF;CR(&Dd;(W55Y!into!your!hand!to!remove!it!W+>UE(/Y. !Examine!the!JBQBC?;(!NBSR(W5/Y!and!compare!it!to!a!new!
one !to!insure!that!it! is!not!bent!or!deformed;! discard!i f!damaged.!
11. Remove!the!$*<>CU(W5-Y(from!the!3OhD:RF;CR(!NBSR(W5\Y!and!inspect!for!any!signs!of!damage;!discar d!if!found.!
!