41
Setting Sampling Rate (continued) -
• Press Both buttons simultaneously, release when SET: 2
appears (4 seconds).
• Press and release the Front (Advance) button, the Units screen
appears with the set point flashing.
• Press the Front (Advance) button 16 more times.
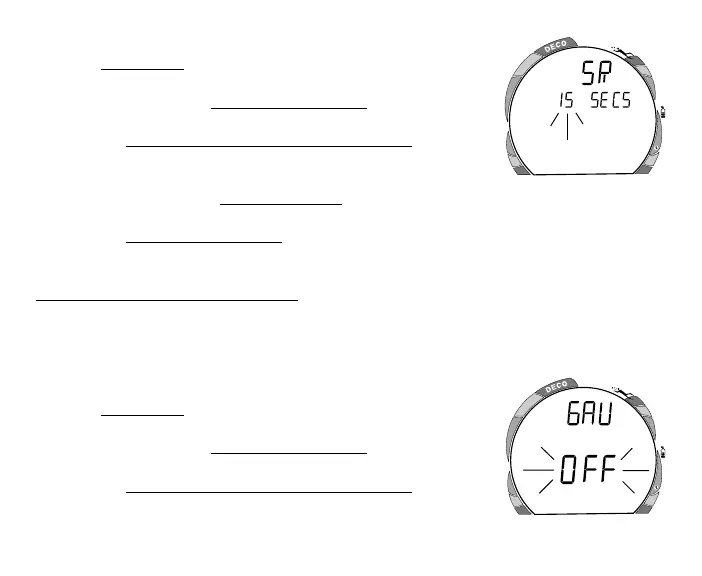
• The graphics SR and SECS appear with the Sampling
Rate value flashing (Fig. 45).
• Press and release the Side (Select) button advance the Rate
one selection at a time.
• Press the Front (Advance) button to accept the setting and advance to Set Digital Gauge
Mode, or press and hold Both buttons for 2 seconds to revert to Surface Mode.
TO SET - DIGITAL GAUGE MODE (while in Surface Mode)
Factory set OFF, Digital Gauge Mode can be set ON. Once a dive is made with this
feature set ON, the setting will be locked ON for 24 hours after the dive. Set Digital
Gauge Mode will not appear as a selection during that 24 hour period. Effects of this
feature being ON or OFF are described on page 63.
• Press Both buttons simultaneously, release when SET: 2
appears (4 seconds).
• Press and release the Front (Advance) button, the Units screen
appears with the set point flashing.
• Press the Front (Advance) button 17 more times.
• The graphic GAU appears with OFF (or ON) flashing (Fig.
46).
Fig. 45 - Set Sampling Rate
Fig. 46 - Set Gauge Mode
ATR
O
2