91
Transmitter Battery Installation (continued) -
• Place a new 3 volt, CR2, Lithium Battery (Duracell model DL-
CR2 or equivalent) positive (+) side down into the Battery
Compartment with the negative end facing up/out (Fig. 111).
• Ensure that the Battery is properly oriented and the Hatch O-
ring is evenly seated around the Battery Hatch.
• Carefully place the Battery Hatch with Spring into the Hous-
ing and turn clockwise slowly by hand to ensure proper
threading. Apply a coin and tighten until secure. The outer
surface of the Battery Hatch should be flush with the outer
surface of the Housing.
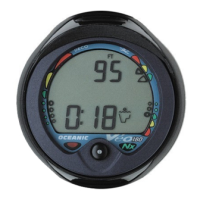
Testing
• Pressurize the Regulator Assembly (and Transmitter).
• Activate the Display Module and watch carefully as it per-
forms a full diagnostic and battery check, and enters Surface
Mode. Observe the LCD display to ensure it is consistently
clear and sharp in contrast throughout the screen.
• Verify that Tank Pressure and the Link icon are displayed.
• If any portions of the display are missing or appear dim, or
if a Low Battery Condition is indicated, return your VT Pro to
an Authorized Oceanic Dealer for a complete evaluation
before attempting to use it.
Fig. 111 - Battery Orientation
(+) Battery ( - )