Replacement
Battery Charger
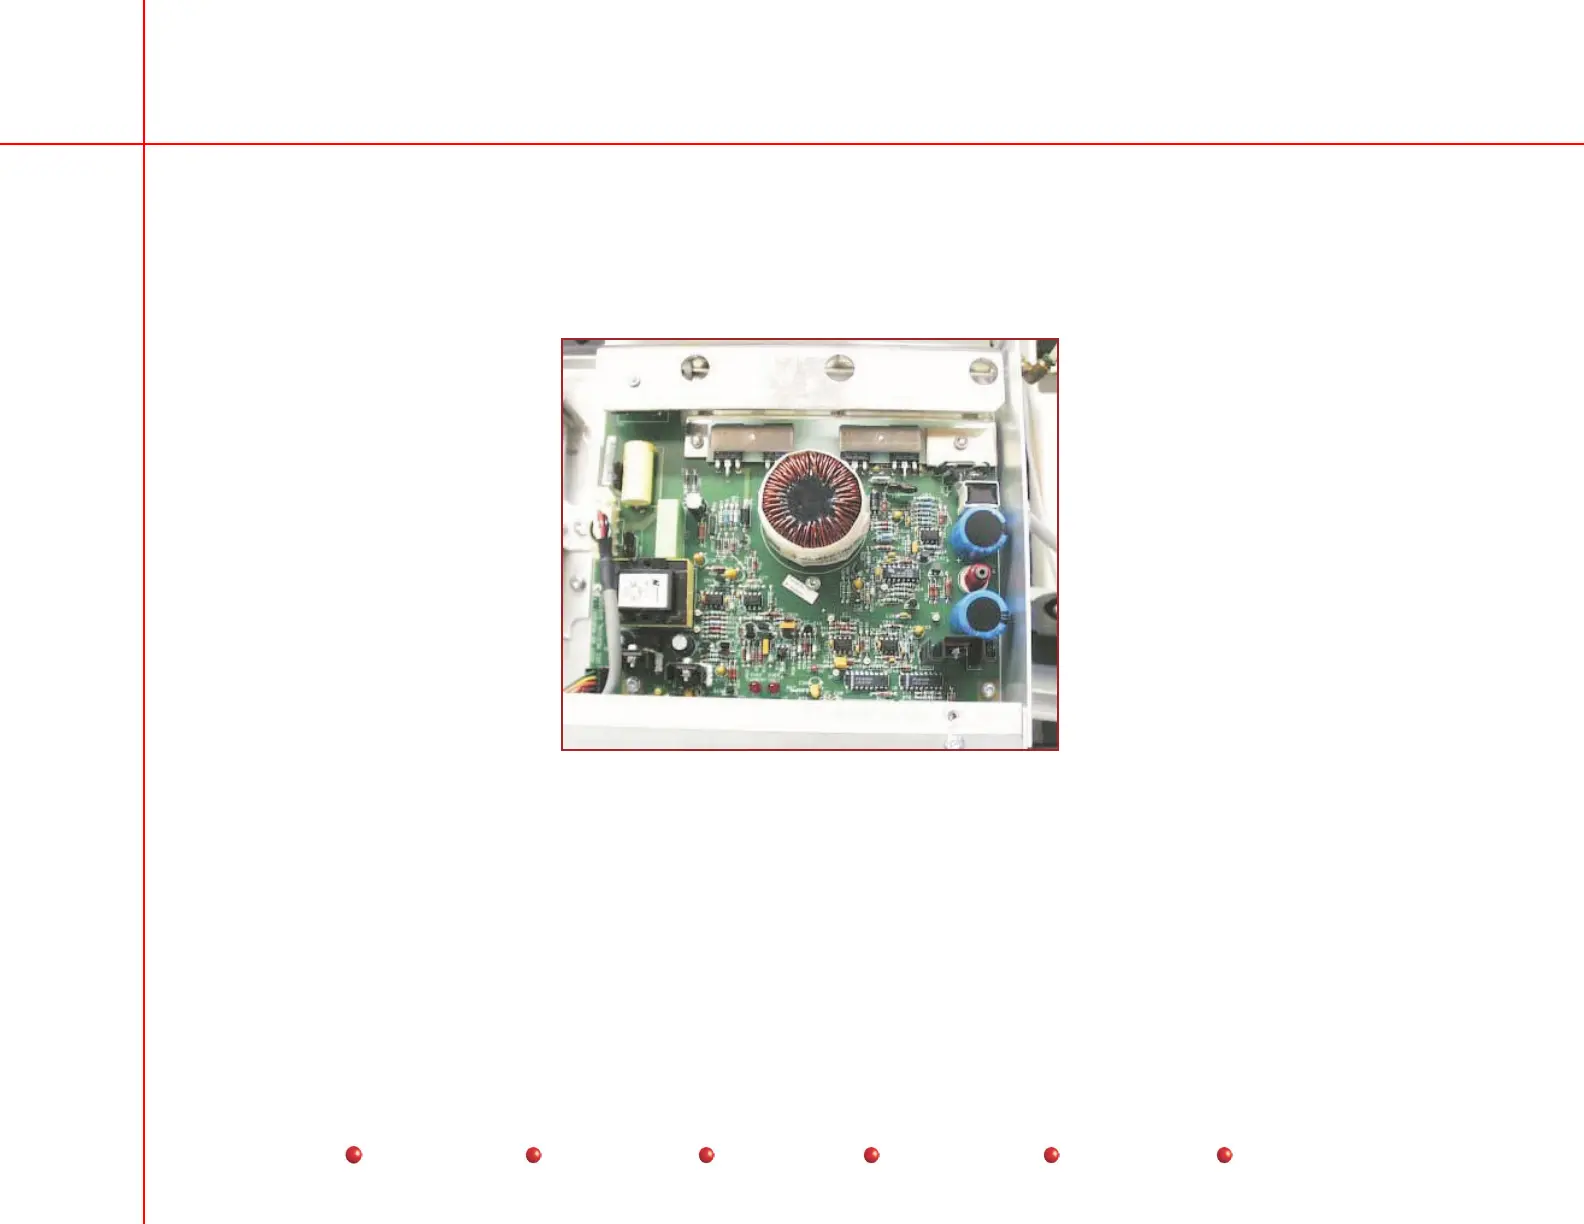
The Battery Charger PCB mounts at the rear of the C-Arm under the Rear Cover and Component Tray Cover as shown in the
following illustration. The following procedure explains how to replace the Battery Charger.
Battery Charger PCB
1. Turn off Workstation and remove Workstation’s AC plug from facility outlet.
2. Remove Rear cover from C-Arm.
3. Remove Component Tray cover from C-Arm
4. Remove connectors from P1, P2, and P3 on the Battery Charger PCB.
5. Remove two torx screws that secure bottom edge of Battery Charger PCB to C-Arm chassis. Retain screws.
37
Service
Periodic Maintenance
Contents
Schematics
Illustrated Parts
Installation
 Loading...


