p. 26
Guidelines and Special Features
POWER UP RECOMMENDATIONS
When all connections are complete, we recommend to use the quick guide, setting up system.
System check:
Correct operation of the system can be checked using a special “Install Mode”.
This enables the installer to individually test and prove each output.
Testing the system:
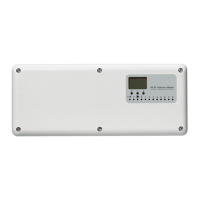
1. Switch on DIP-3 to activate learn mode: - power light will blink quickly
2. Each red channel light on the master should now be lit if a sensor/controller is present on that
channel.
3. Switch off DIP-3 to de-activate learn mode again – power light stops blinking.
4. Turn all adjustable temperature settings on the sensor/controller to minimum.
5. Switch on DIP-1 on the master to activate install mode (Install mode will be active for 2 hours).
(Pumps, boiler, mixing valve and actuators should now be off)
6. Turn the temperature setting on the adjustable sensor/controller in room 1 to maximum.
The red channel 1 light should be lit and the actuator on output nr. 1 will be activated, and will
open after 1-3 minutes, depending on the type of actuator.
Important: If the sensor/controller is of a wireless type a delay of up to 5 minutes may occur before
the channel light becomes illuminated .
7. Check that the UHF pump is running and the mixing valve (only FS master) opens .
8. Repeat step 2 on all rooms.
9. Boiler test function:
Switch on DIP-2.
This closes the boiler start relay contacts for 1 minute.
10. To end all tests:
- Switch off DIP-1 to deactivate Install mode
- Switch off DIP-2 to deactivate boiler test.
- Set all temperature knobs to default positions
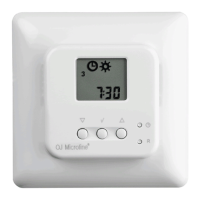
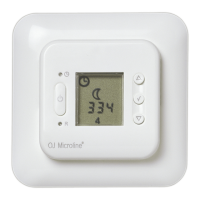
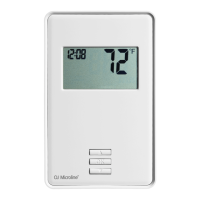
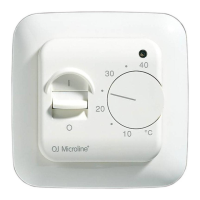
Room sensors (WLTA, WLTD, WLTM, WLTP) to zero (center position).
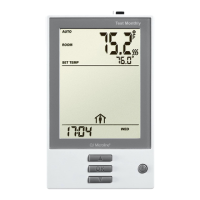
Room controllers (WLCT) recommended to 21c.
- Set all override switches on WLTM and WLTD room sensors to automatic position
(clock symbol).
The system is now operating automatically.