- 141 -
Specications
5
5. Appendix
Printing Specications
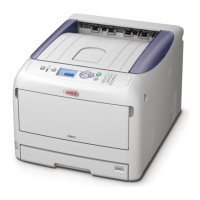
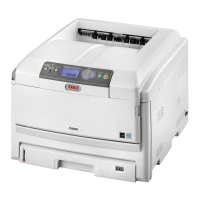
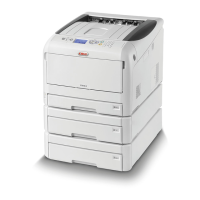
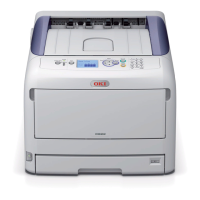
C831/ES8431 C841/ES8441
Printing method Dry electrophotographic recording method with LED (Light-emitting diode)
Emulation language PCL6 (XL3.0 and PCL5c), PostScript 3
Resident fonts PCL: 86 european fonts
PS: 80 european fonts
Resolution 600 x 600 dpi, 600 x 1200 dpi,
600 x 600 dpi 2bit
1200 x 1200 dpi, 600 x 600 dpi
Color Yellow, Magenta, Cyan, Black
Print speed (A4) Simplex: 35 ppm
Duplex: 27 ppm
Paper size Tray 1 Legal 13/13.5/14, letter, executive, tabloid, A3, A4, A5, B5, B4, A6, 8K (260 x
368 mm, 270 x 390 mm, 273 x 394 mm), 16K (197 x 273 mm, 195 x 270 mm,
184 x 260 mm)
Tray 2/3/4
(Option)
Legal 13/13.5/14, letter, executive, tabloid, A3, A4, A5, B4, B5, 8K (260 x 368
mm, 270 x 390 mm, 273 x 394 mm), 16K (197 x 273 mm, 195 x 270 mm, 184 x
260 mm)
MP Tray Legal 13/13.5/14, letter, executive, tabloid, statement, A3, A4, A5, B4, B5, A6,
C4, C5, DL, Com-10, index card (3 x 5 inch), custom size, banner up to 52 inch,
8K (260 x 368 mm, 270 x 390 mm, 273 x 394 mm), 16K (197 x 273 mm, 195 x
270 mm, 184 x 260 mm)
Duplex
Printing
Legal 13/13.5/14, letter, executive, tabloid, A3, A4, A5, B4, B5, 8K (260 x 368
mm, 270 x 390 mm, 273 x 394 mm), 16K (197 x 273 mm, 195 x 270 mm, 184 x
260 mm), custom size (148
- 297 mm (W) x 182 - 431.8 mm (L))
Custom size
● Tray 1
105 - 297 mm (W), 148, 182 - 431.8 mm (L)
(4.1 - 11.7 inches (W), 5.8, 7.2 - 17.0 inches (L))
● Tray 2/3/4 (option)
148 - 297 mm (W), 182 - 431.8 mm (L)
(5.8 - 11.7 inches (W), 7.2 - 17.0 inches (L))
● MP tray
64 x 90 - 297 x 1321 mm (2.5 x 3.5 - 11.7 x 52 inches)
Media type Plain paper (64 g/m
2
- 256 g/m
2
), envelopes, label.
Feeding method Automatic feeding from the tray 1, MP tray and additional tray unit (optional),
Manual feeding from MP tray
Paper loading capacity
● Tray 1
300 sheets of Standard paper /80 g/m
2
, total thickness 25 mm or lower.
● MP tray
100 sheets of Standard paper /80 g/m
2
and total thickness 10 mm or lower, 10
envelopes/ weight of 85 g/m
2
.
● Additional tray unit (optional)
530 sheets of Standard paper /80 g/m
2
, total thickness 53 mm or lower.
Output method Face up/Face down
Paper output capacity
● Face up
100 sheets (less than 80 g/m
2
), 10 sheets (ultra-heavy/envelopes)
● Face down
250 sheets (less than 80 g/m
2
)
Print guaranteed area 6.35 mm or more from the paper edge (not applicable to special media such as
envelopes)
Print precision Print beginning:± 2 mm, paper skew:± 1 mm/100 mm,
image expansion:± 1 mm/100 mm (80 g/m
2
)
Warm-up time
● From power on
32 seconds (at room temperature 25°C, rated voltage)
● From power save mode
27 seconds (at room temperature 25°C, rated voltage)