- 49 -
Connecting to a Computer
1
1. Setup
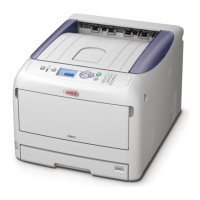
12 Select the name of the printer where
[Connection] is [Bonjour], and then
check that [OKI C831(PS)] is displayed
in [Print Using].
The name of your printer is displayed with the
format of “OKI-C831- (the last six digits of the
MAC address)”.
For Mac OS X 10.3.9, set as follows.
a Select [Rendezvous] from the pop-
up menu.
b Select the printer from the list.
c Select [Oki] from [Printer Model]
and then select [OKI C831(PS)]
from the driver list.
13 Click [Add].
14 If the [Installable Options] window is
displayed, click [Continue].
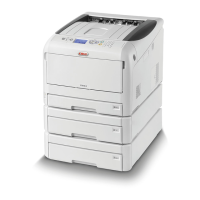
If you have installed the optional additional
tray unit before the printer driver installation,
congure each item and then click [Continue].
15 Check that the name of your printer is
displayed in [Printer List], and then
close the window.
16 From the [Go] menu, select
[Applications] > [TextEdit].
17 Select the [File] menu > [Page Setup].
18 Select the name of your printer from
[Format for].
19 Check that [OKI C831(PS)] is displayed
correctly under [Format for].
20 Click [OK].
21 Remove “Software DVD-ROM” from the
computer.
Next, enable the sleep mode on the
printer.
Note
● If using the Bonjour, disable the sleep mode.
1 Press the <ENTER> button on the
operator panel.
2 Press the scroll button several times
to select [Admin Setup], and then
press the <ENTER> button.
䎩䏘䏑䏆䏗䏌䏒䏑䏖䎃䎃䎃䎃䎃䎃䎕䎒䎕
䫹
䎦䏄䏏䏌䏅䏕䏄䏗䏌䏒䏑
䎤䏇䏐䏌䏑䎃䎶䏈䏗䏘䏓
3 Enter the administrator password, using
the numeric (0-9) keys.
The factory default password is “aaaaaa”. Press
<ENTER> button after each character you input.
䎨䏑䏗䏈䏕䎃䎳䏄䏖䏖䏚䏒䏕䏇
䯴䎙䎐䎔䎕䏇䏌䏊䏌䏗䏖䎌